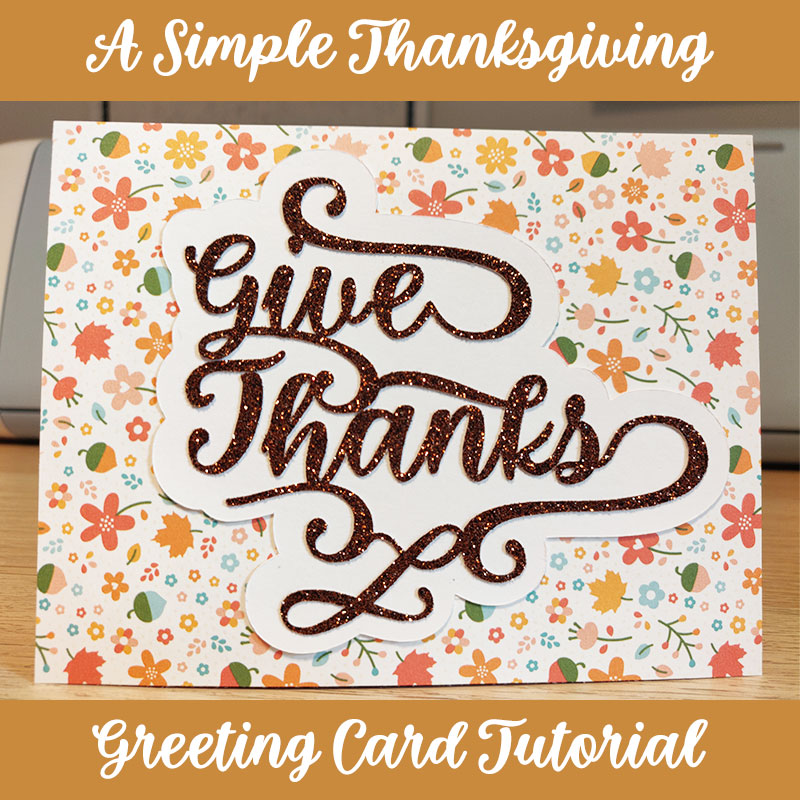
The final result will be an A2 card. Feel Free to scale things up or down to whatever size you wish. You do need to have some knowledge on how to use Silhouette to follow along, but if you have any questions, feel free to ask, and I will do my best to answer them.
Supplies Used
- Silhouette Cameo 4
- Give Thanks Fancy Graphic
- Brown Glitter Cardstock (I used the Lawn Fawn sparkle cardstock in “autumn”)
- Fall Themed Pattern Paper (I used the Lawn Fawn Fall Fling 6×6 inch paper pack)
- White Cardstock
- Orange Cardstock (I used the Lawn Fawn cardstock in “canned pumpkin”)
By the way, I am not sponsored or affiliated by Lawn fawn, I just love the brand! 😀
Instructions
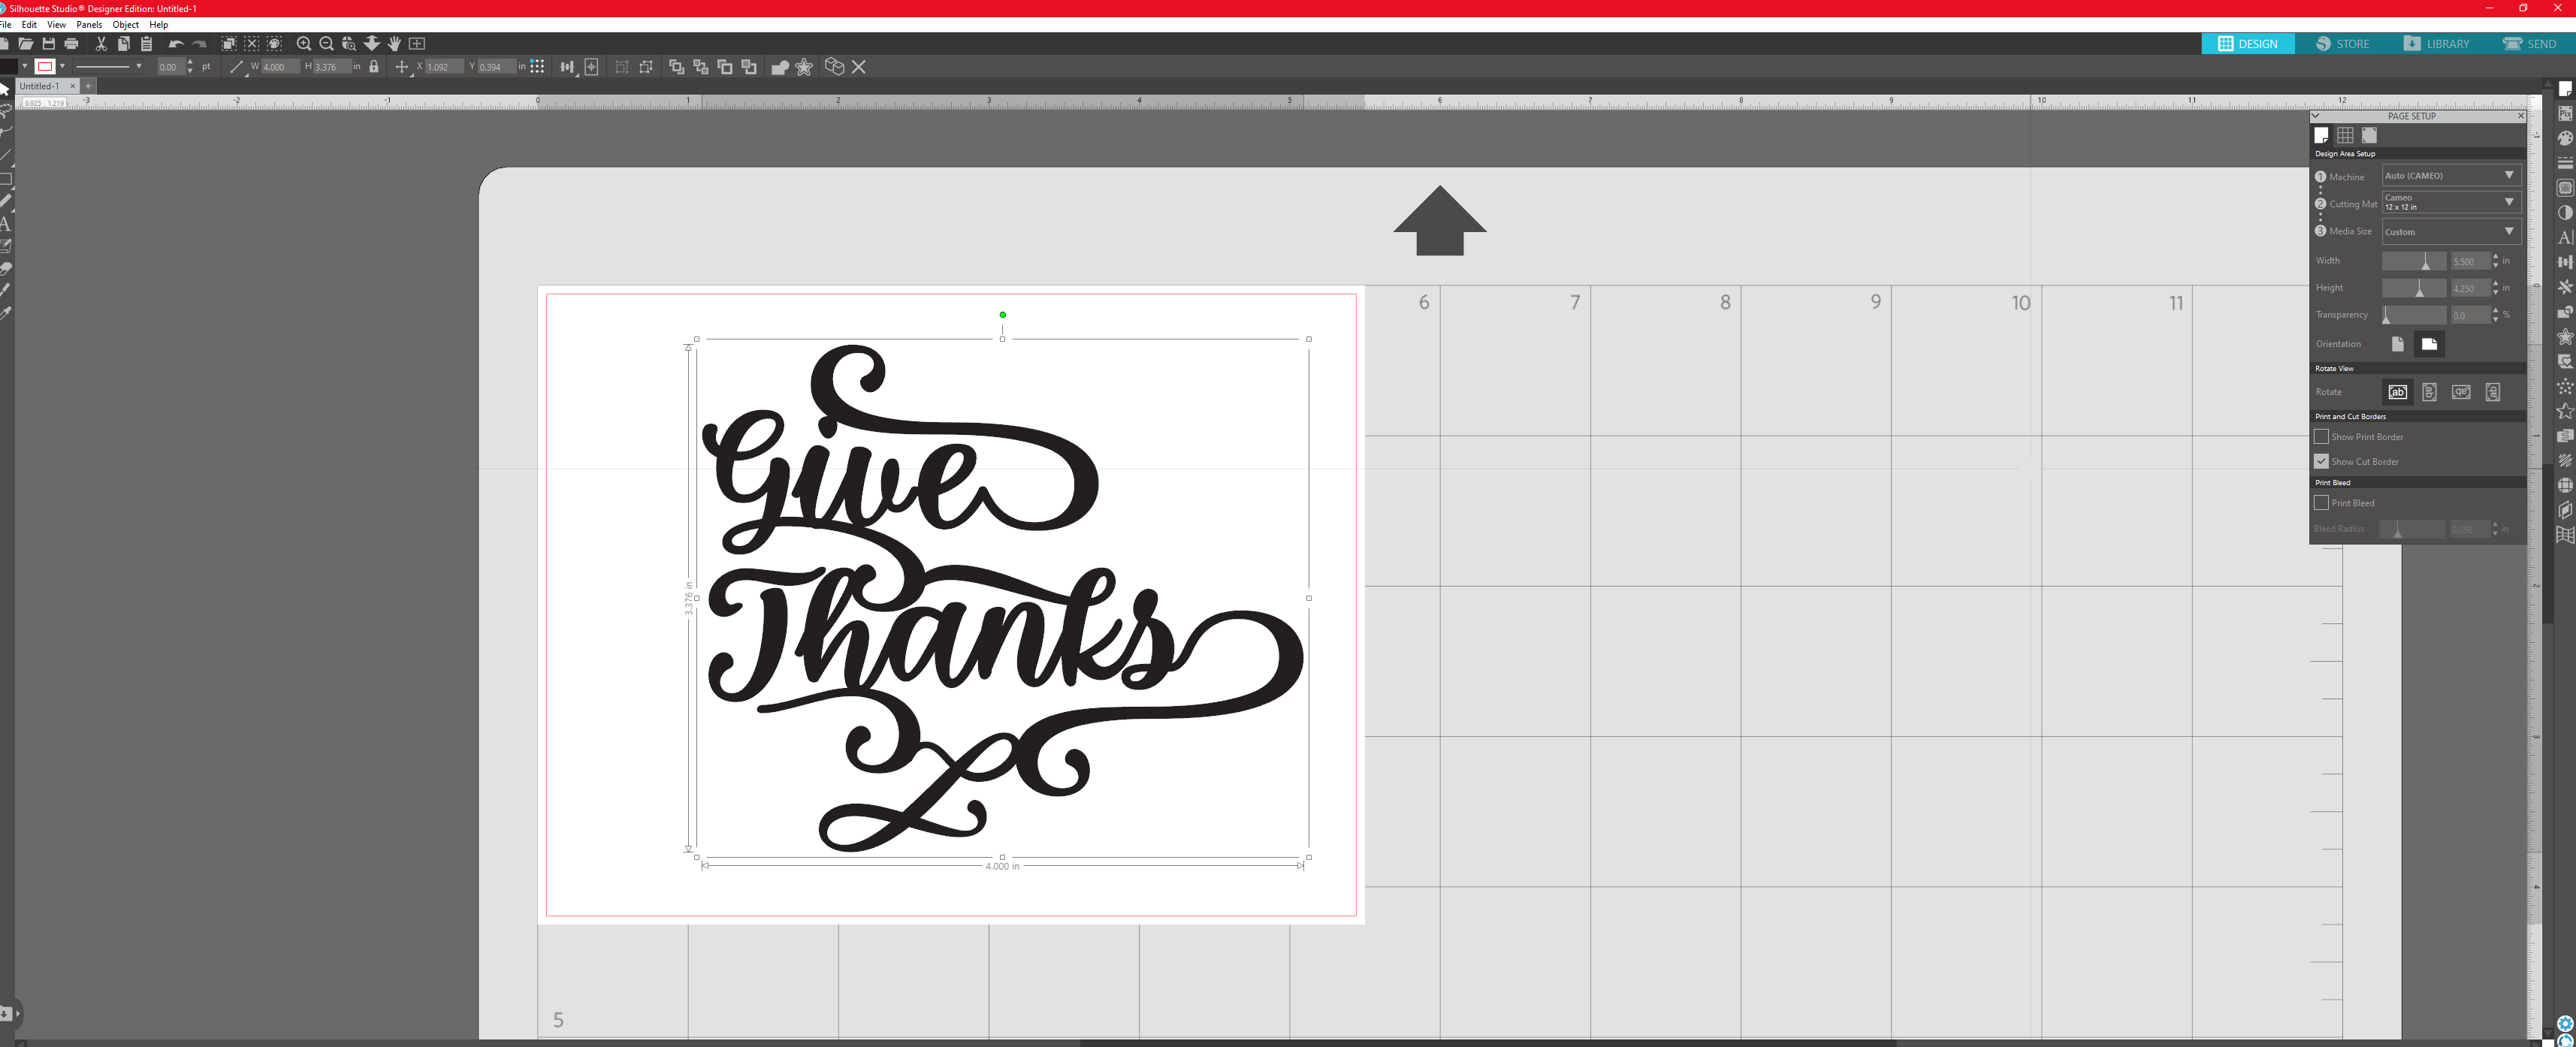
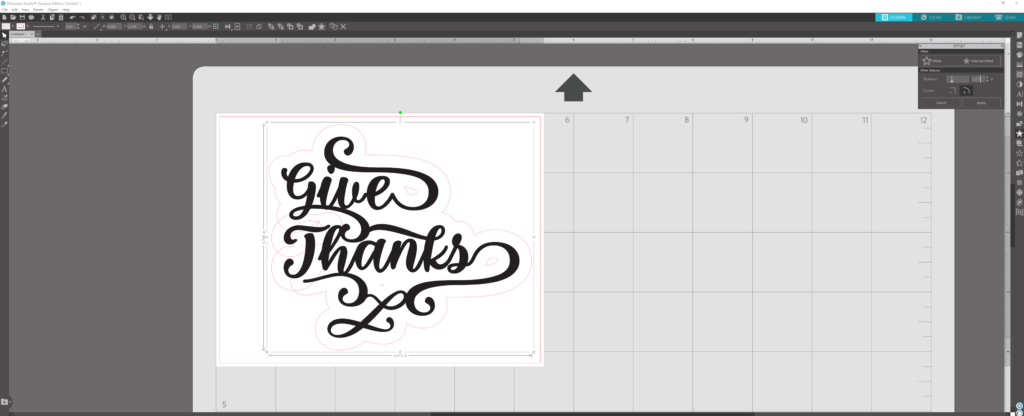
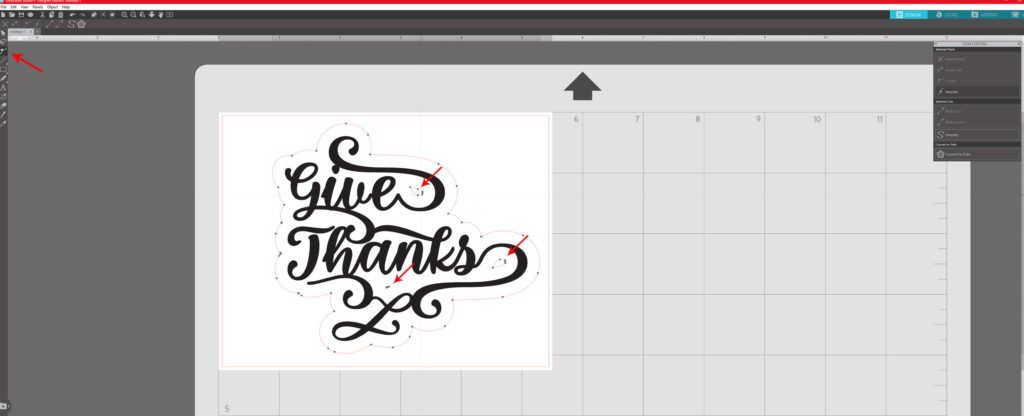
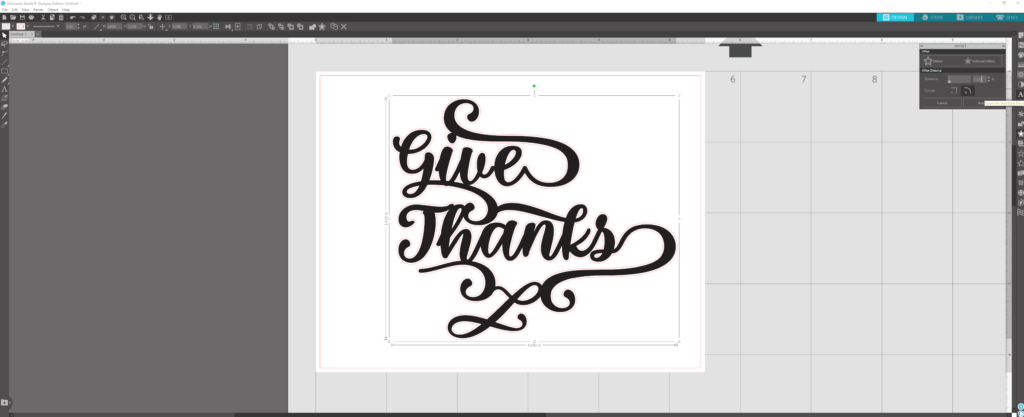
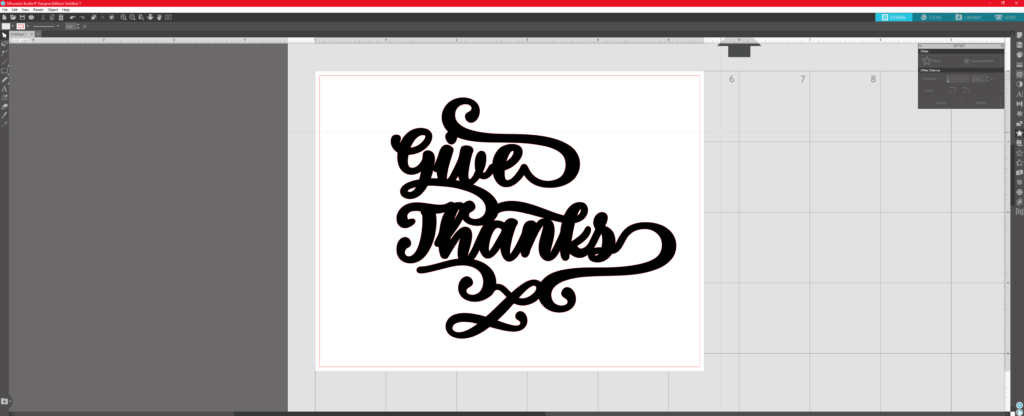
Go to the send tab, and cut the text from the brown glitter cardstock and cut the offset with the white cardstock.


Glue the glittery lettering on top of the white offset piece

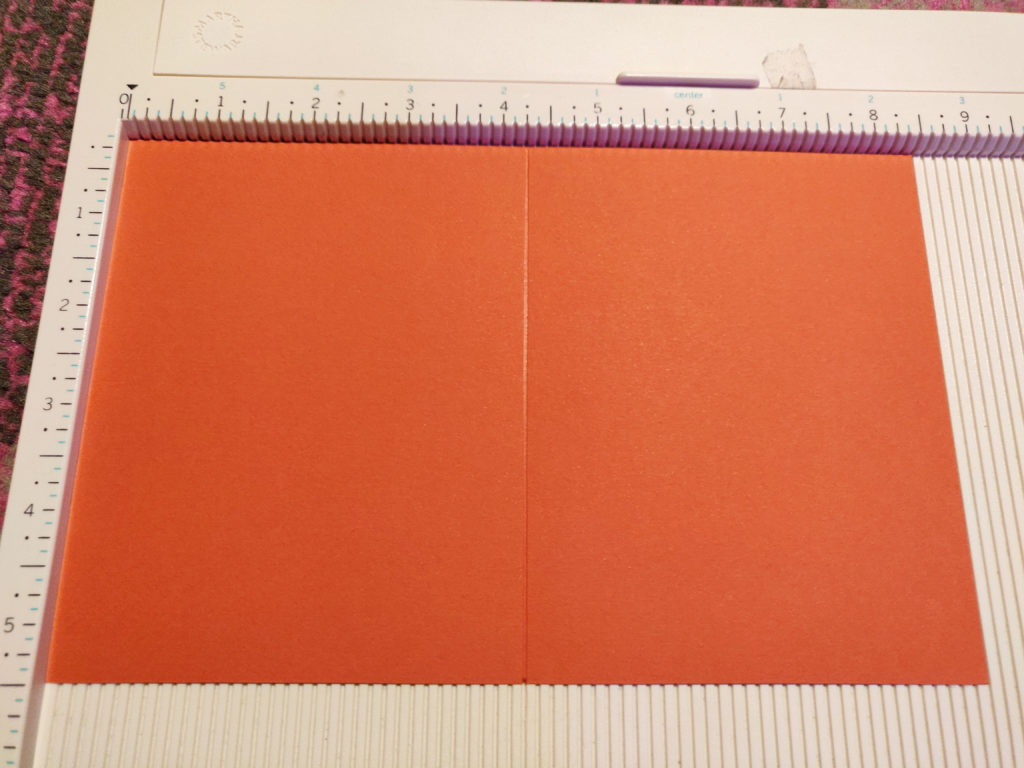
Now it’s time to prepare the the card base. Cut a sheet of cardstock (I chose the color orange) at 5.5 inches wide and 8.5 inches tall. Then score it at 4.25 inches.
Cut the pattern paper at 5.5 inches wide and 4.25 inches tall and glue it to the front of the card base. Then glue the lettering on top on the pattern paper.
And that’s it! Of course, you can add additional elements to the card. I think adding fall leaves around the letters would look great!
Tips and Suggestions
You can combine the letter T together and attach it to the h. Therefore the design will cut in one piece (instead of having the uppercase T cutting in two pieces. I personally kept the T separate in this tutorial and it was pretty easy putting it all together again.
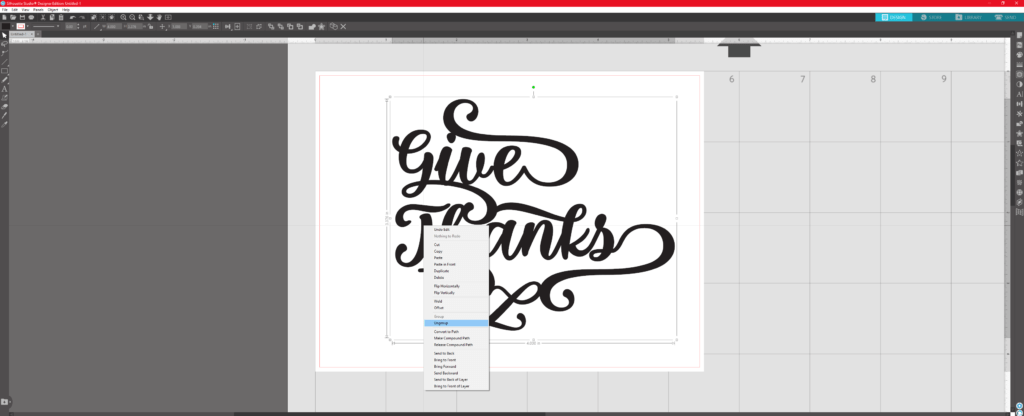
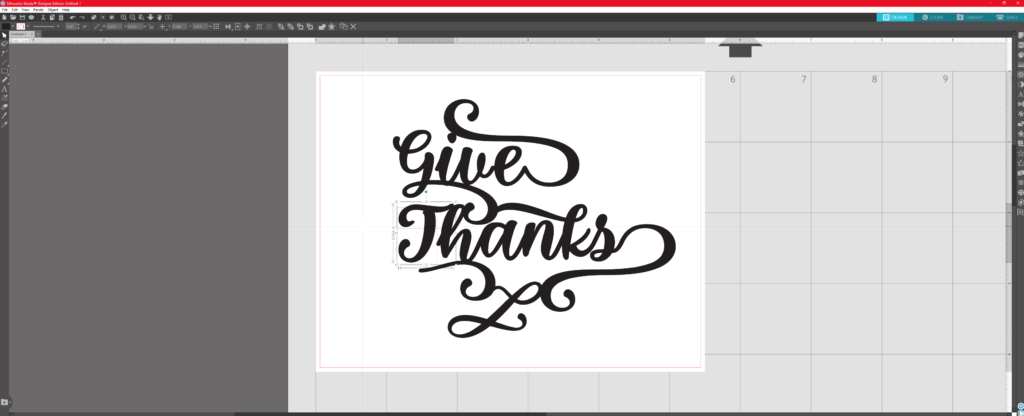
You can also make the lettering piece bolder by slightly offsetting the text and then deleting the original.
