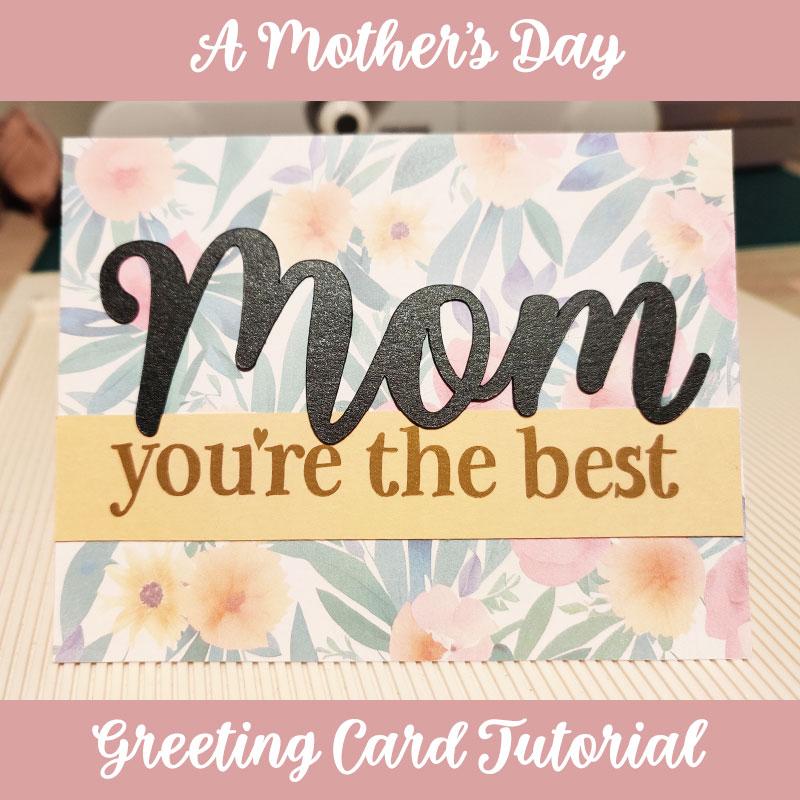
I am happy to work in collaboration with Creative Fabrica to bring you this Mother’s Day greeting card tutorial!
The final result will be an A2 card. Feel Free to scale things up or down to whatever size you wish. You do need to have some knowledge on how to use Silhouette to follow along, but if you have any questions, feel free to ask, and I will be happy to help you.
Supplies Used
Note: all links to Creative Fabrica are affiliate links.
- Silhouette Cameo 4
- So Much Glitter Font
- Be My Glittertine Font
- Flower Pattern
- Pink Cardstock
- Apricot Cardstock
- Black Glimmer Cardstock
- Matte Gold Vinyl
- Printer (optional)
- Paper Trimmer
- Scoring Board
Note: you are more than welcomed to use different colors of cardstock or styles of fonts, if you wish 🙂 If you choose different fonts than I have used, I would recommend choosing fonts that contrast well with each other, such a script font and a serif/sans serif. Creative Fabrica has many amazing fonts to choose from!
Instructions
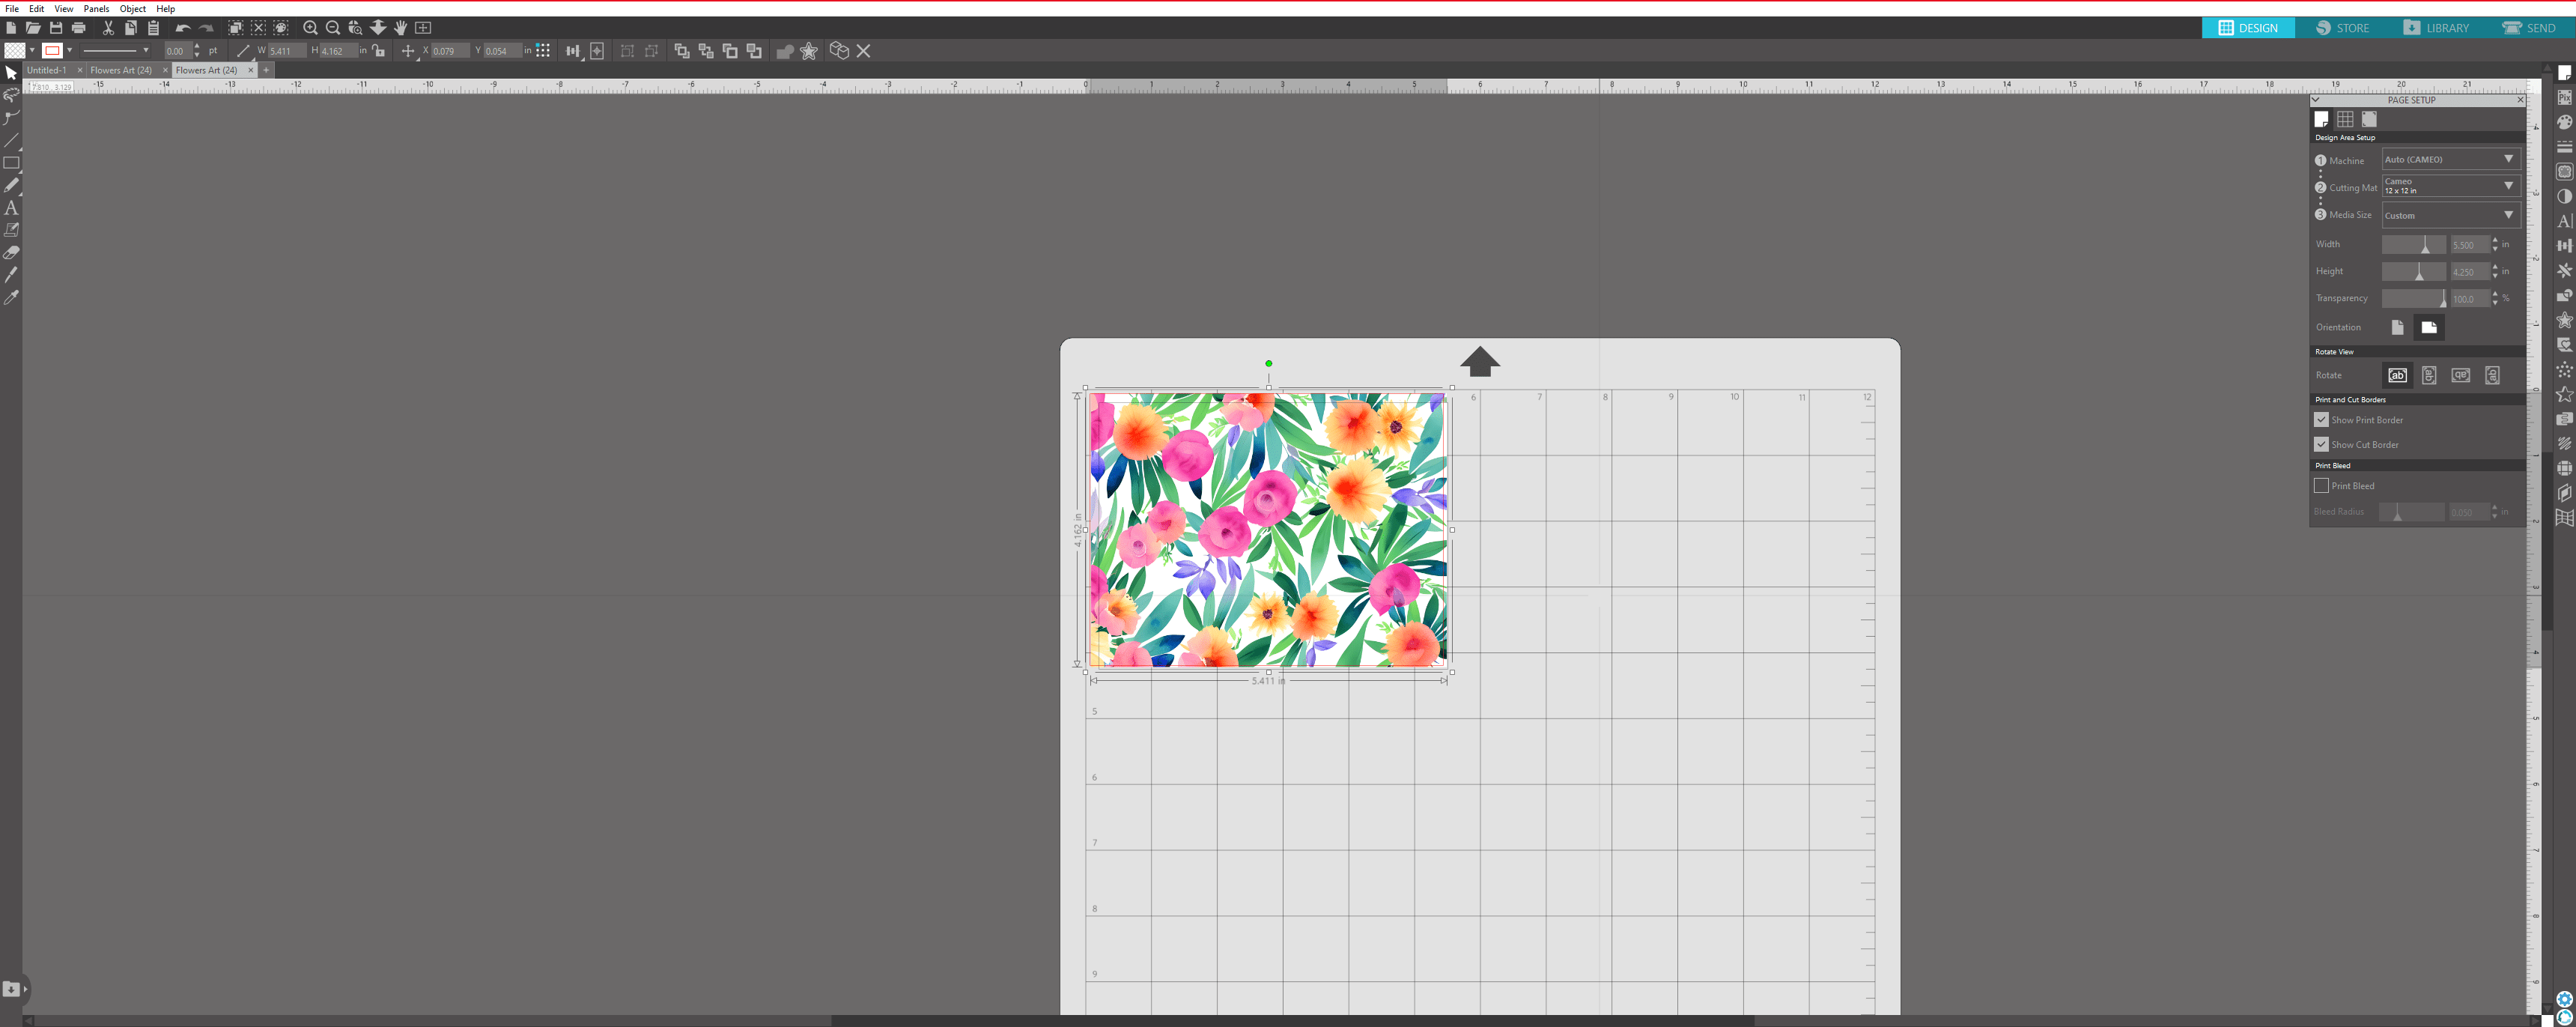
In Silhouette, set the media width to 5.5 inches and the height to 4.25 inches. Download the flower pattern from Creative Fabrica, unzip the files and open the pattern in Silhouette. Once the image is in Silhouette, resize it down to your media board. Of course, you can use a lovely pattern paper for this, but Creative Fabrica also has many great patterns that you can print for this use.
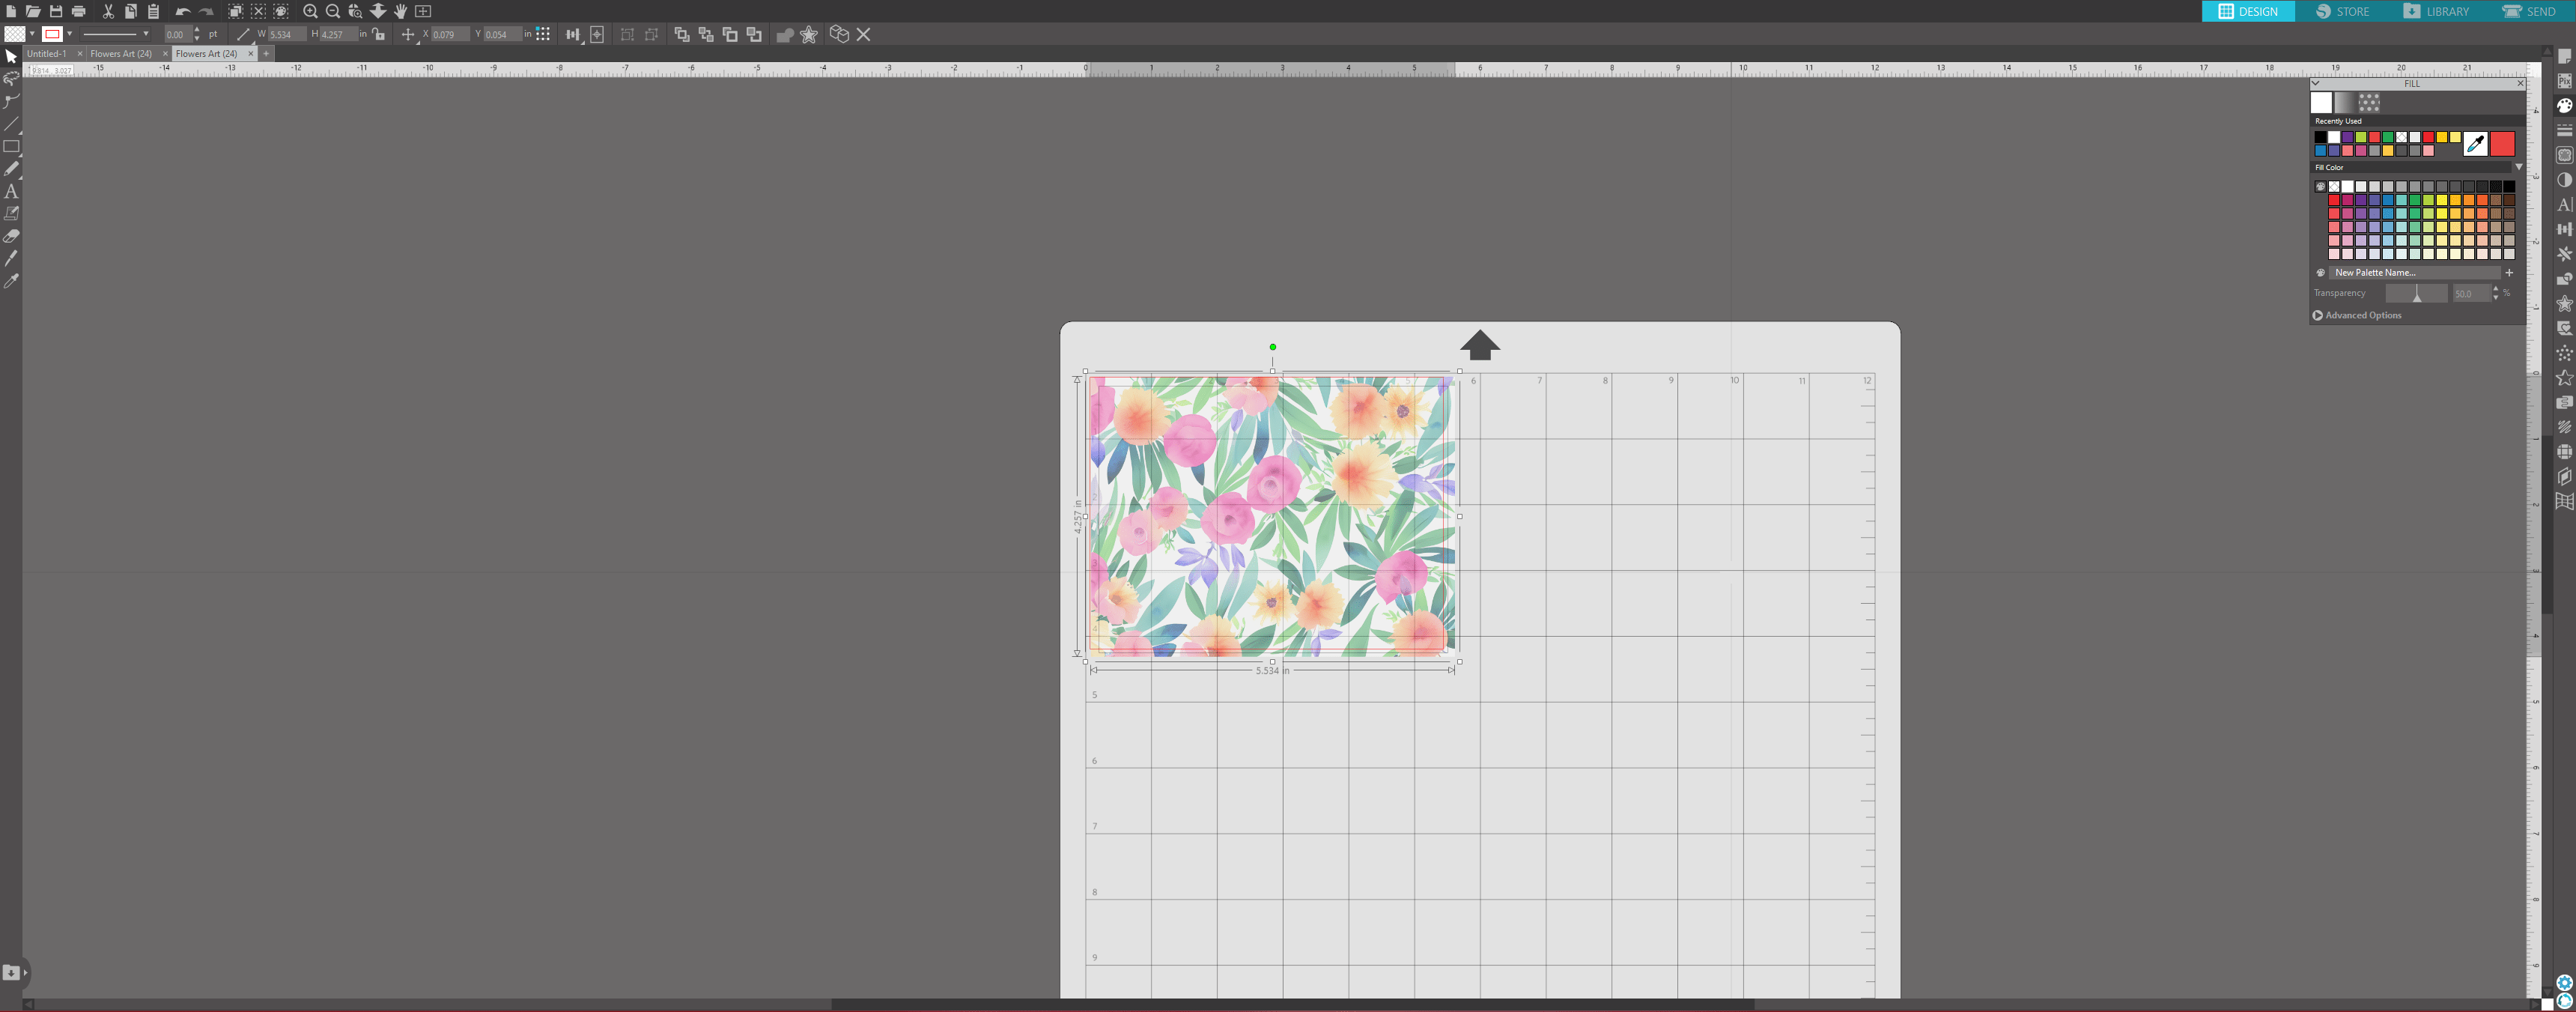
Under the fill tab on the right, I set the transparency to 50%. You can play around with this value, but I think tones down the brightness and busyness of this pattern.
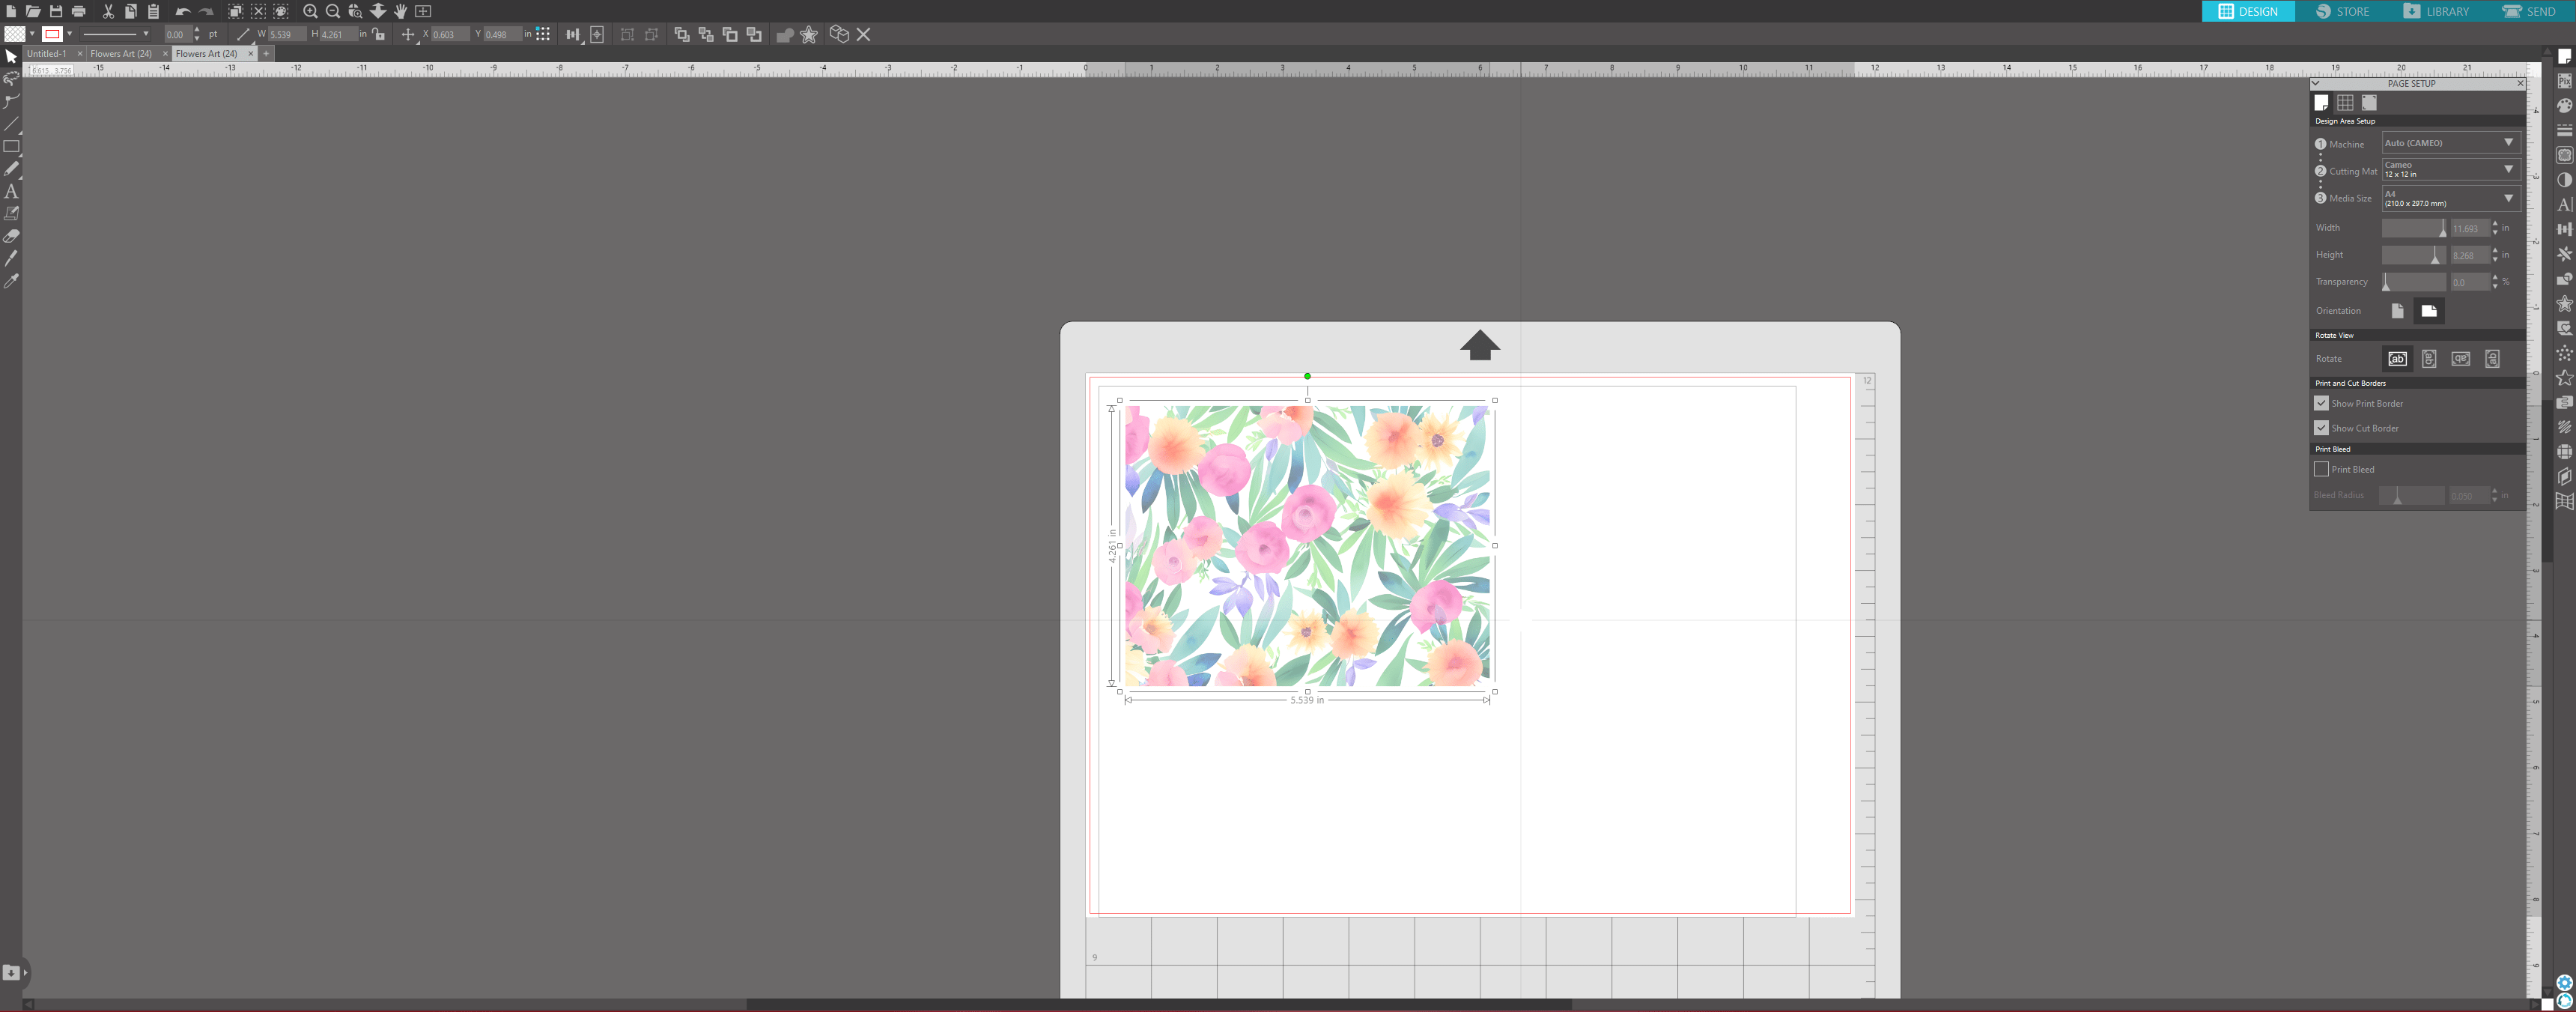
To print this pattern, you need to temporarily resize the media board to the paper size you will using to print. I will be printing on A4.
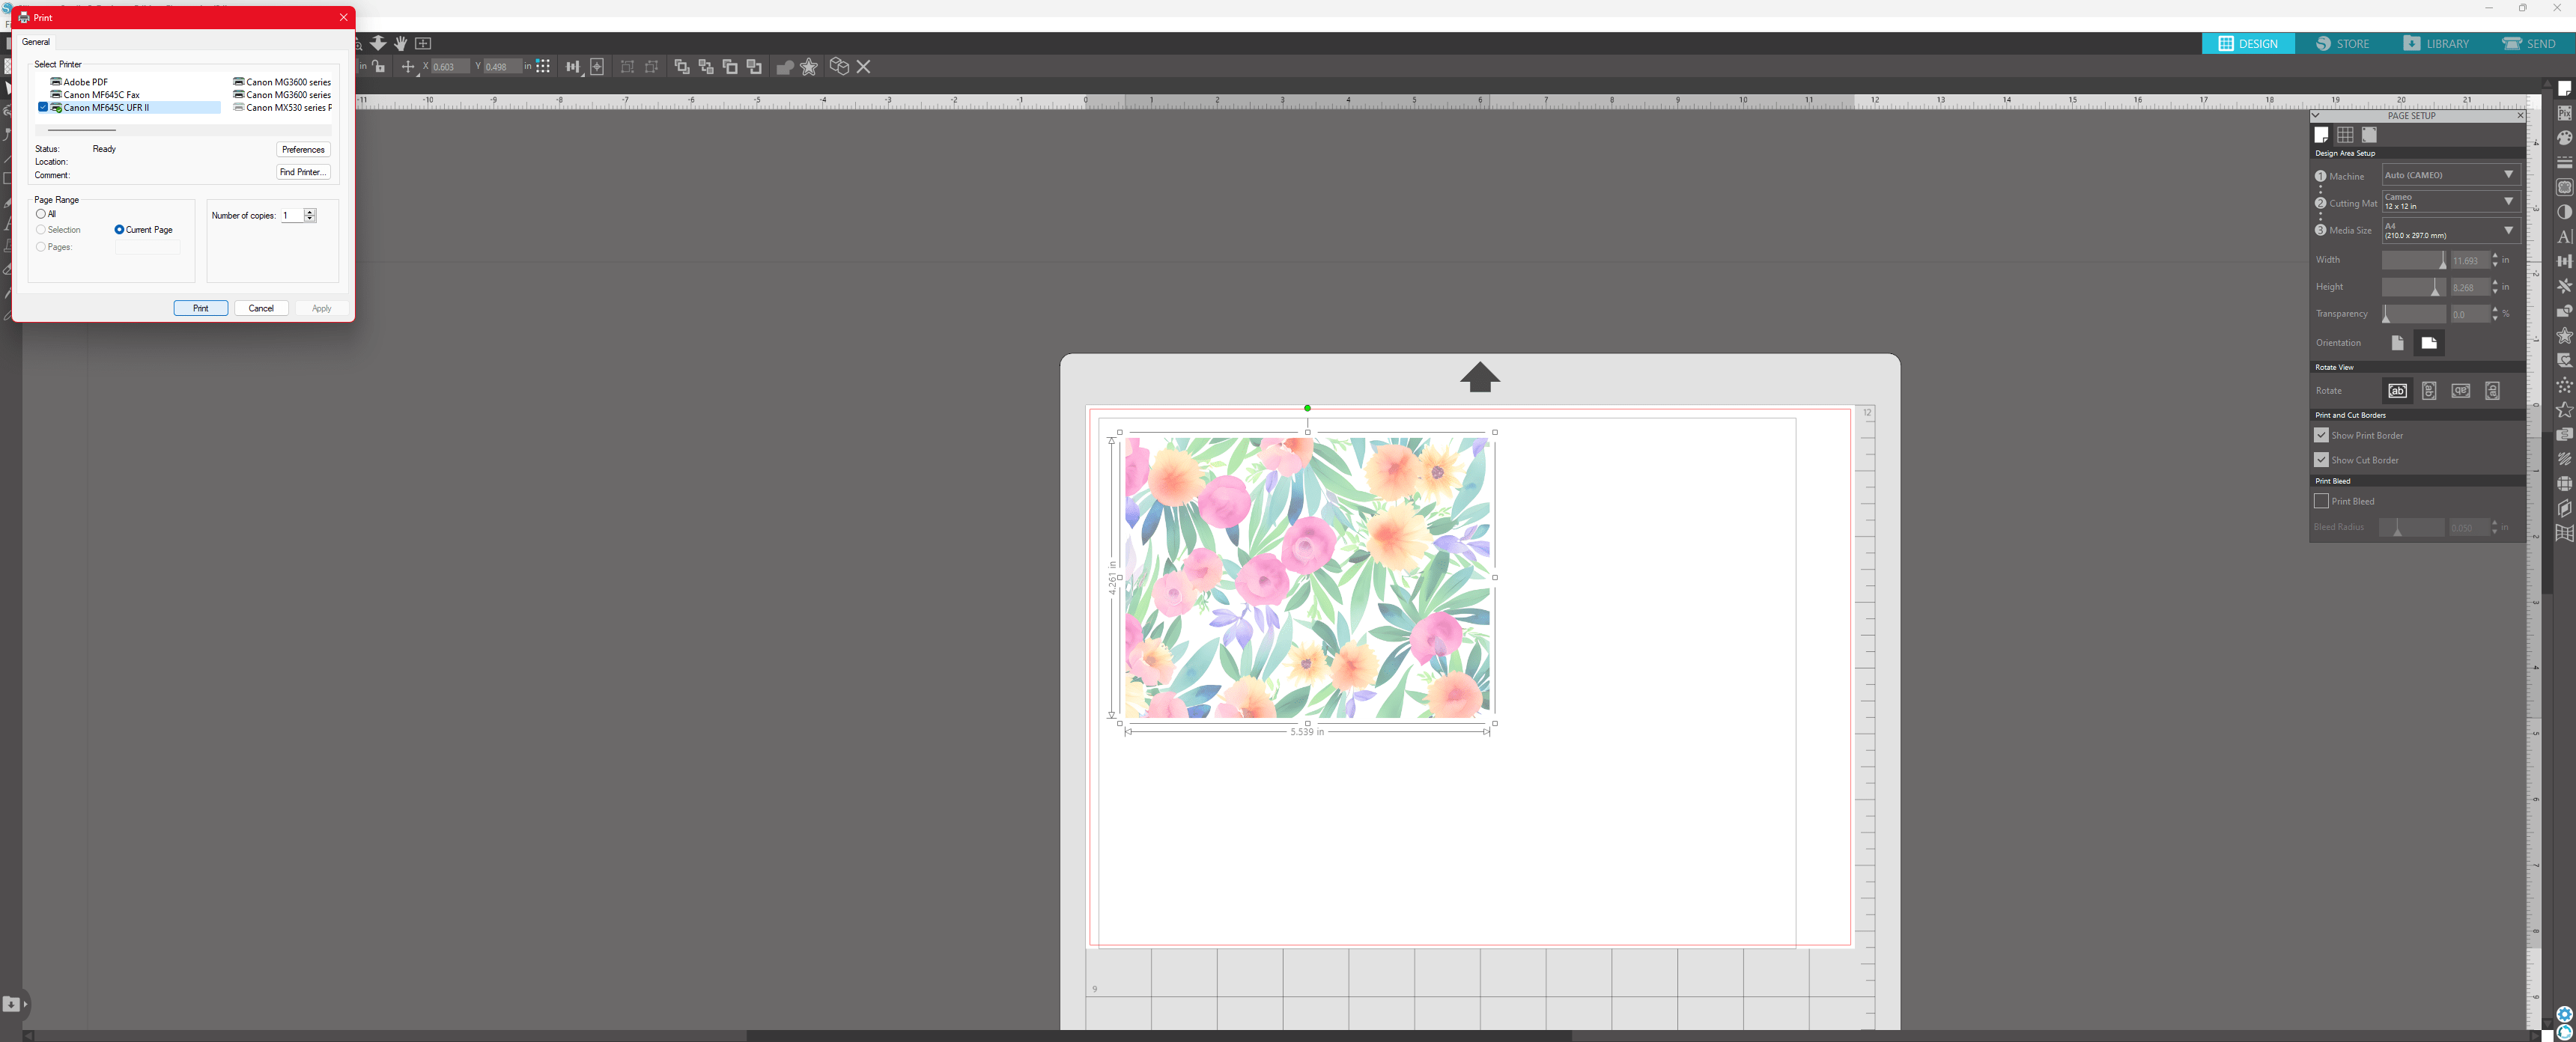
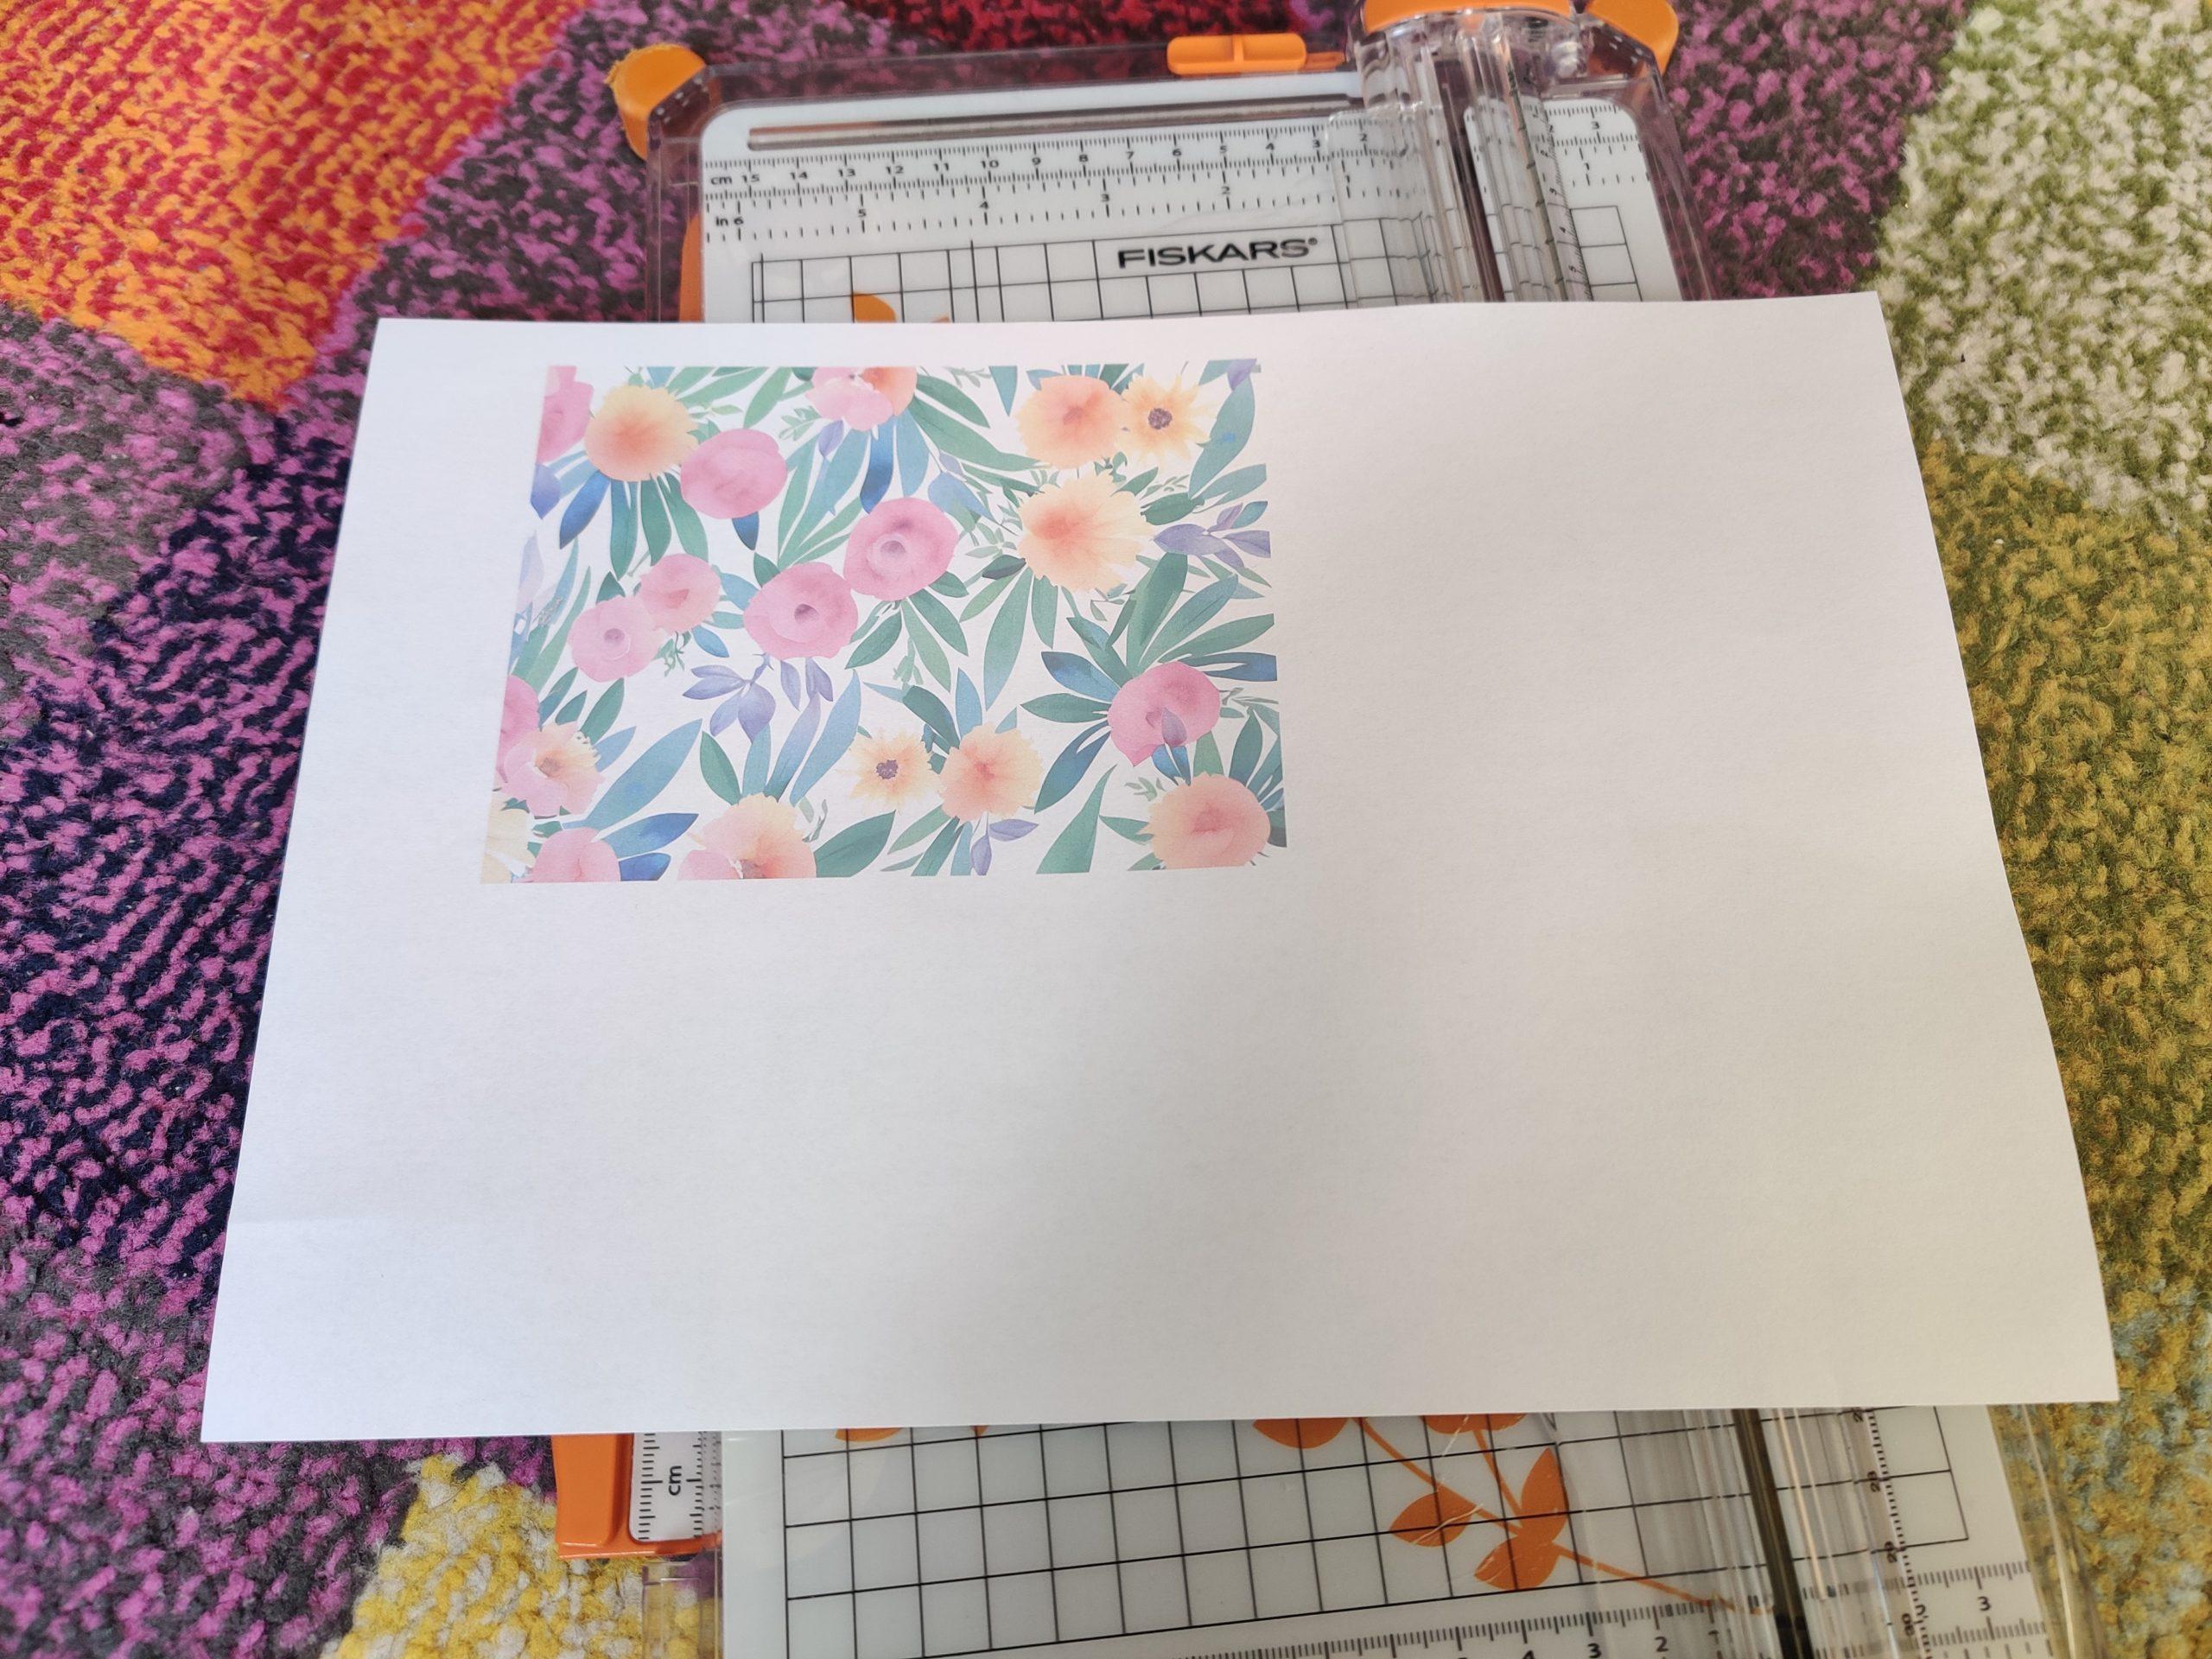
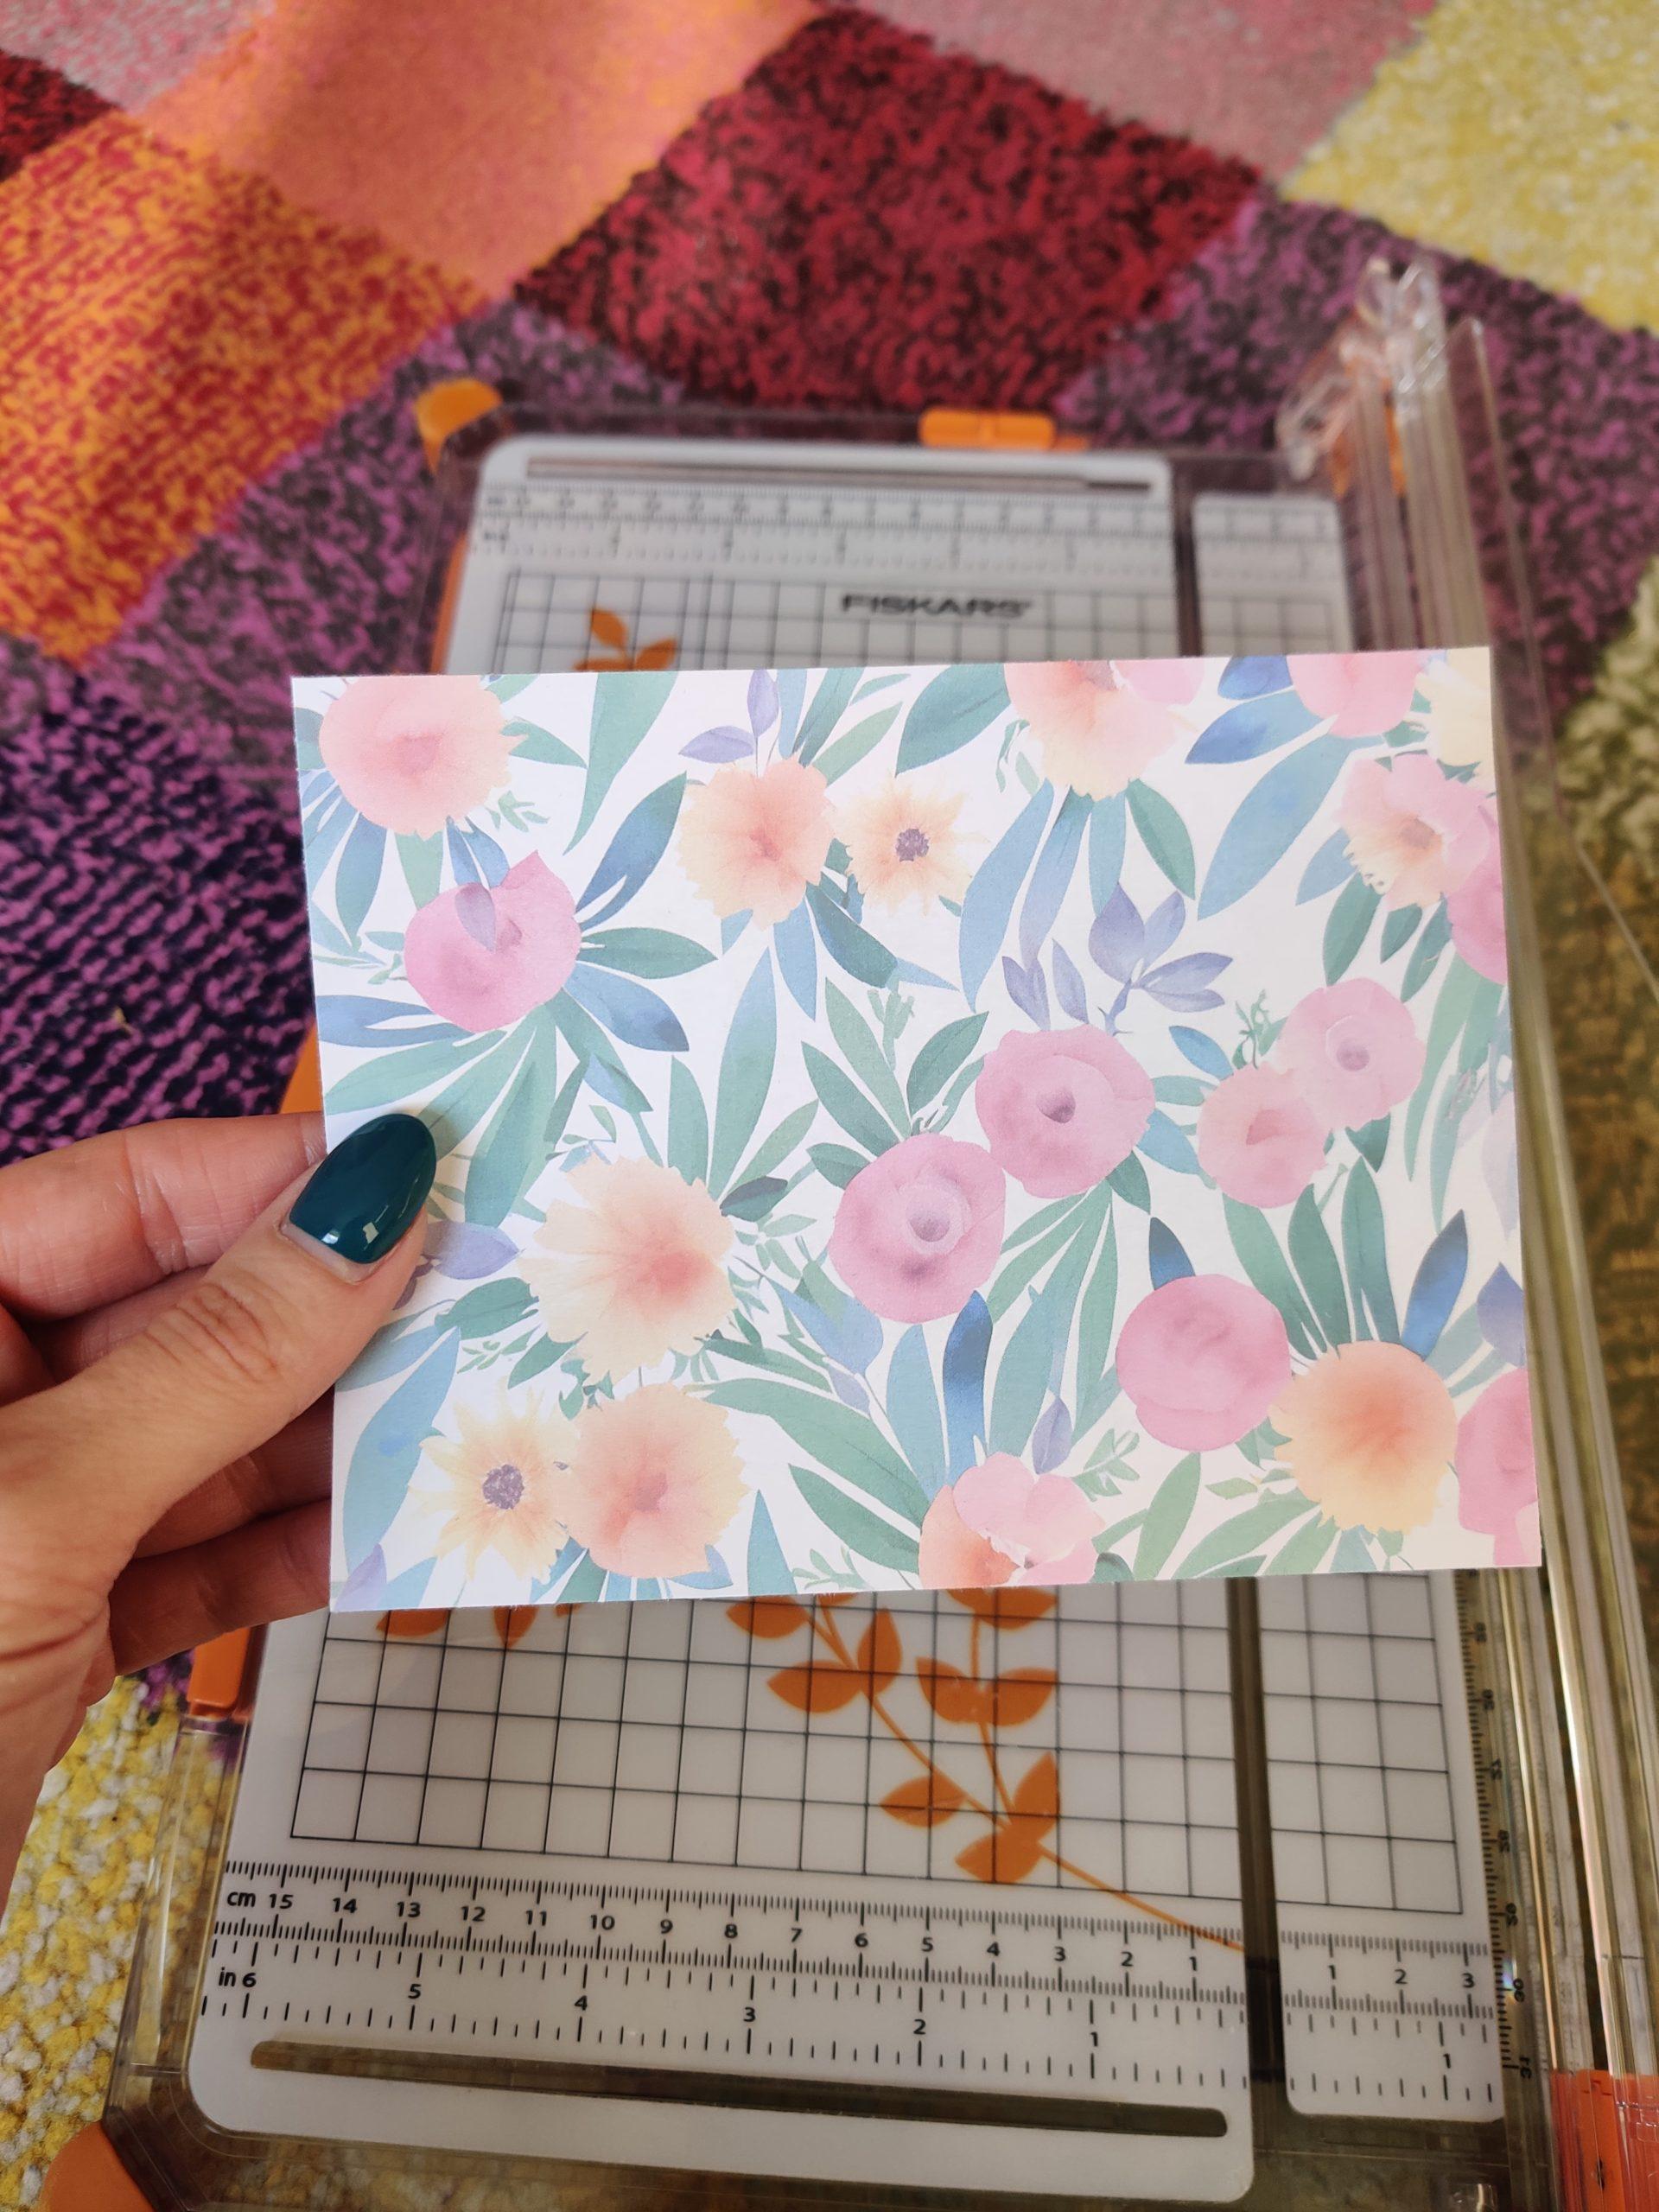
Now the pattern is ready to print and cut out.
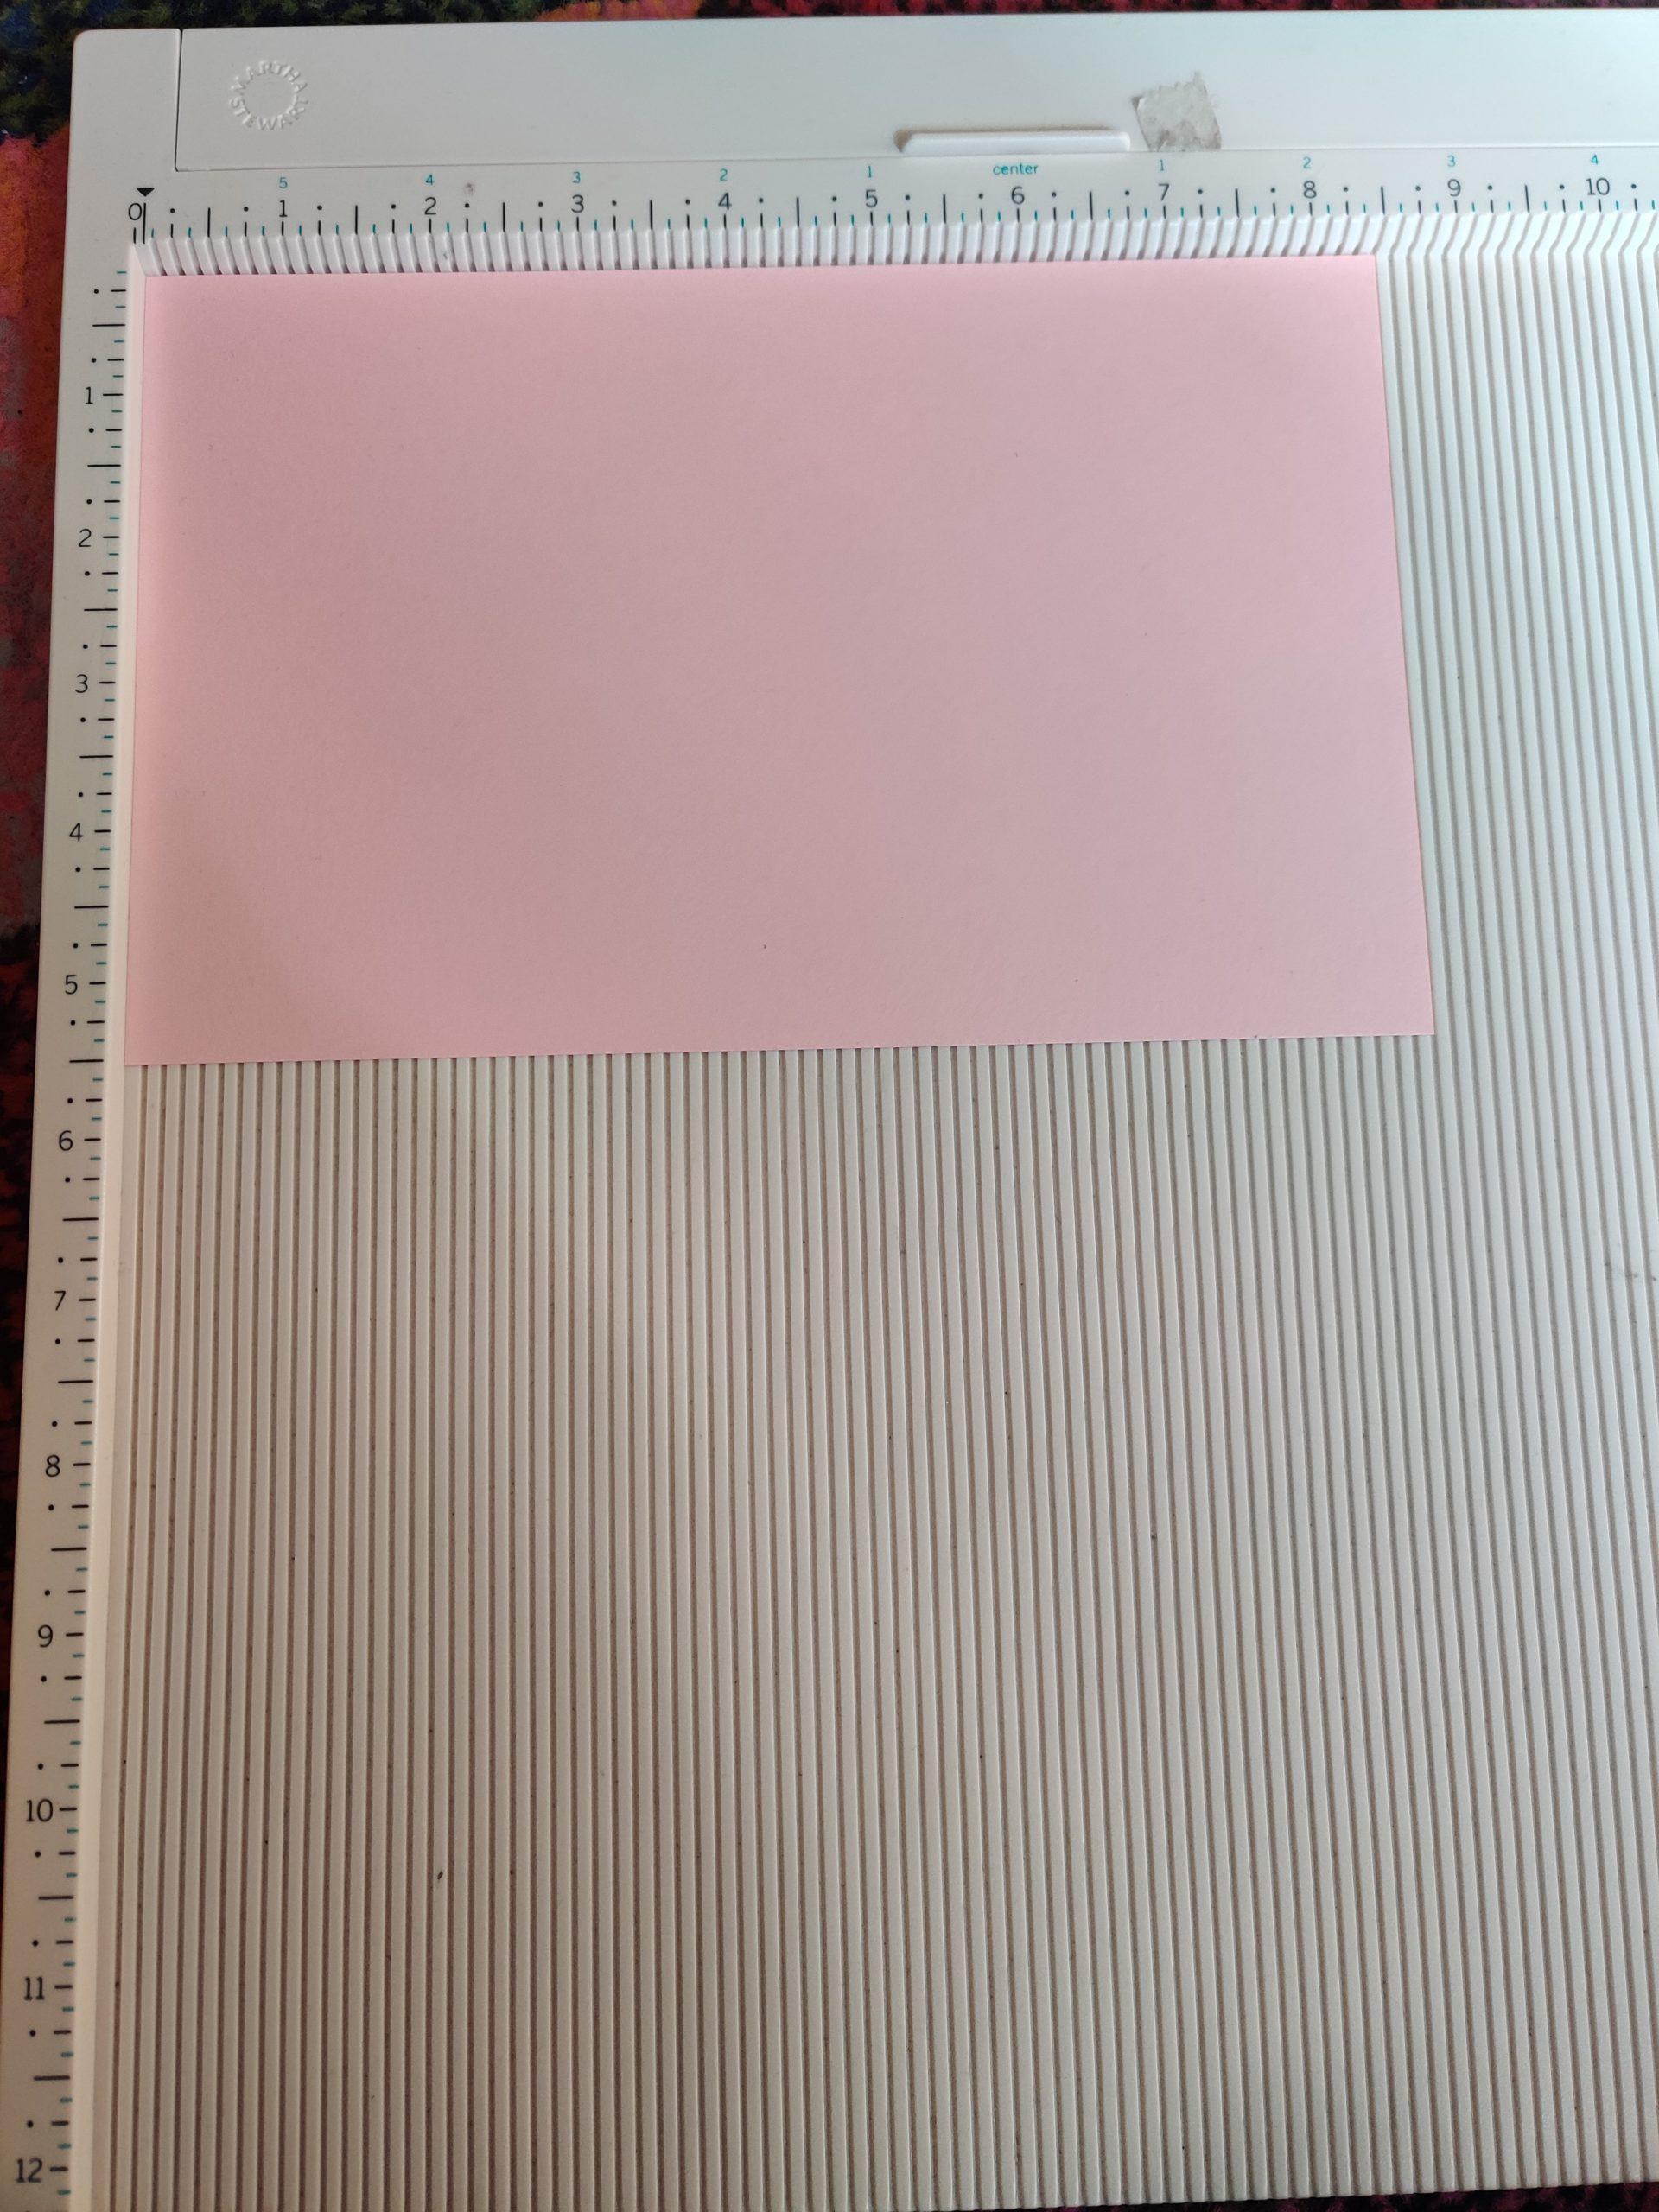
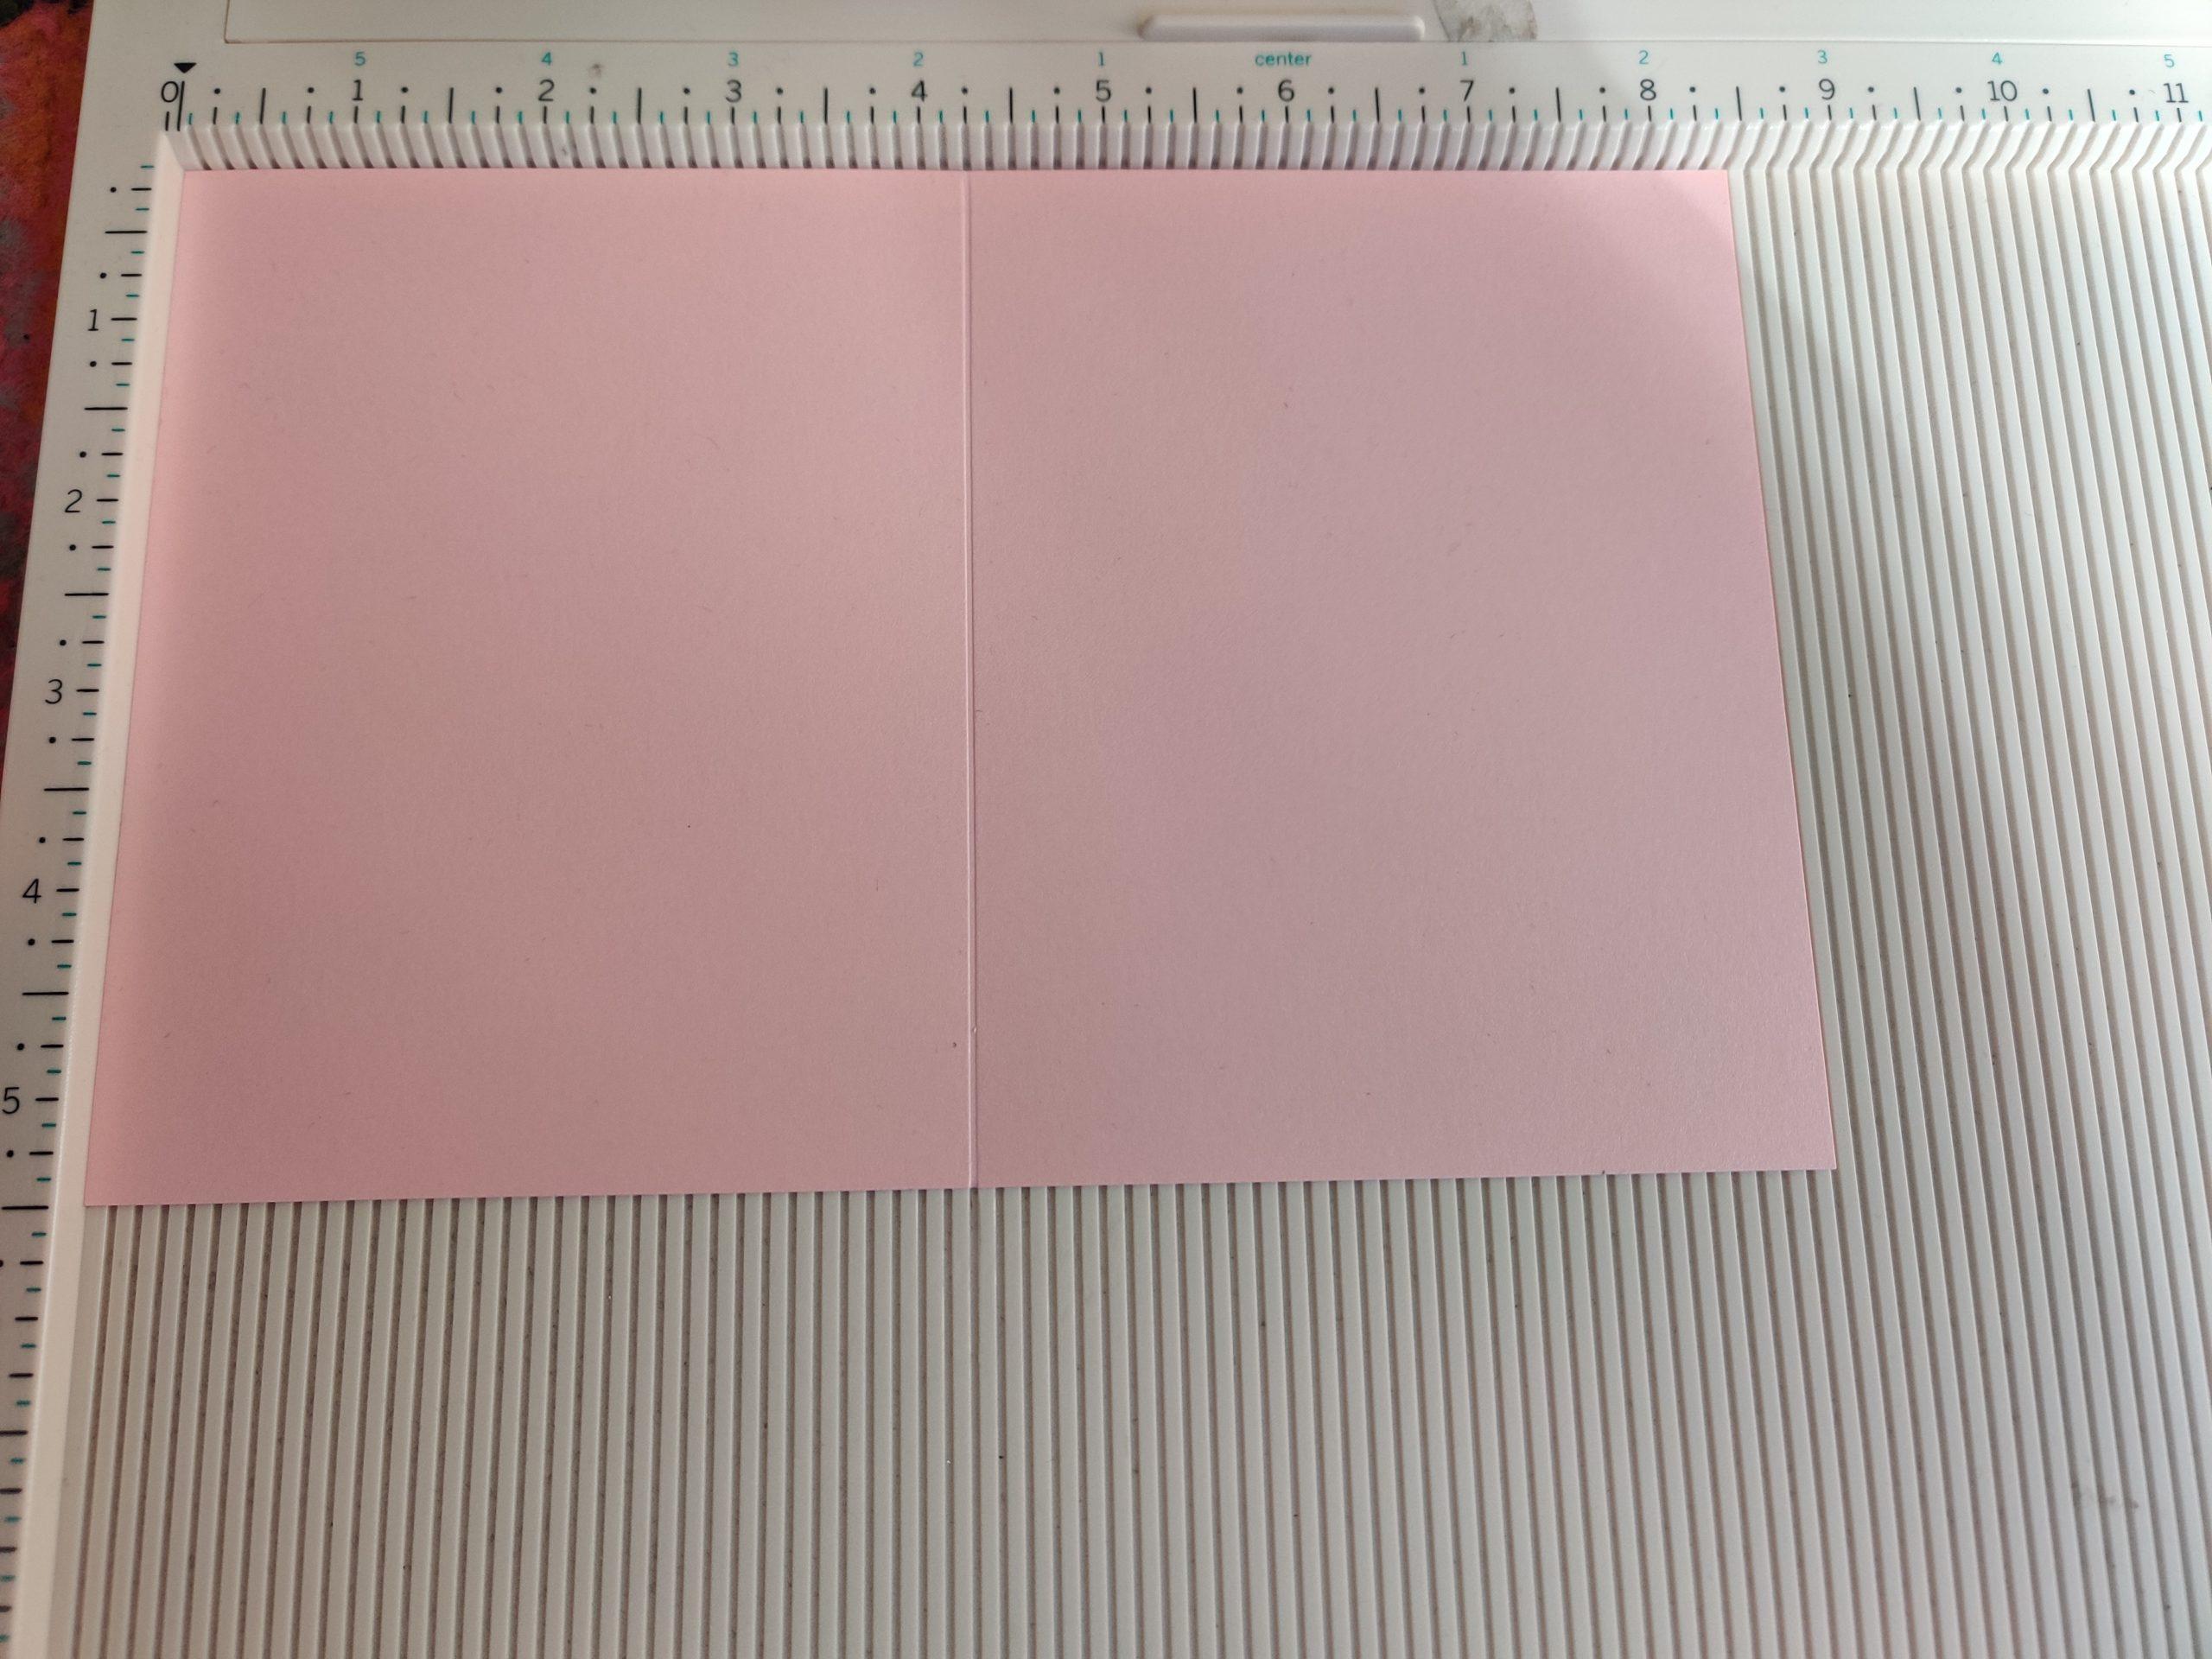
Take a piece of cardstock that is cut down to 8.5 inches wide 5.5 inches tall and score it down the middle at 4.25 inches. This is your card base. Next, adhere your pattern paper to the front of the card.
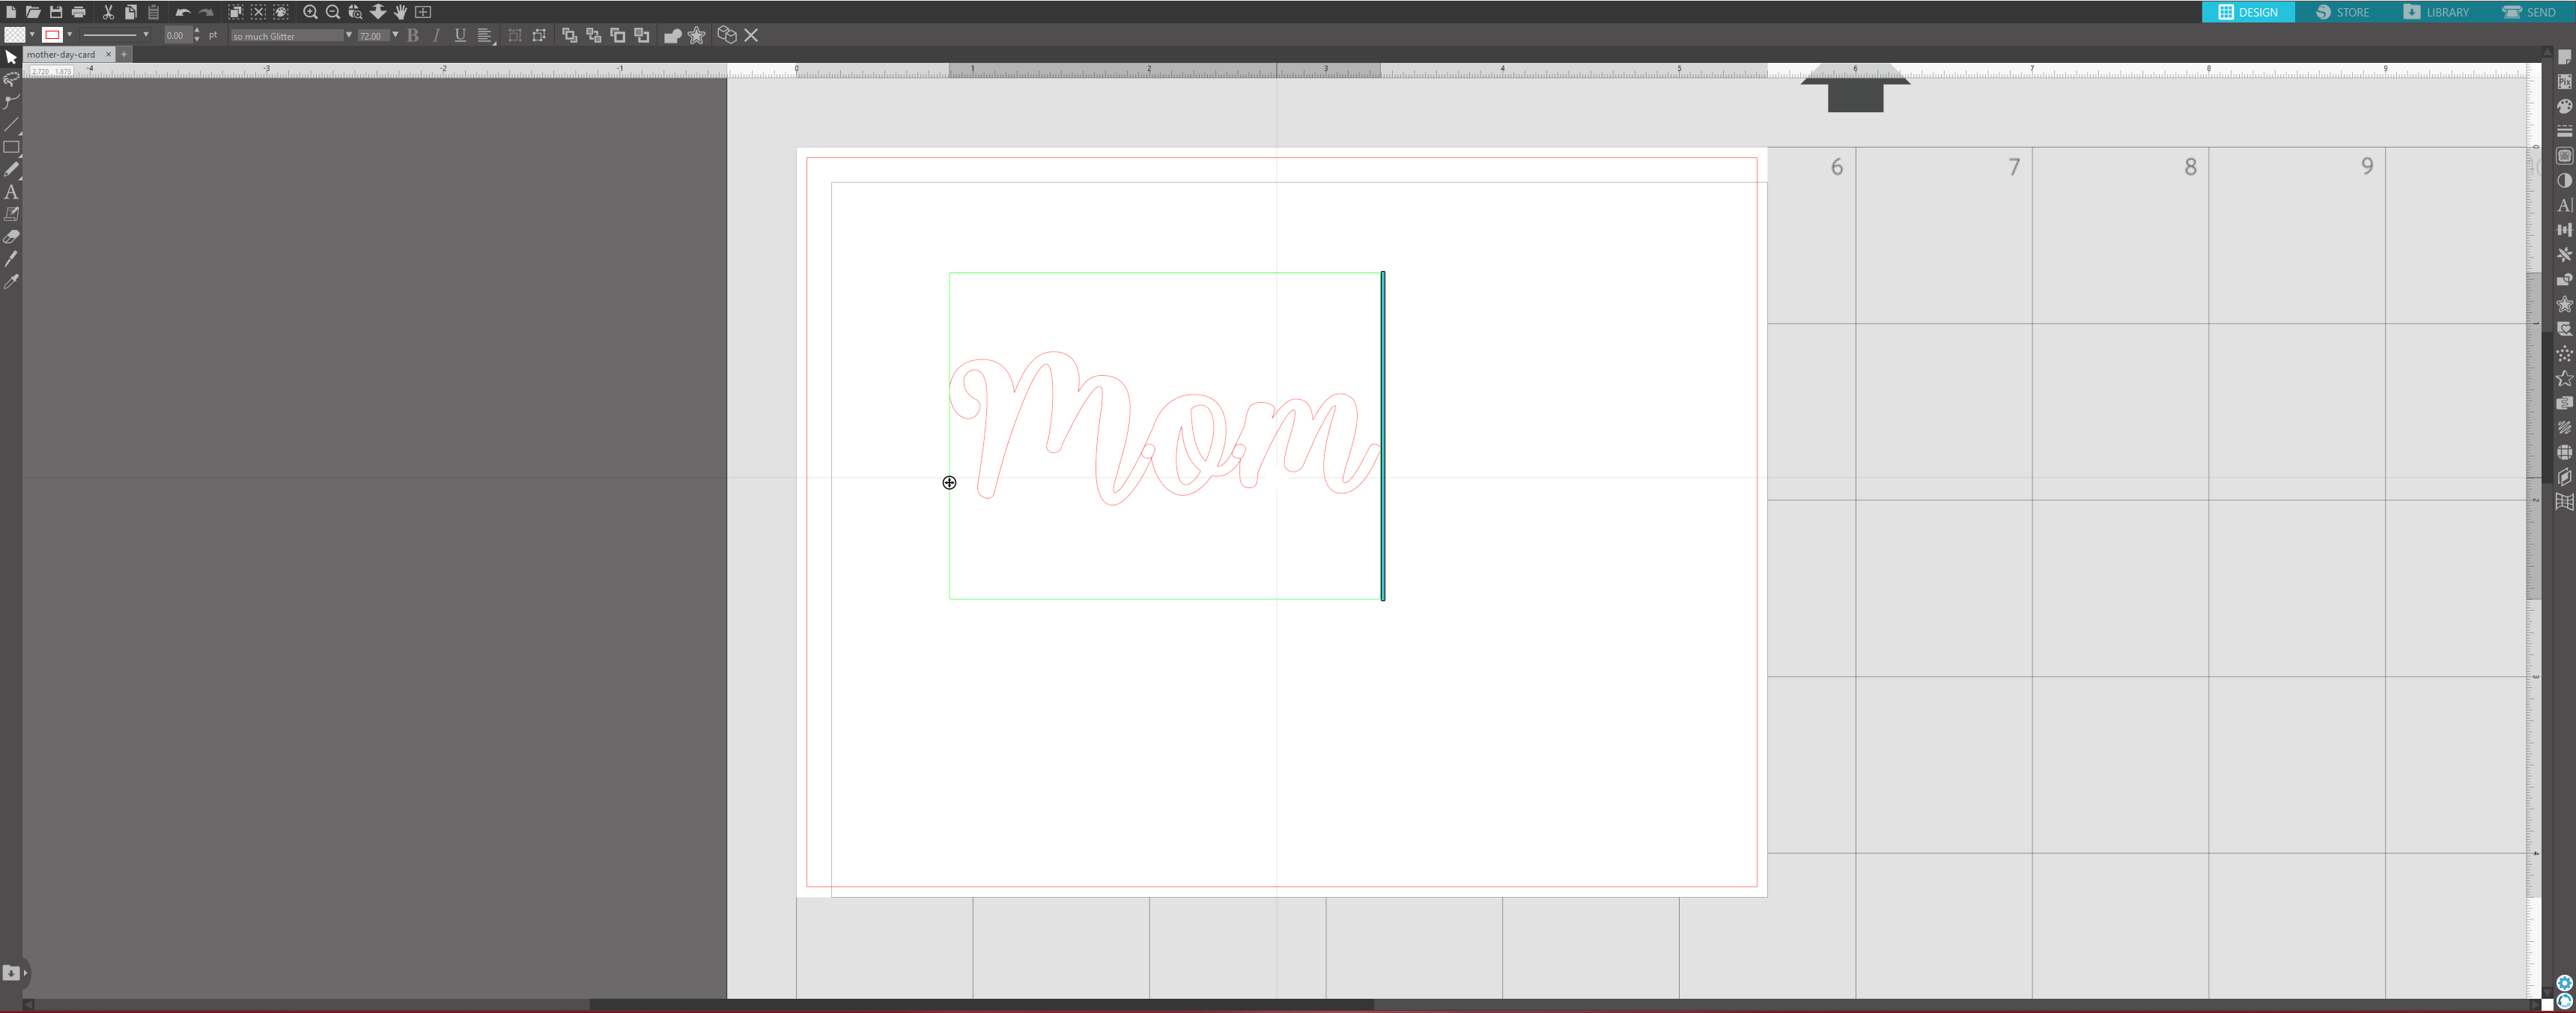
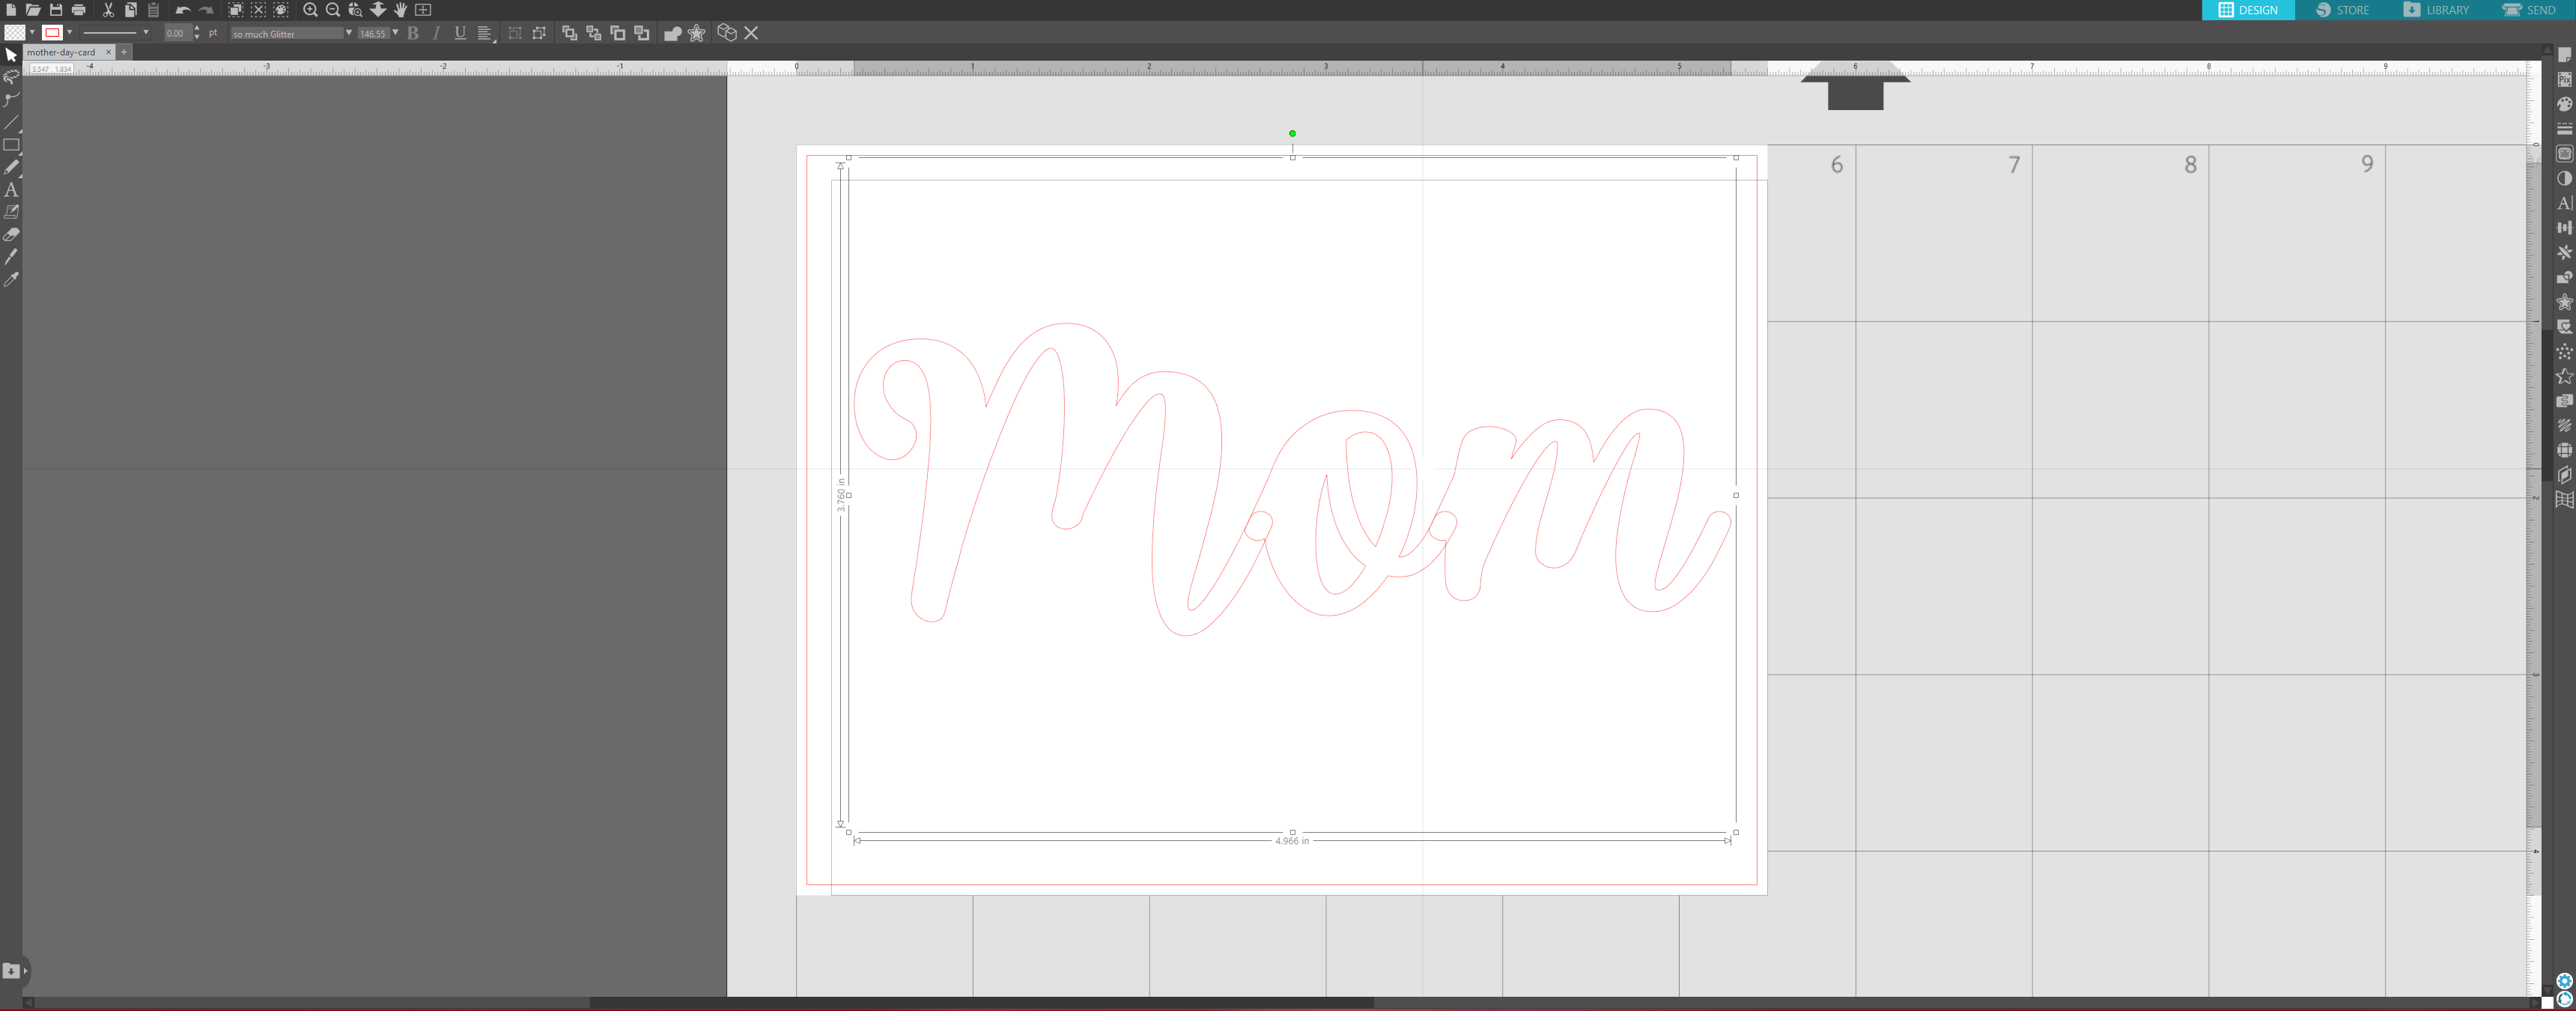
Now take the text tool and type out the word Mom. For this tutorial, I am using my font called “So Much Glitter” – I am sizing this up quite a bit so that the text is almost as wide as my card base.
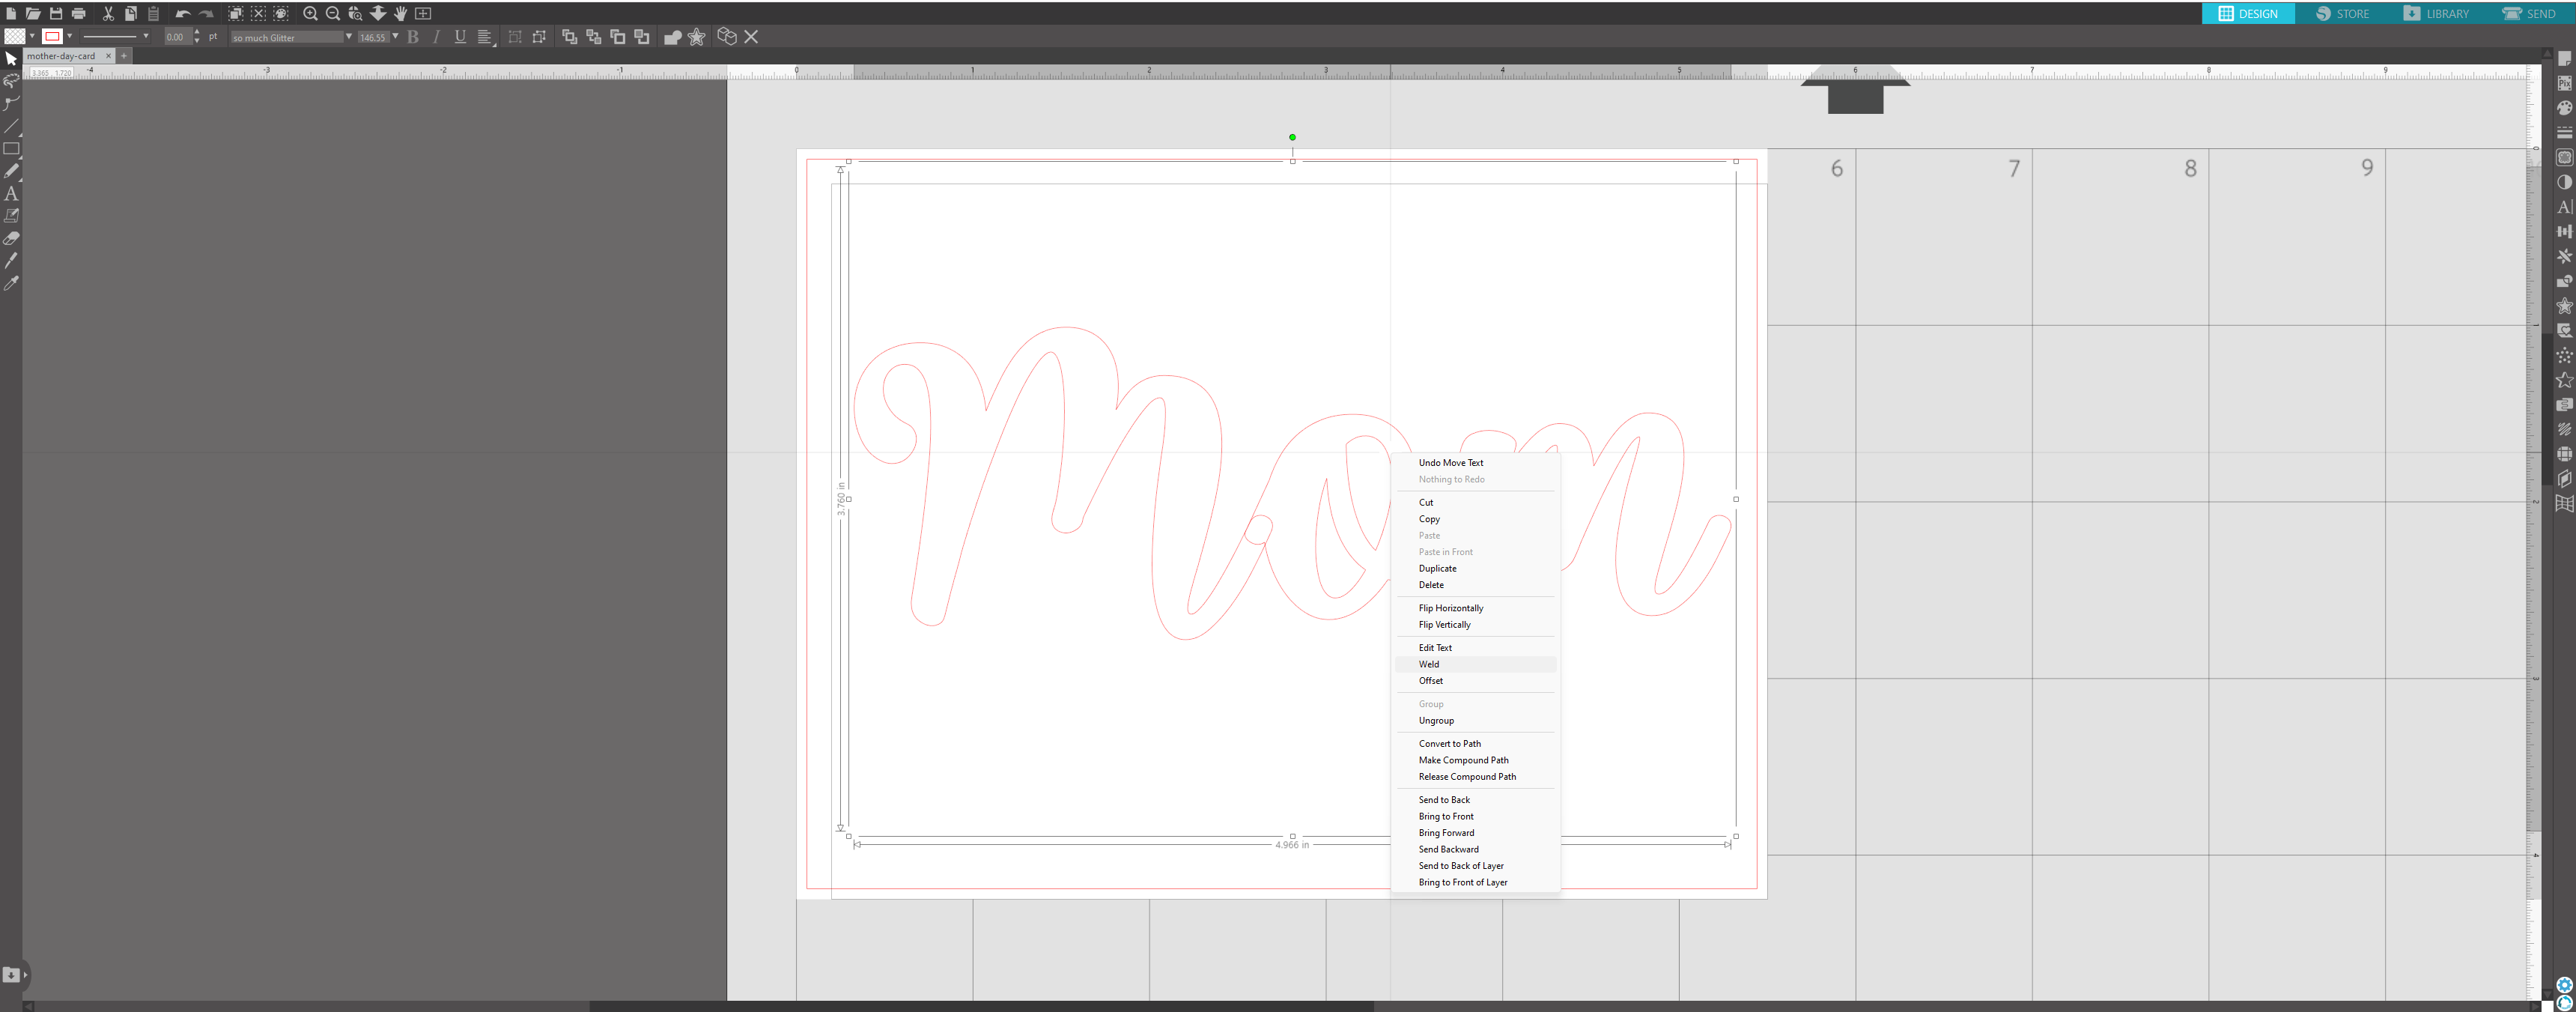
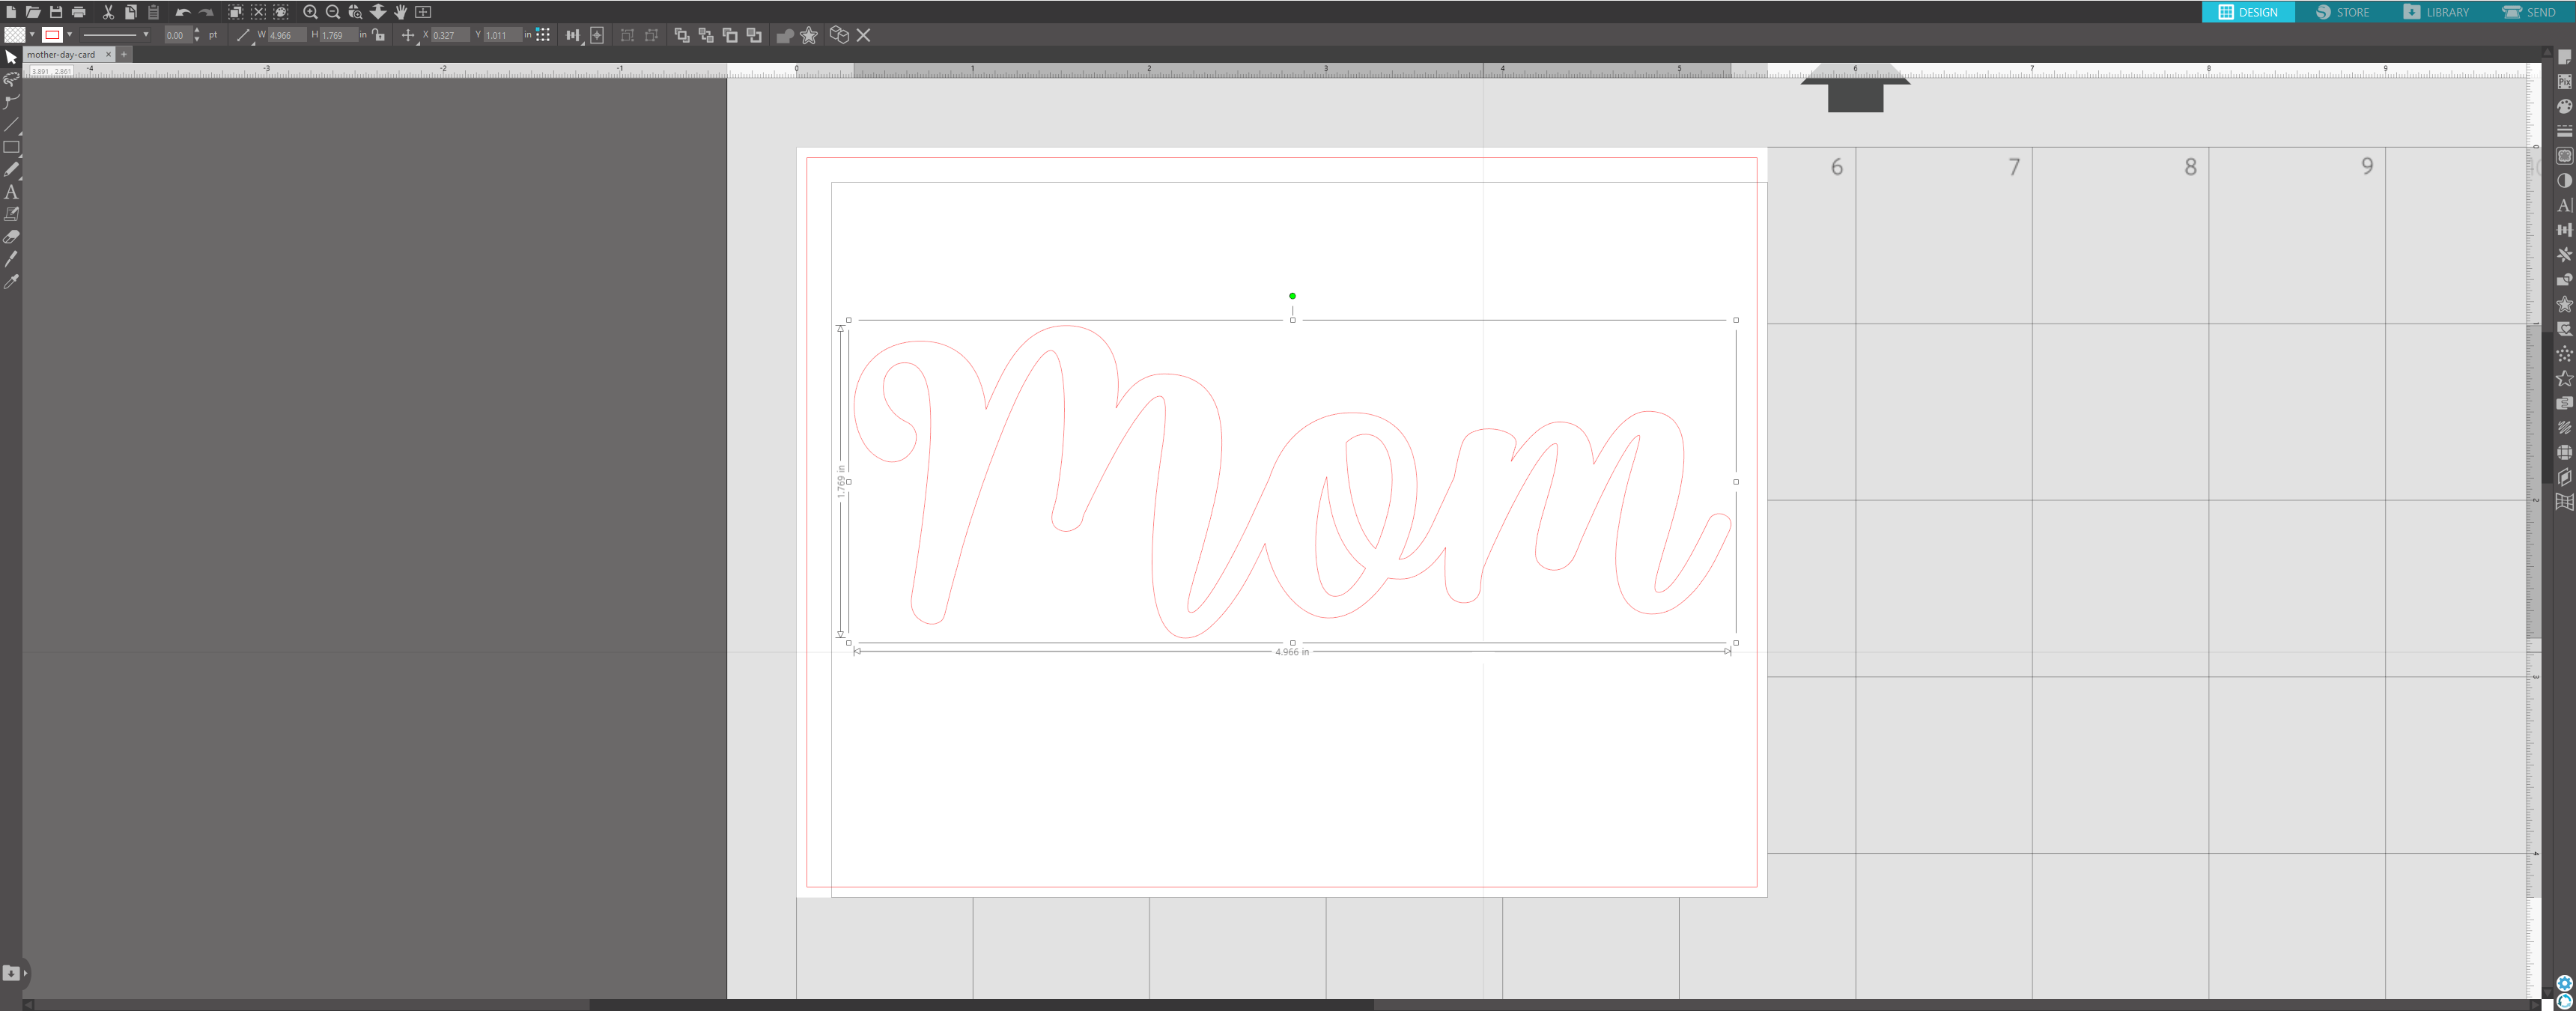
Rick click the text and select ‘Weld’ – This will unify the text.
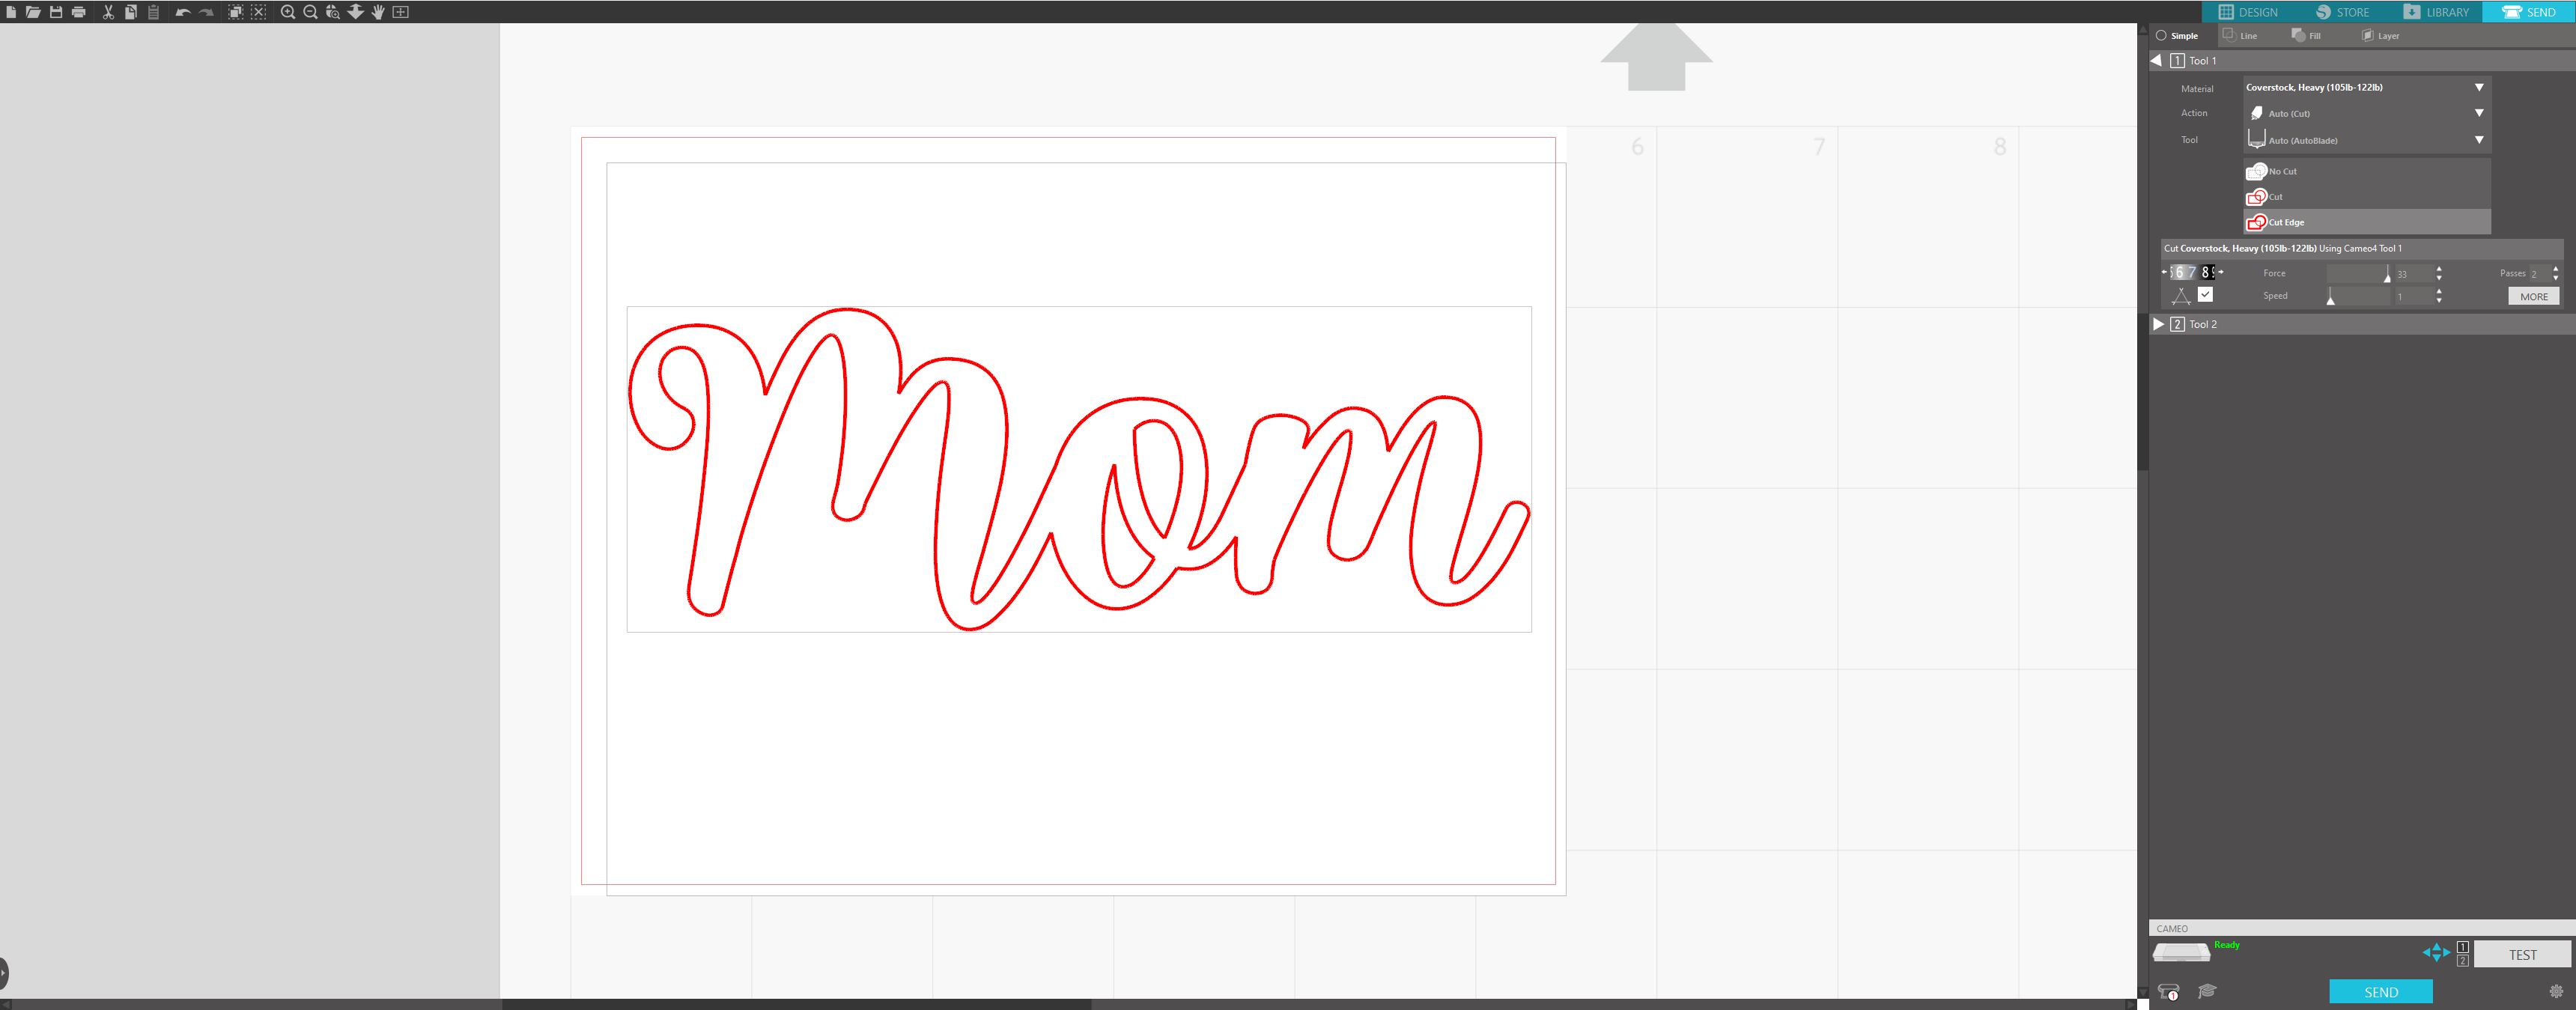
Go to the send tab and choose your material. I am using a very heavy black shimmer cardstock. Place your material onto your mat and load into the machine. Then choose ‘send’ at the bottom to begin the cutting process.
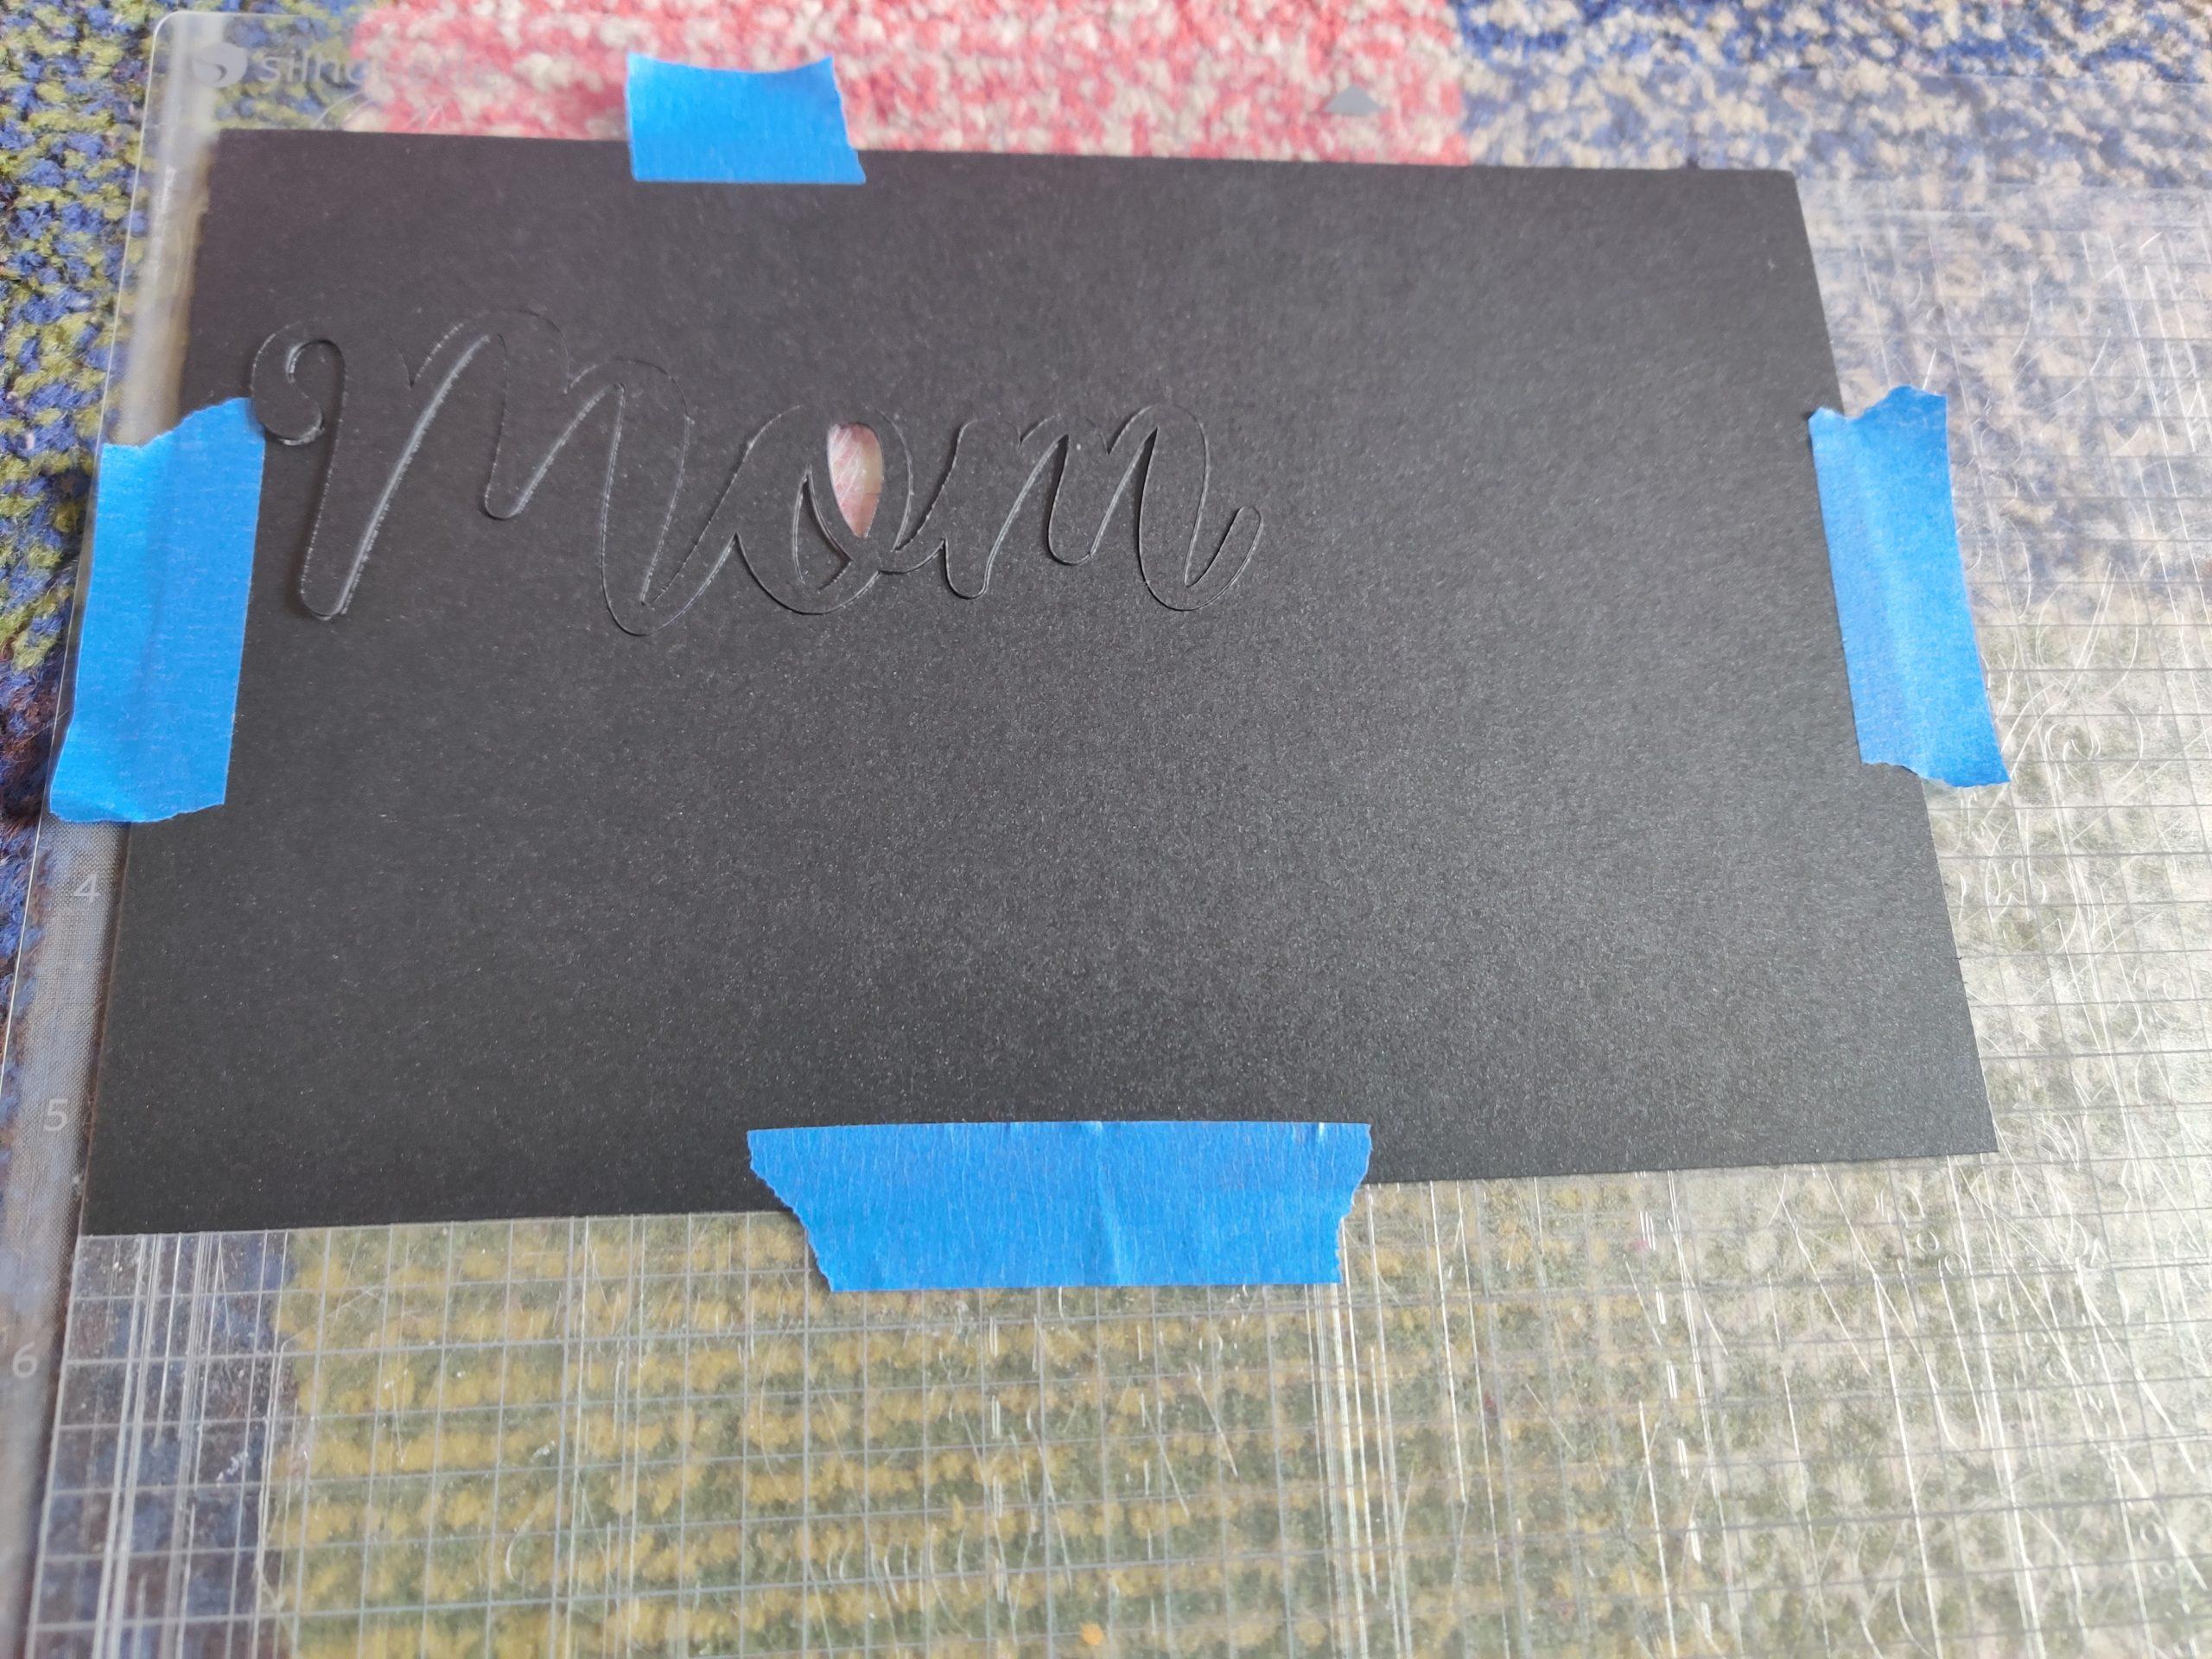
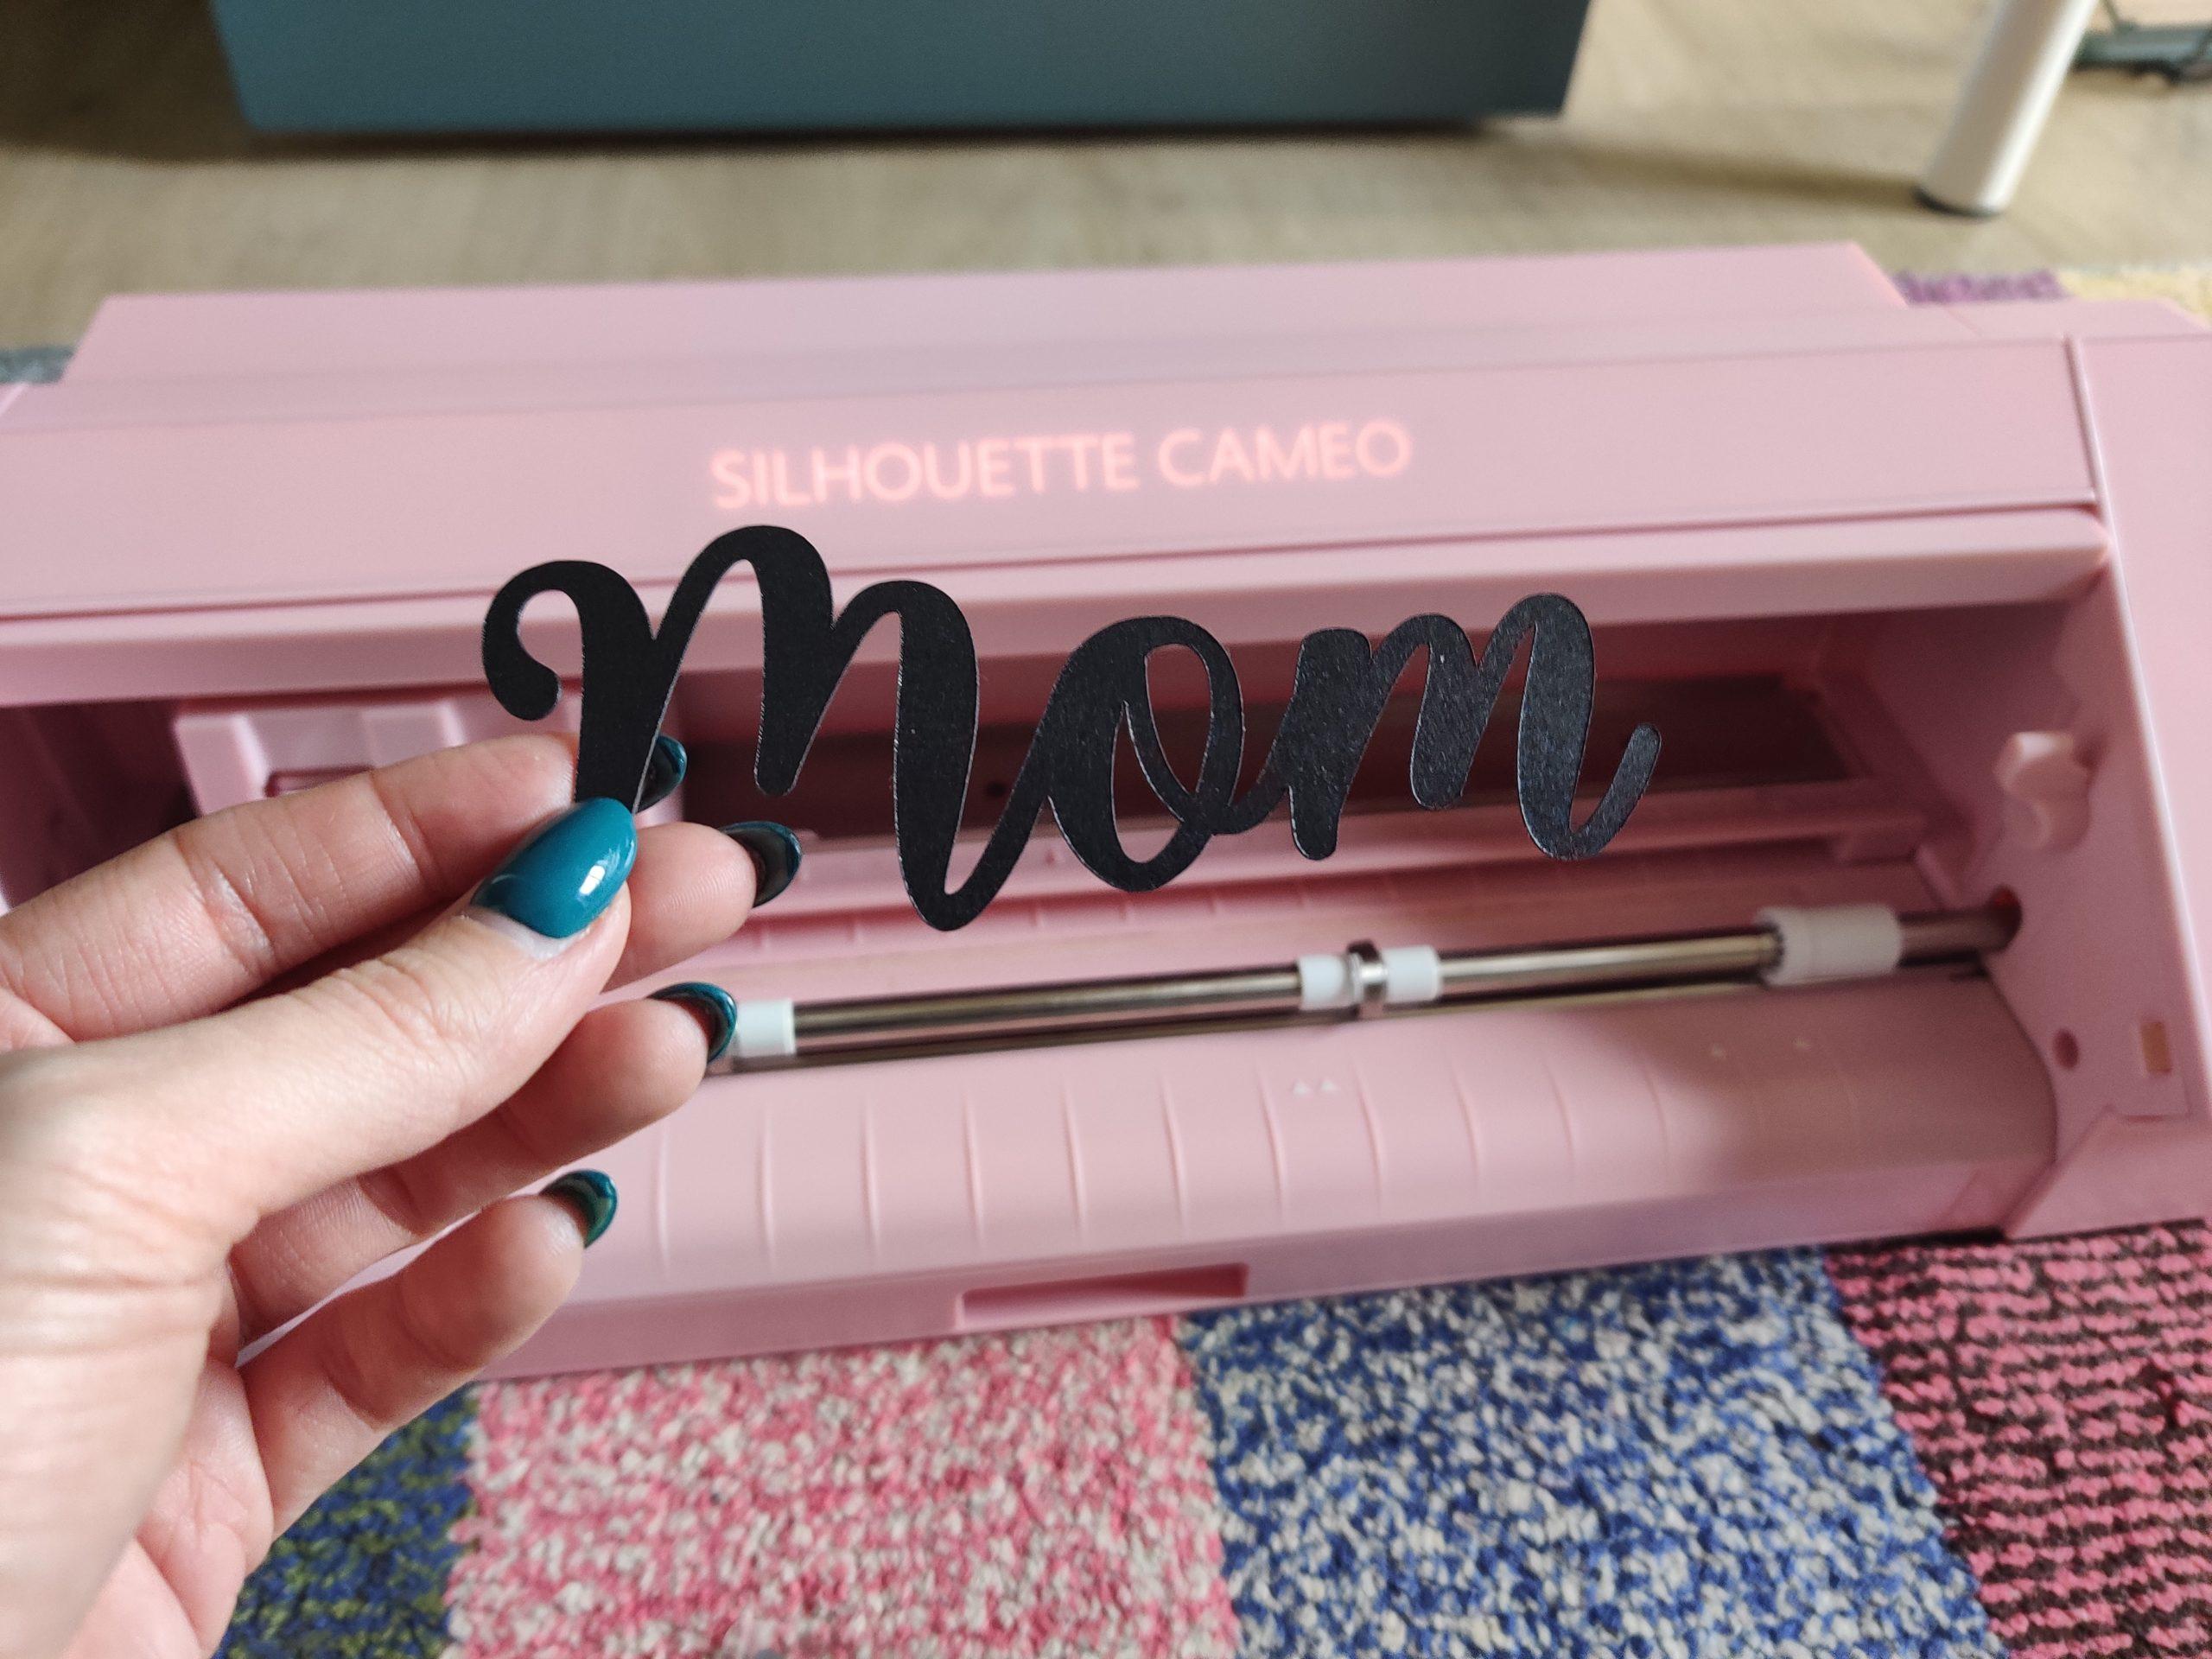
It should look something like this.
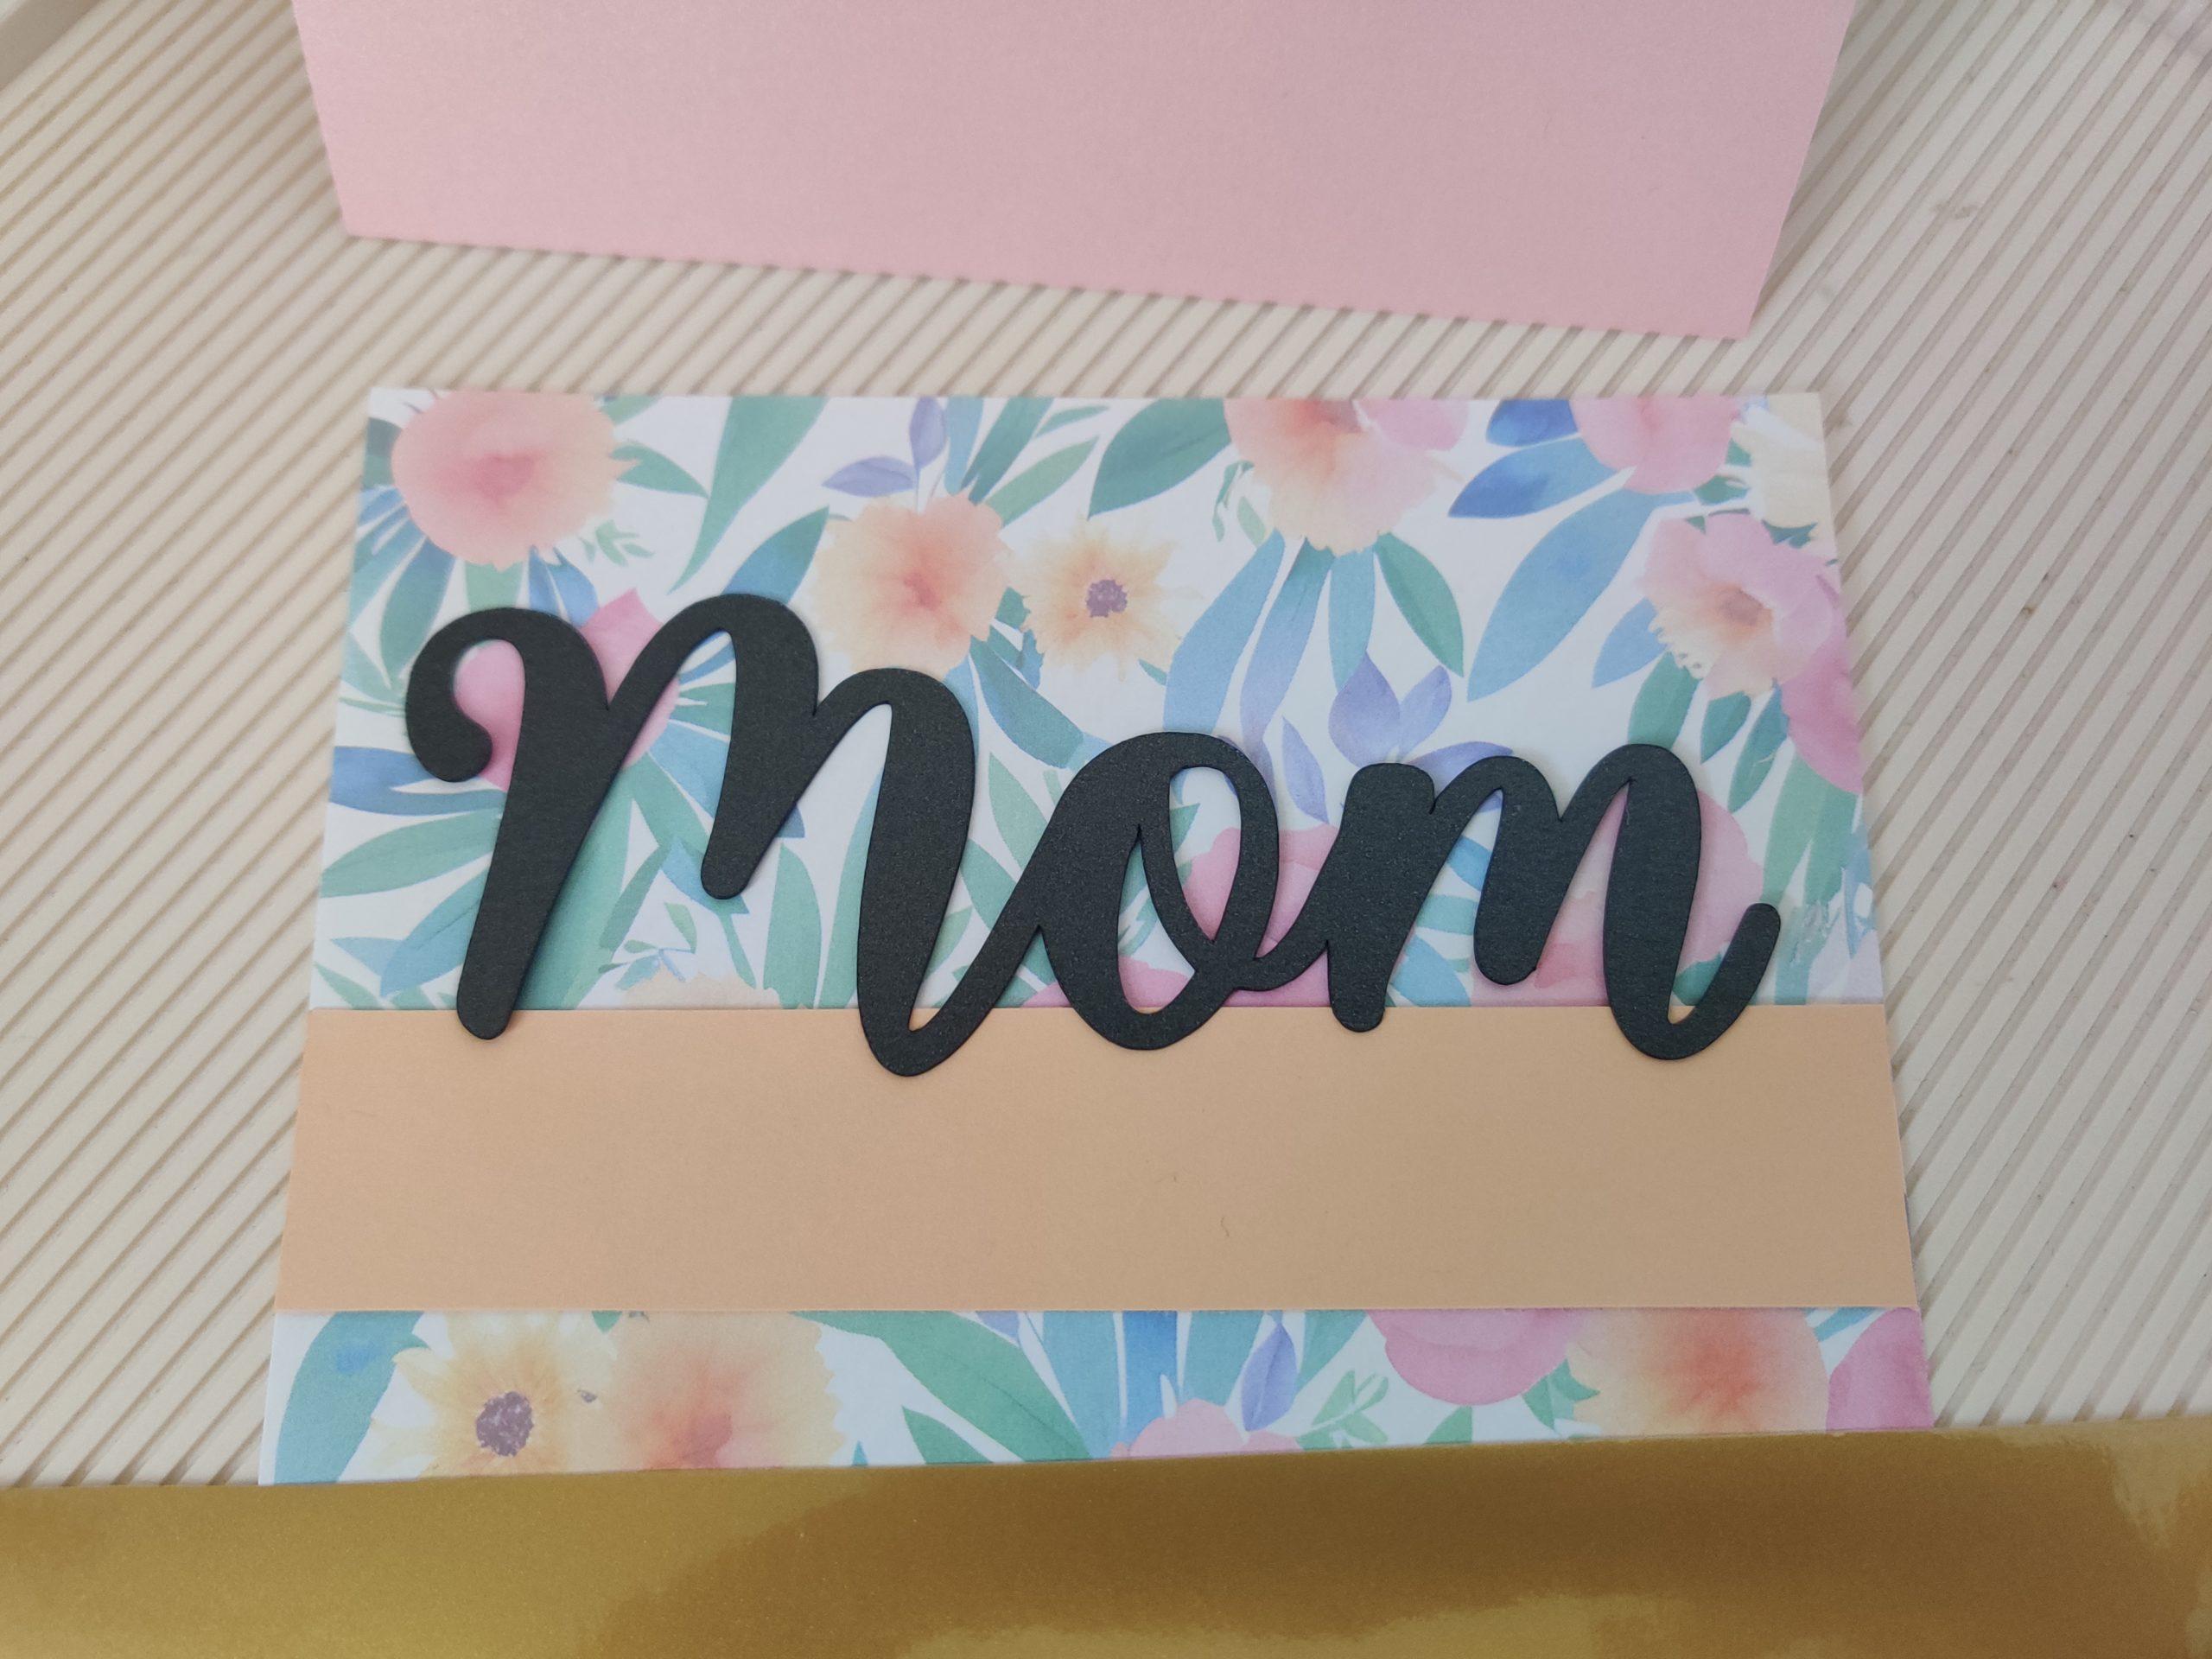
Now cut a piece of cardstock that 5.5 inches wide and 1 inch tall. I used an apricot cardstock, as I think it fits well to the pattern paper.
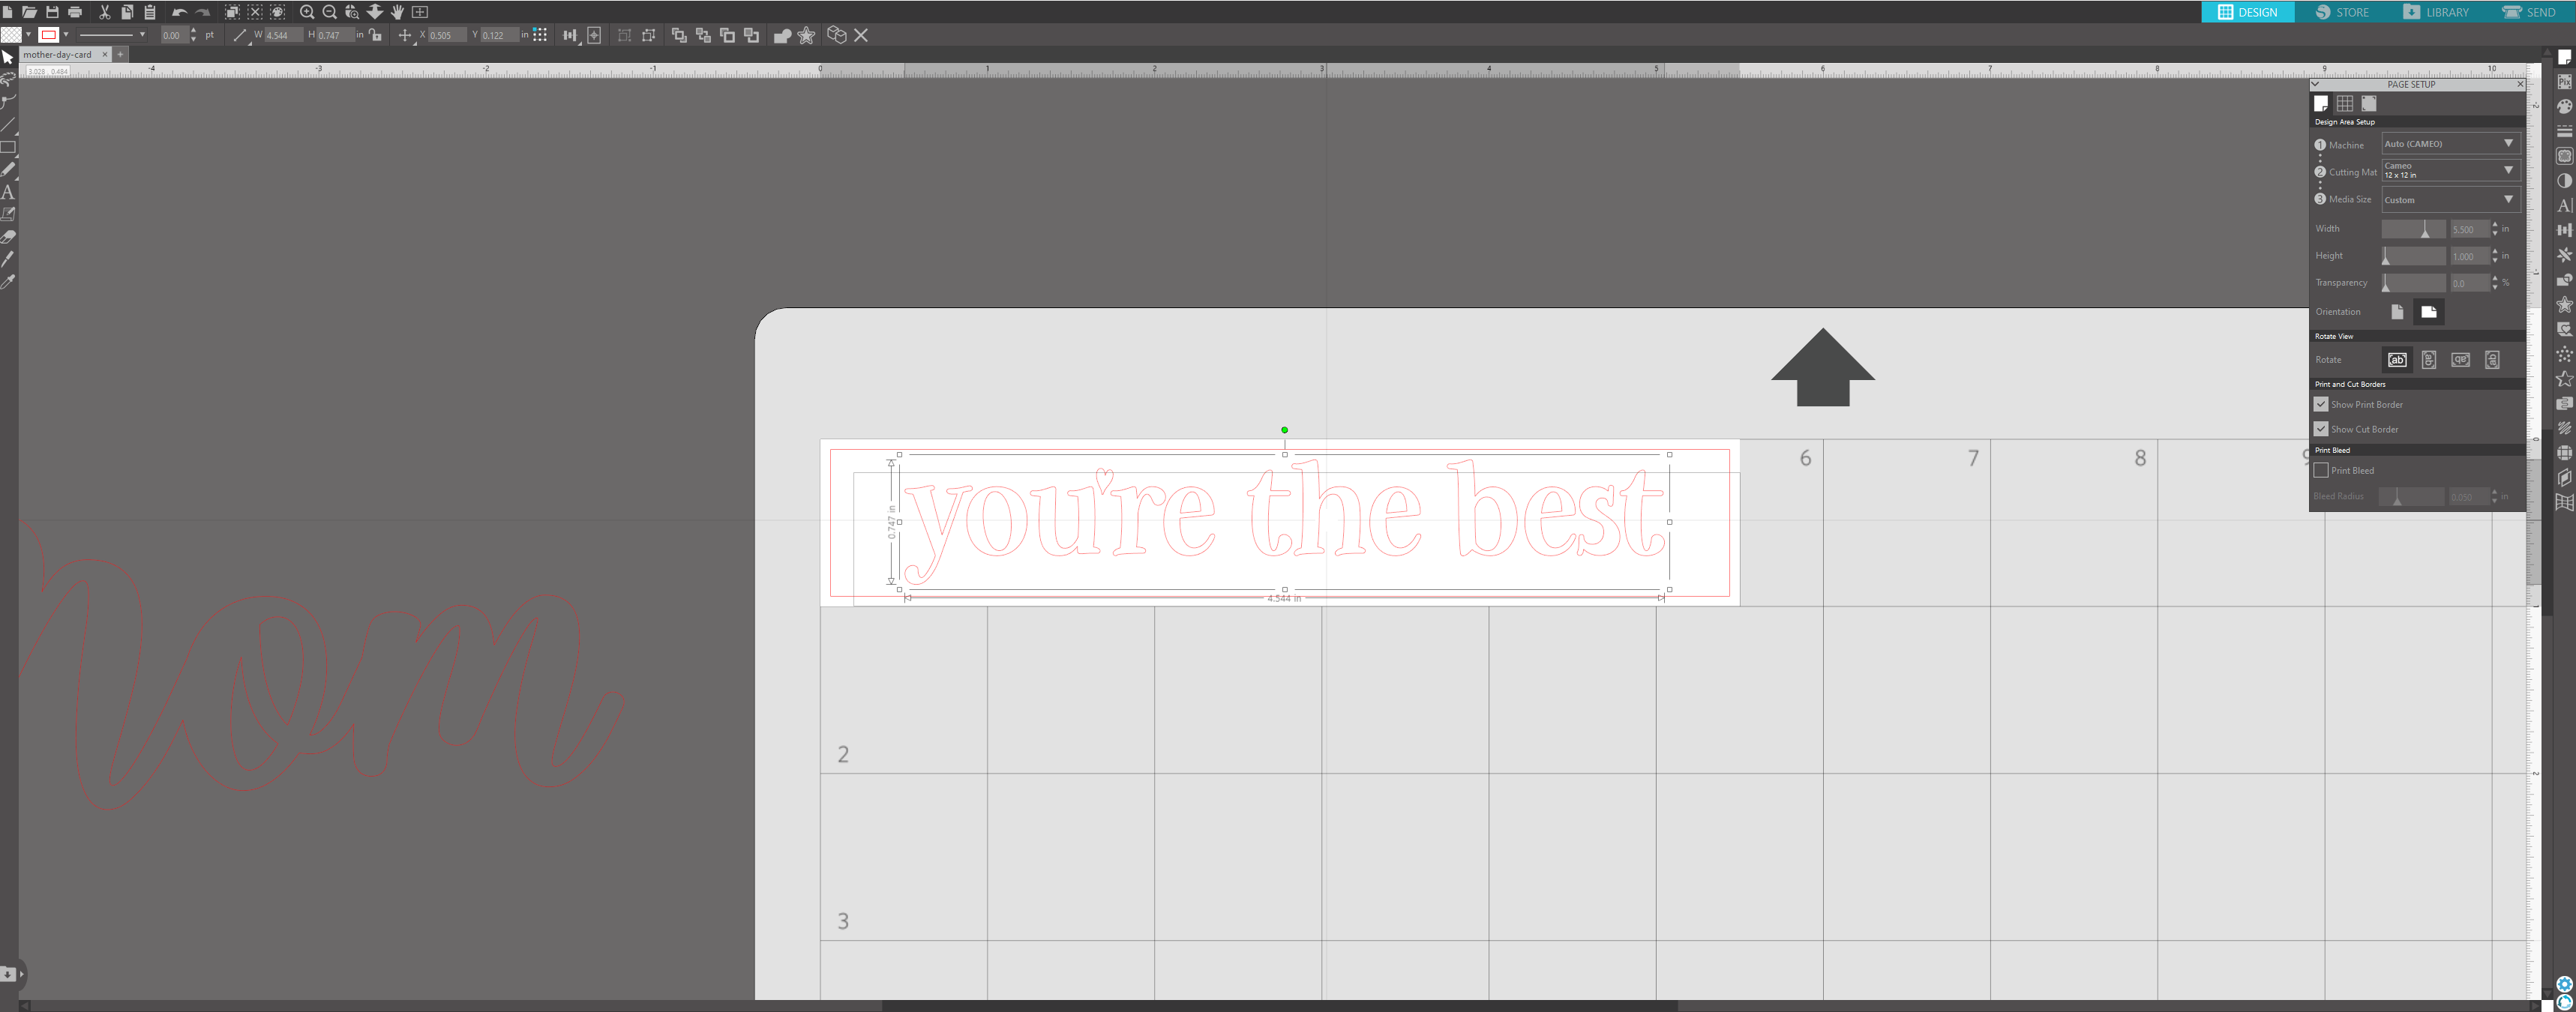
Back in Silhouette, change the media size to 5.5 inches wide and 1 inch tall. Type out “you’re the best” – I used my font called “Be My Glittertine” but you can use any font you wish. Be sure to weld the text, by right clicking and selecting “Weld”
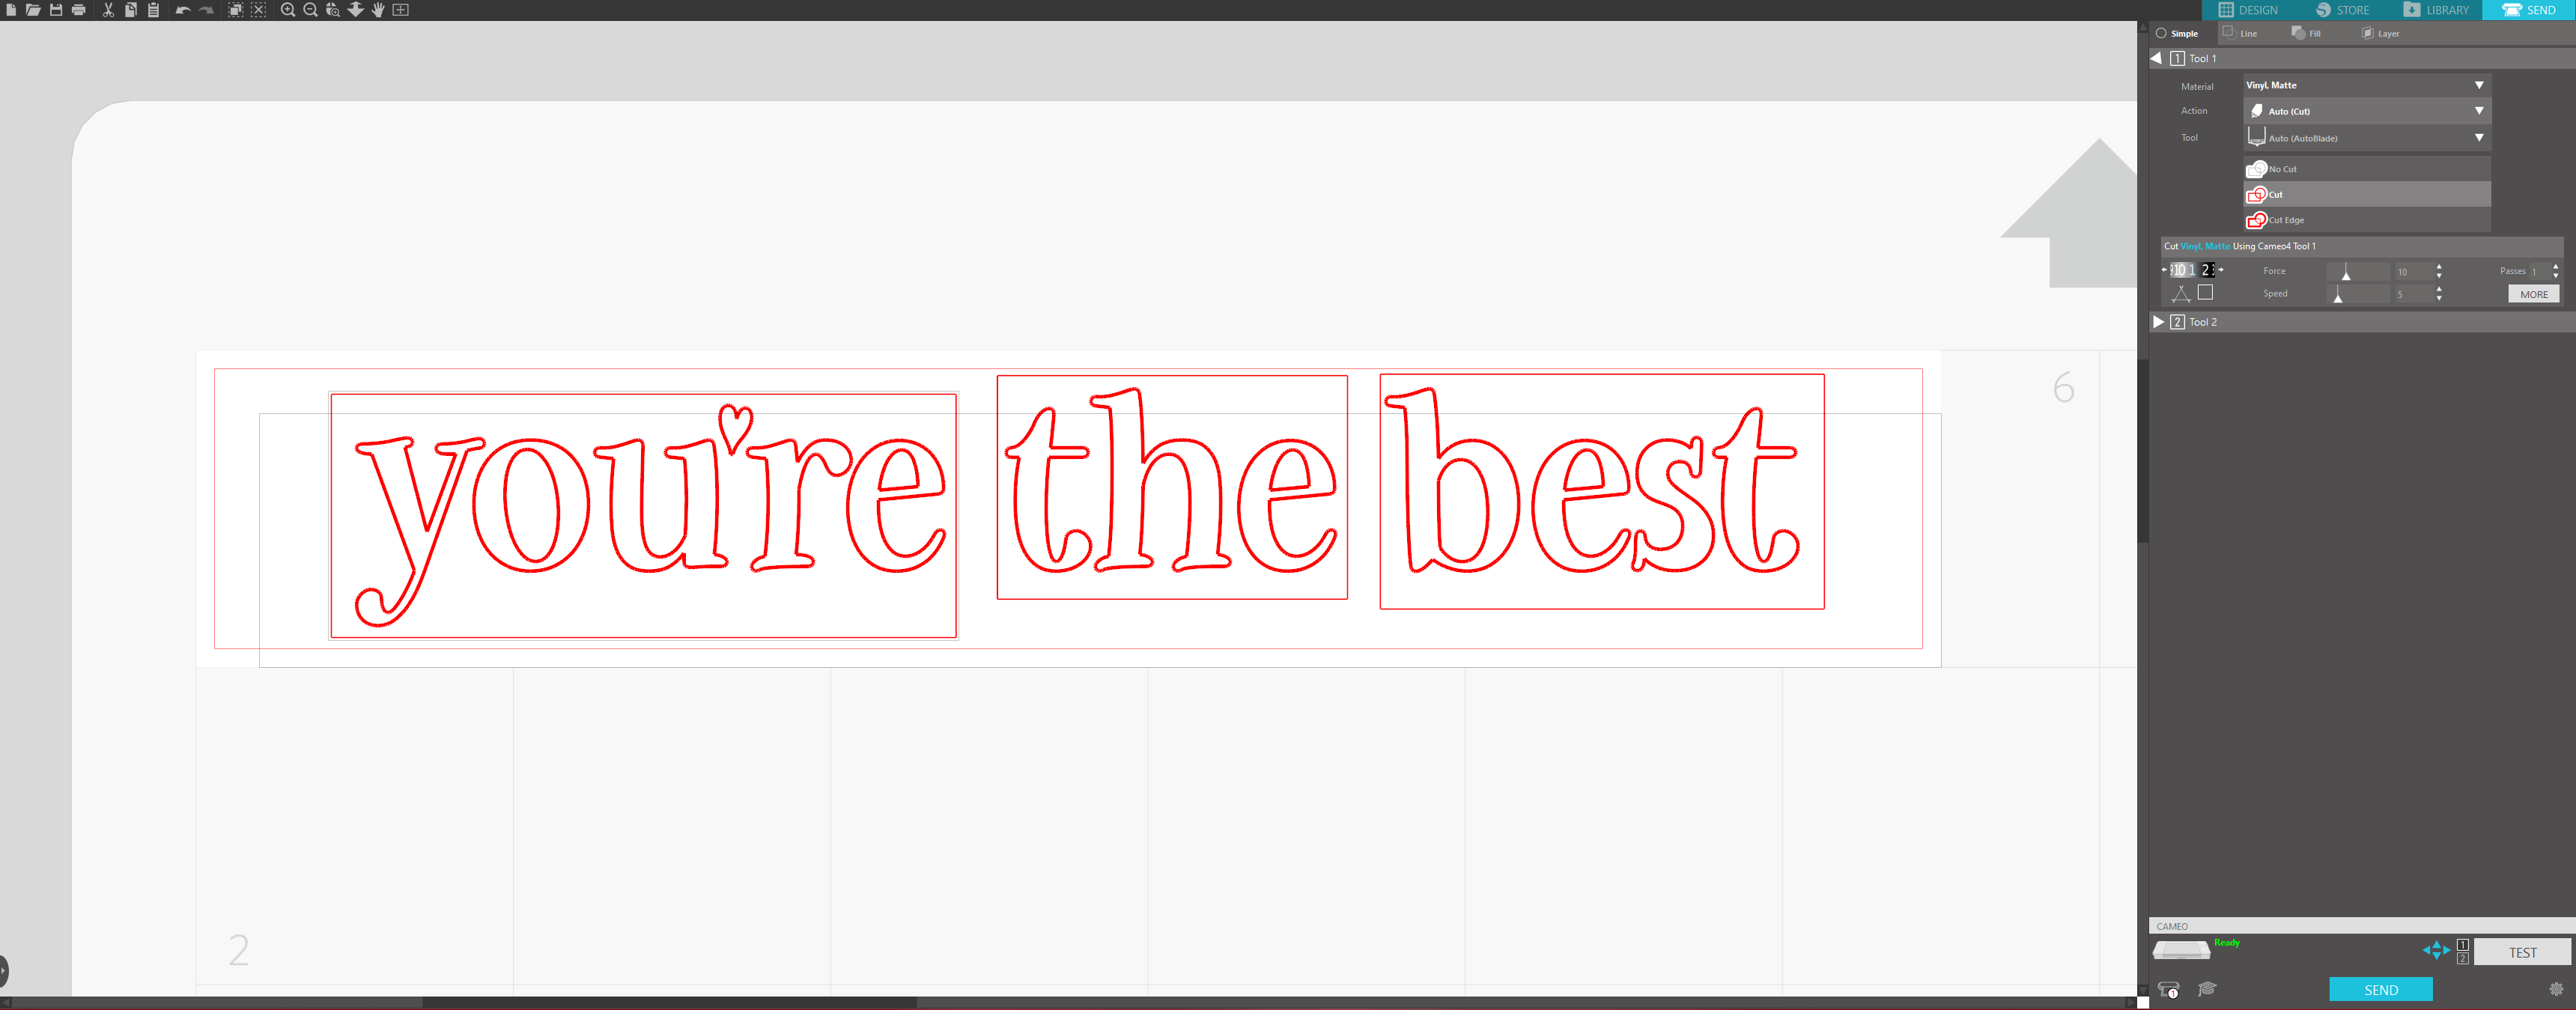
Go to the send tab and select your material. I am using a matte vinyl in the color gold. Note: please ignore the rectangles around the words. I had added them thinking it would help make it easier to weed the text, but this was unnecessary. Add the vinyl to your mat and load into the machine, then click ‘send’ to start cutting.
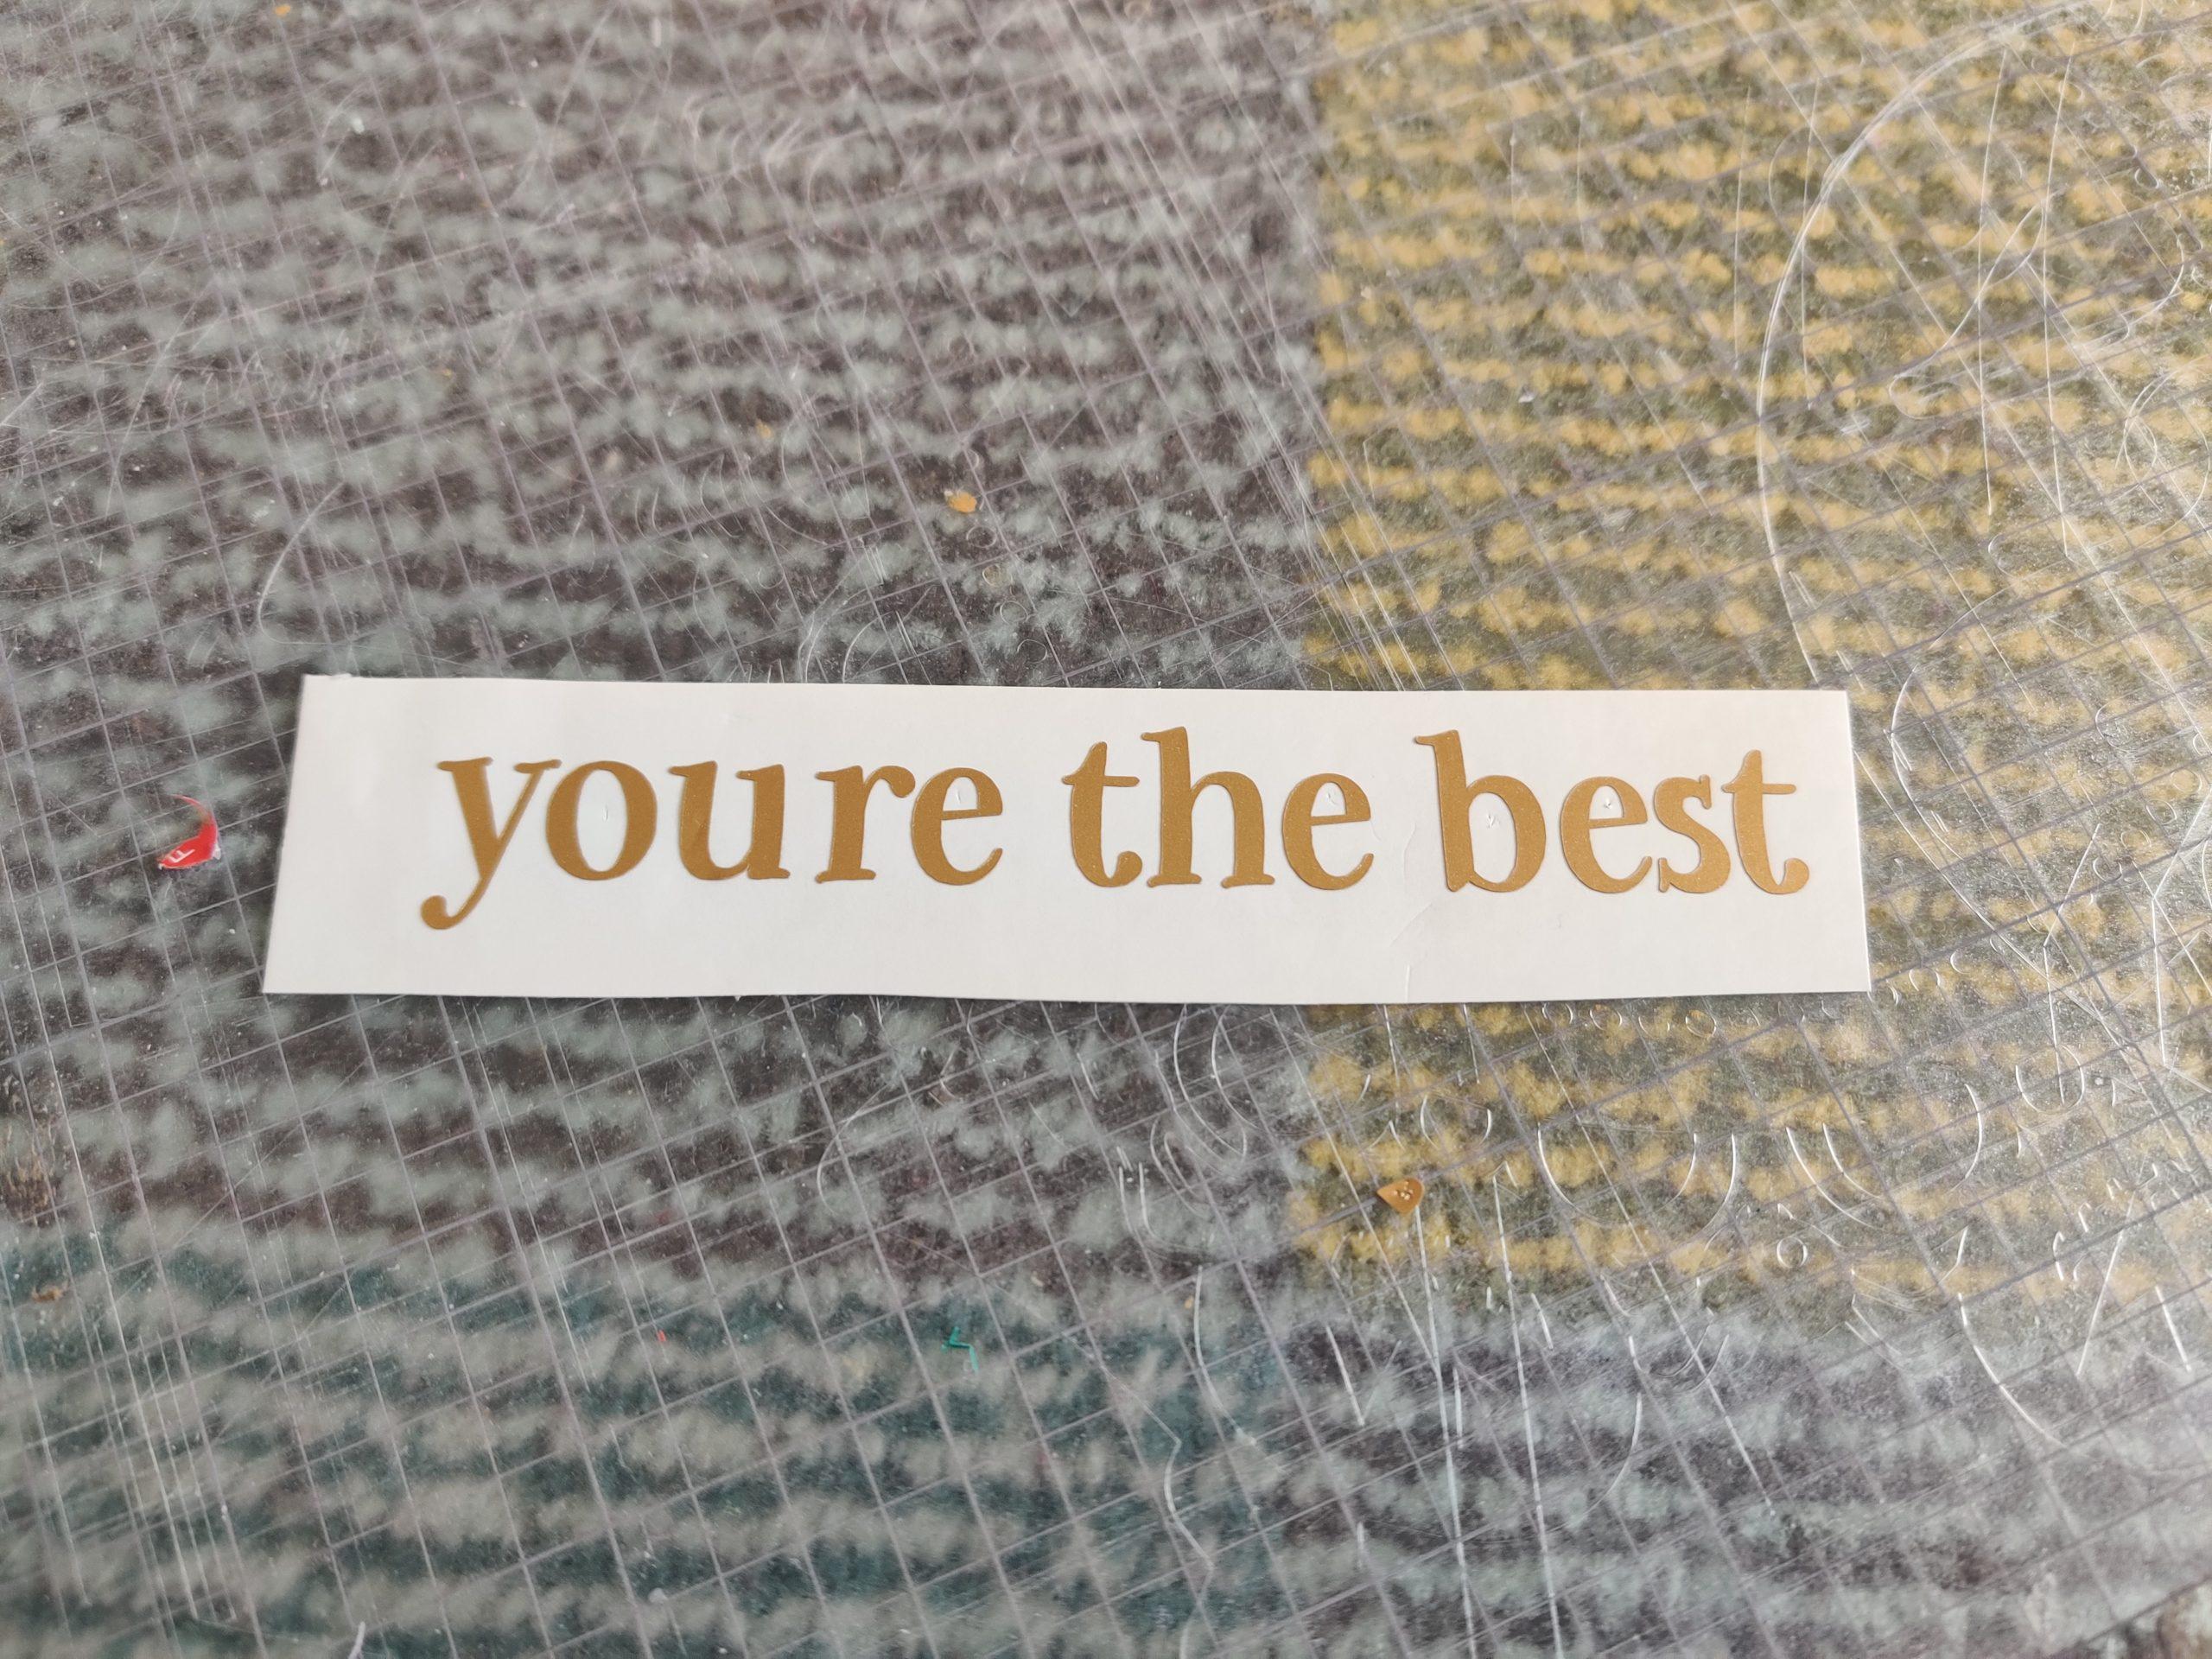
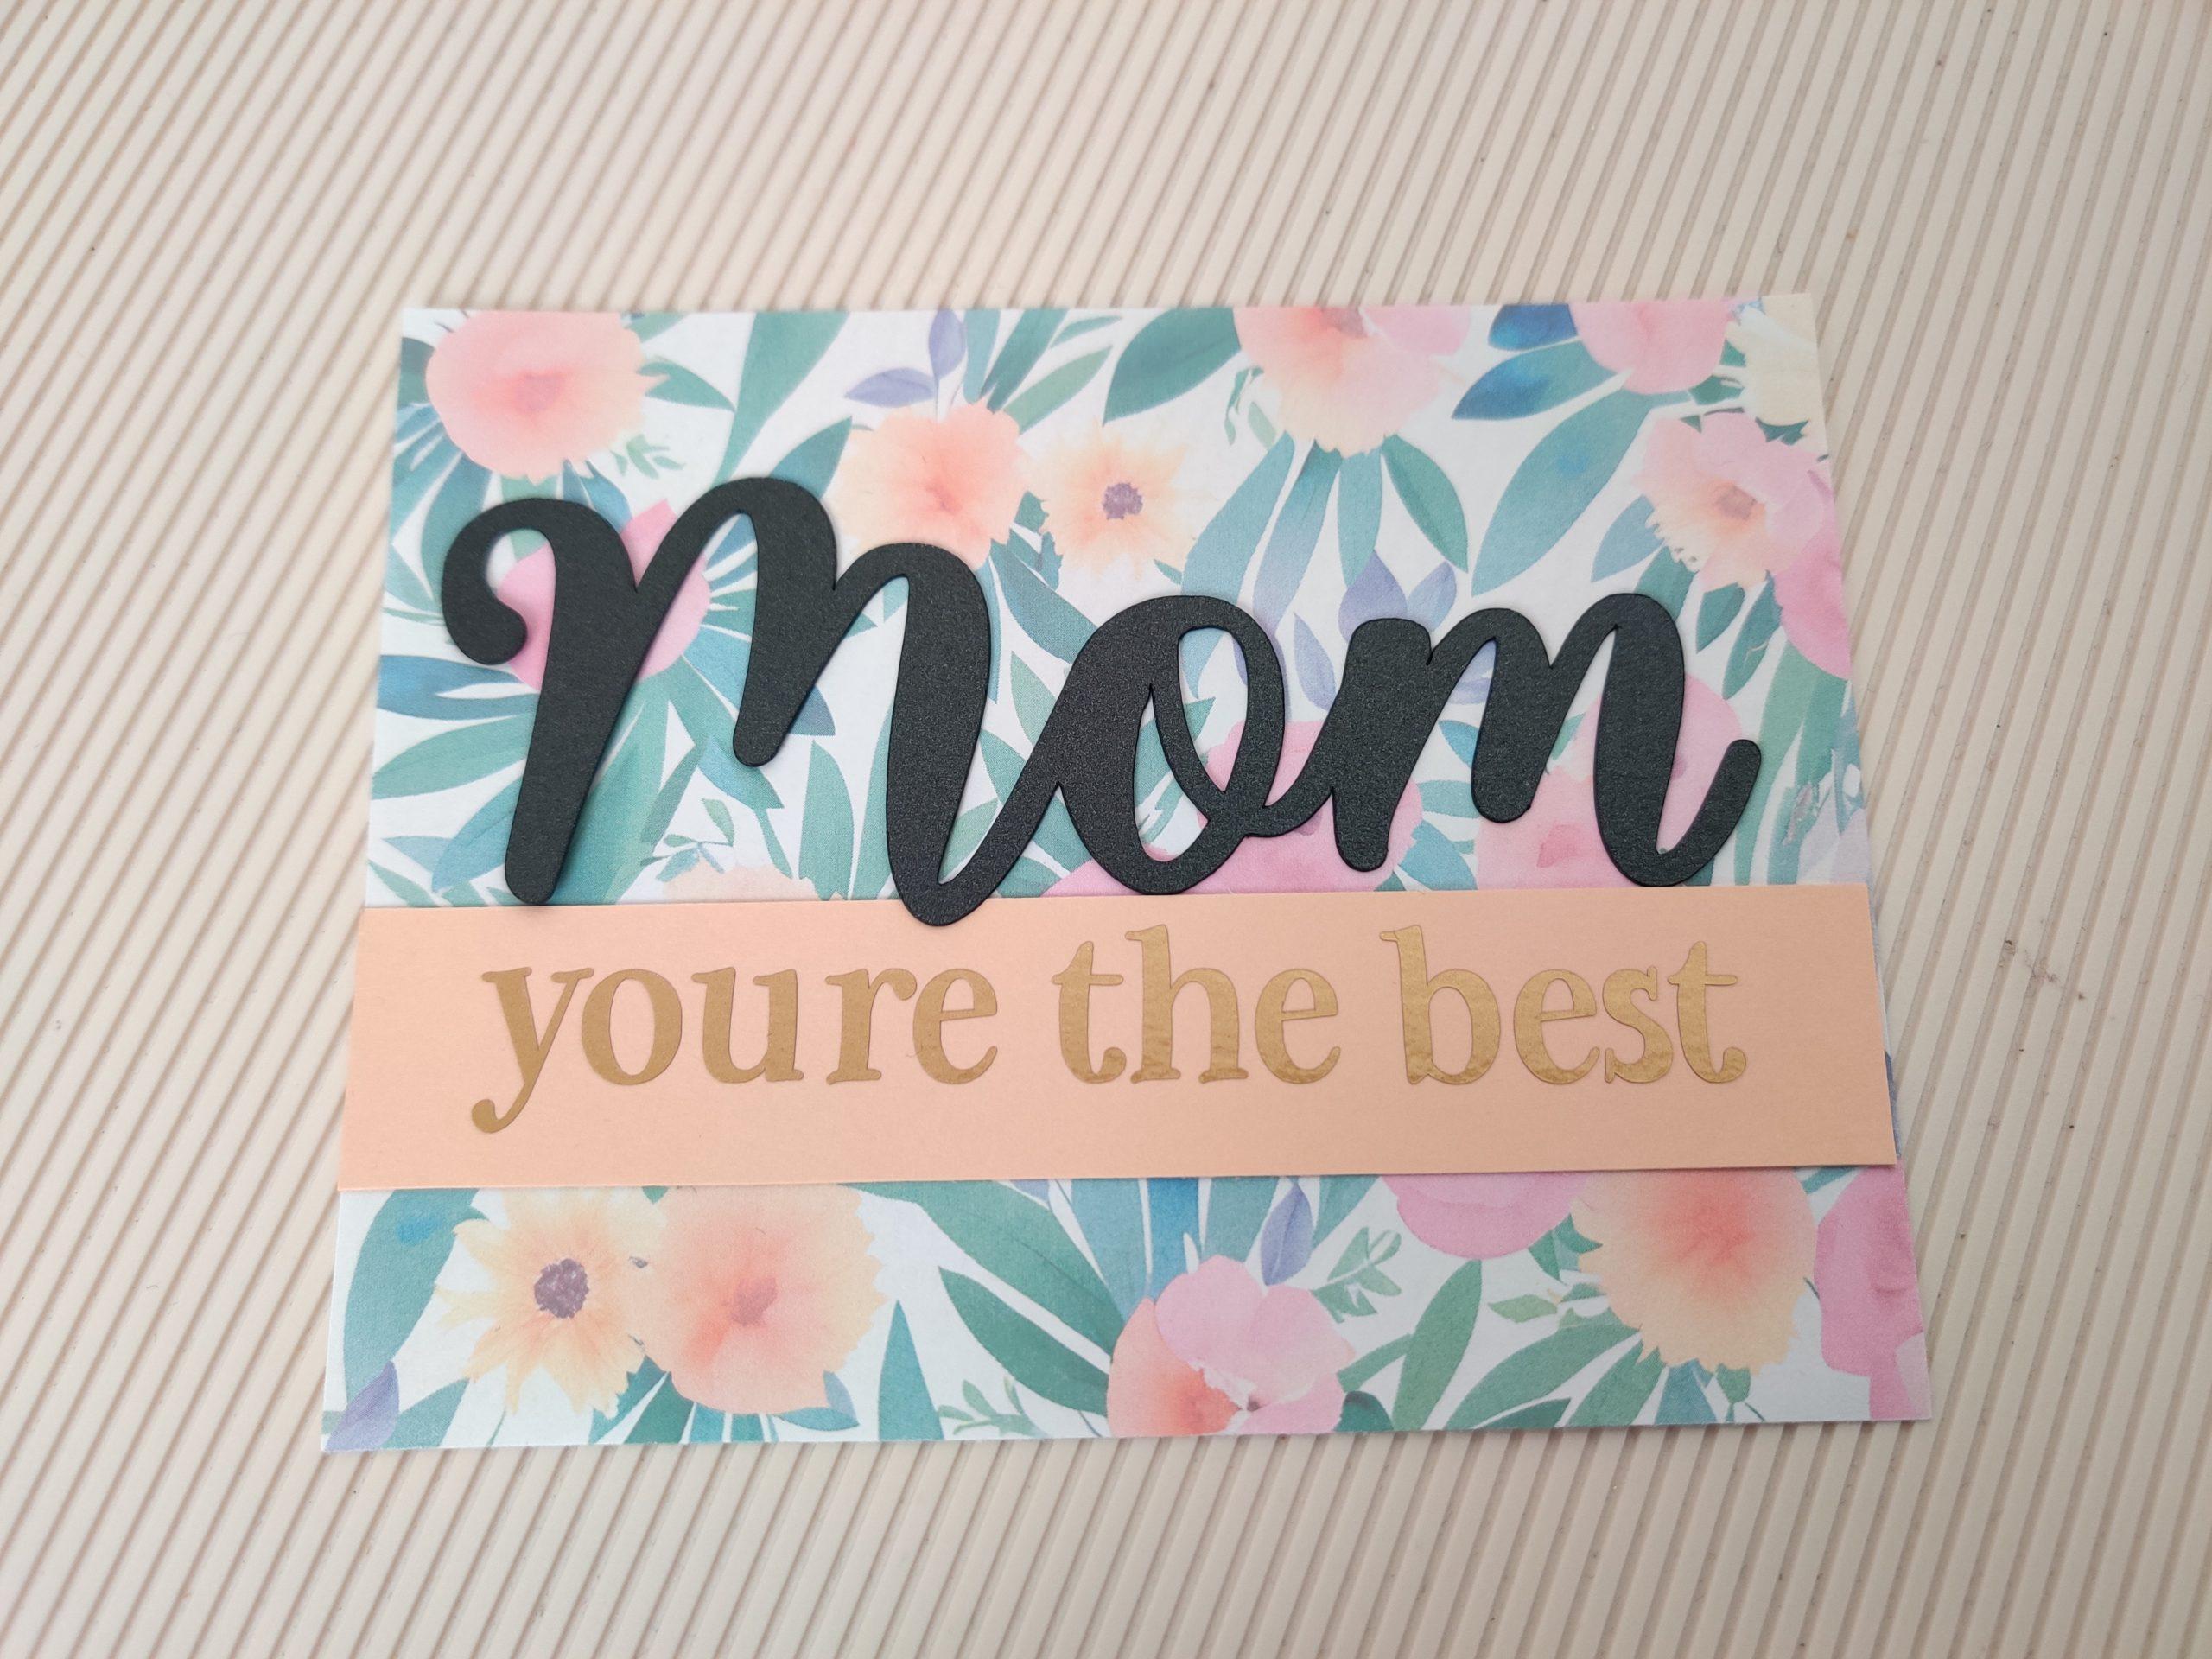
Once it is cut out and you have weeded the text, transfer the vinyl to the cardstock. It should look something like the above photos. Note: I accidentally lost the small apostrophe when weeding the text, so be mindful because it is very small and easy to lose!
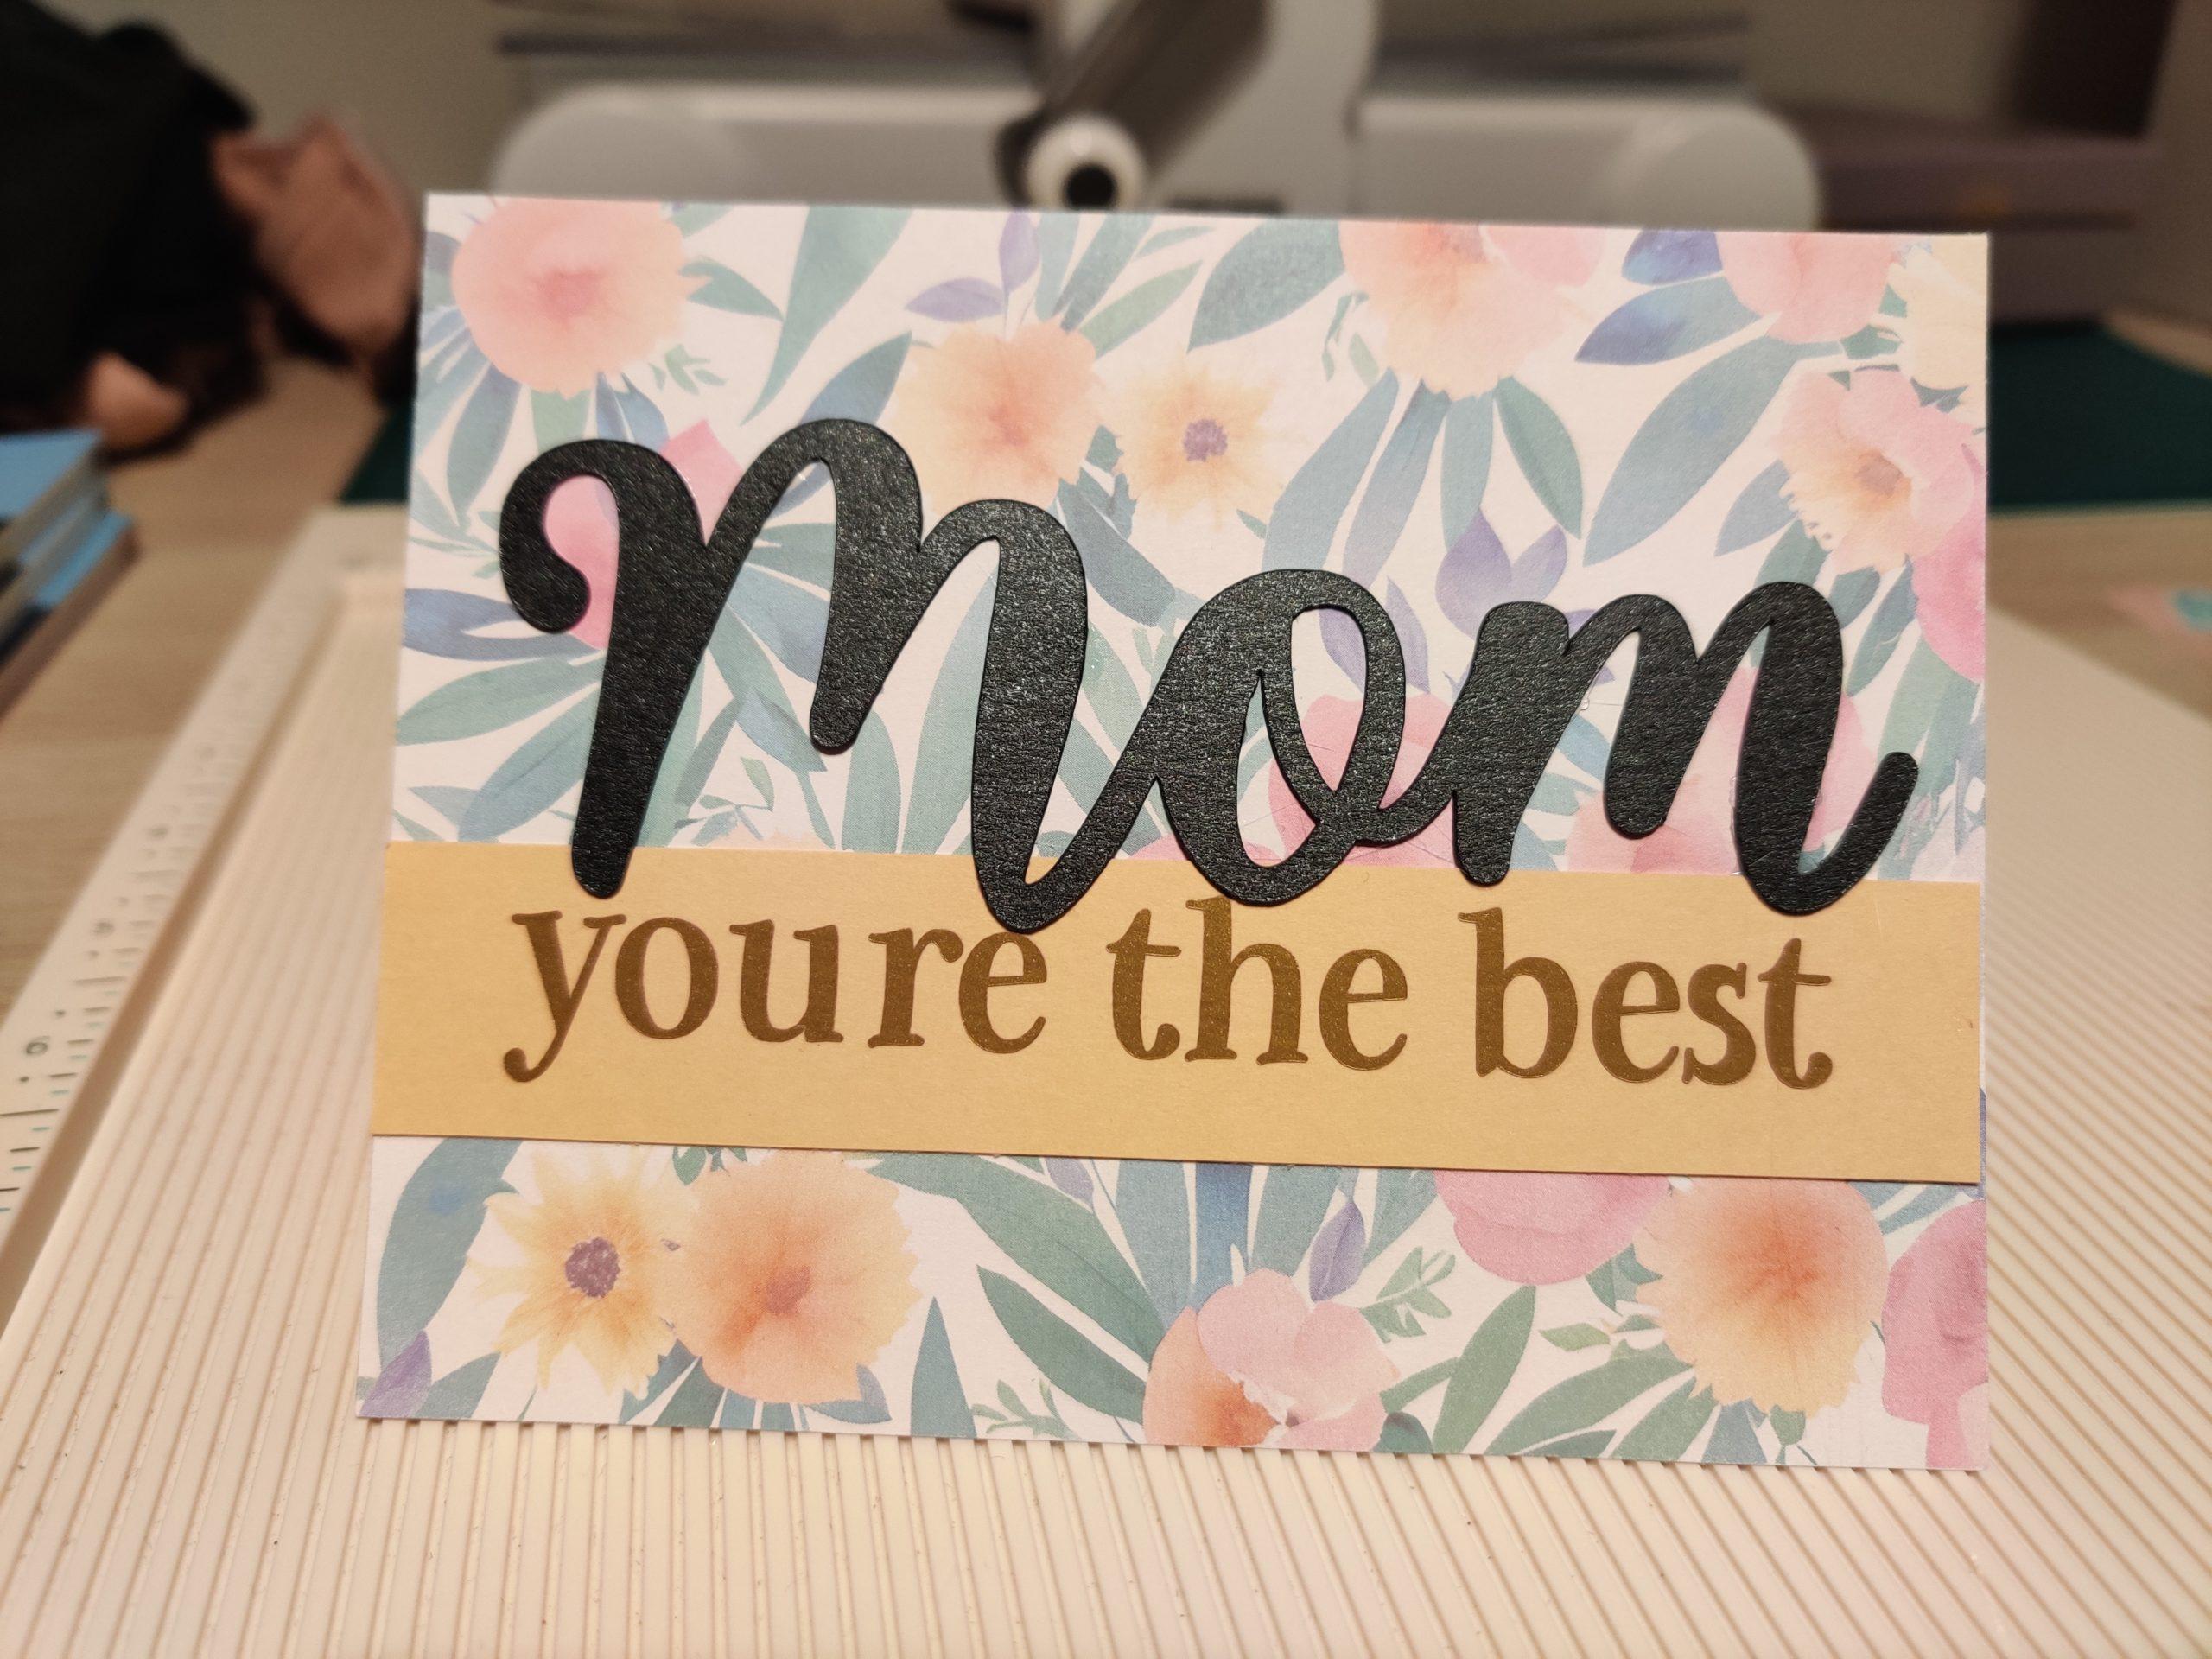
Finally, arrange and glue everything down as desired and now your project is complete!
