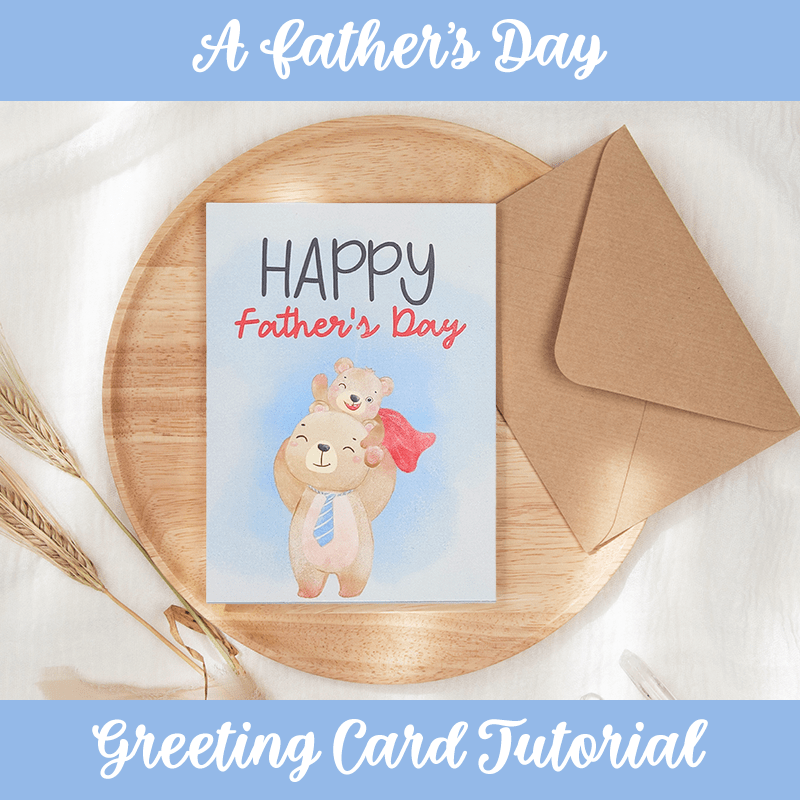
I am happy to work in collaboration with Creative Fabrica to bring you this Father’s Day greeting card tutorial!
Father’s Day is just around the corner and this card is prefect for when you are low on time and need a very simple project!
The final result will be an A2 card. Feel Free to scale things up or down to whatever size you wish. You do need to have some knowledge on how to use Silhouette to follow along, but if you have any questions, feel free to ask, and I will be happy to help you. I will be using Silhouette Cameo to make this, but there is no cutting involved!
Supplies Used
Note: all links to Creative Fabrica are affiliate links.
- Silhouette Cameo 4
- Yay Babe Font
- Stork Delivery Font
- Dad Watercolor Clipart
- Water Color Background
- Soft Blue Cardstock (or any color you wish)
- Printer and Printer Paper
- Paper Trimmer
- Scoring Board
Note: you are more than welcomed to use different colors of cardstock or styles of fonts, if you wish 🙂 If you choose different fonts than I have used, I would recommend choosing fonts that contrast well with each other, such a script font and a serif/sans serif. Creative Fabrica has many amazing fonts to choose from!
Instructions
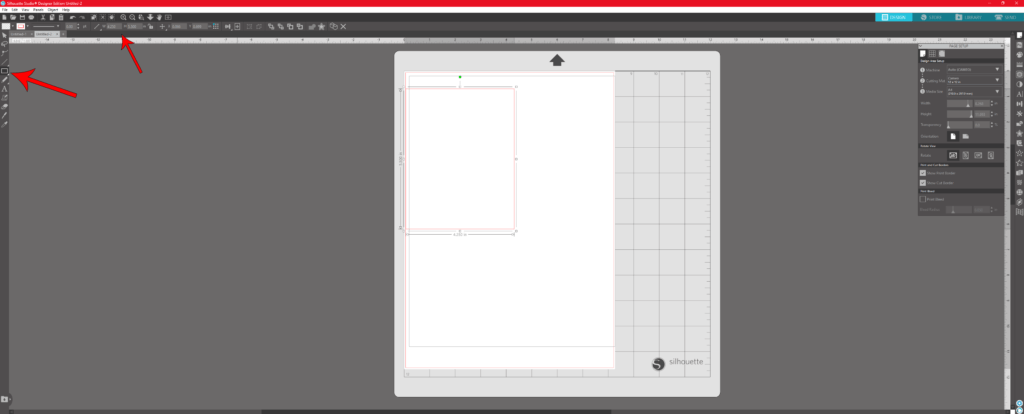
In Silhouette, set the media width to the size of your printer paper. I am using size A4. Then use the rectangle tool to make a rectangle that is 5.5 inches tall and 4.25 inches wide. You would adjust this value, depending on the size of card you wish to make. This is the base for our card.
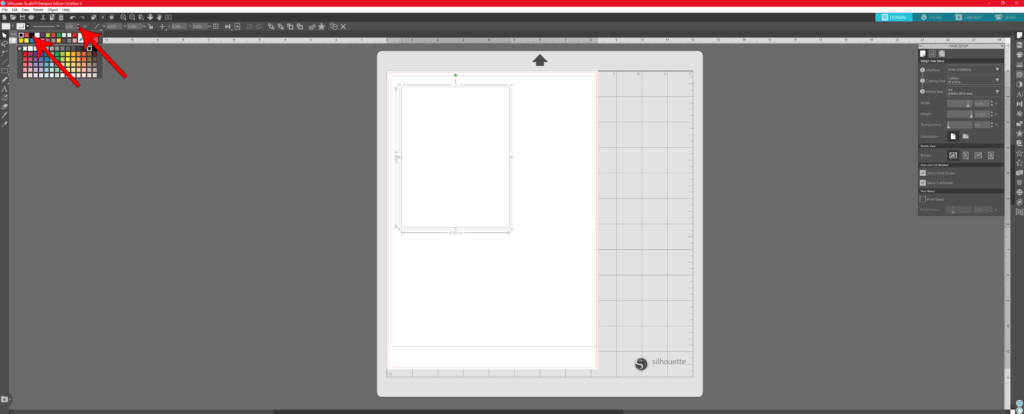
With the rectangle selected, create a 1px stroke for the border. I chose black, but you can choose any color. This is just to help us cut out the image later. It will not be visible on the final card.
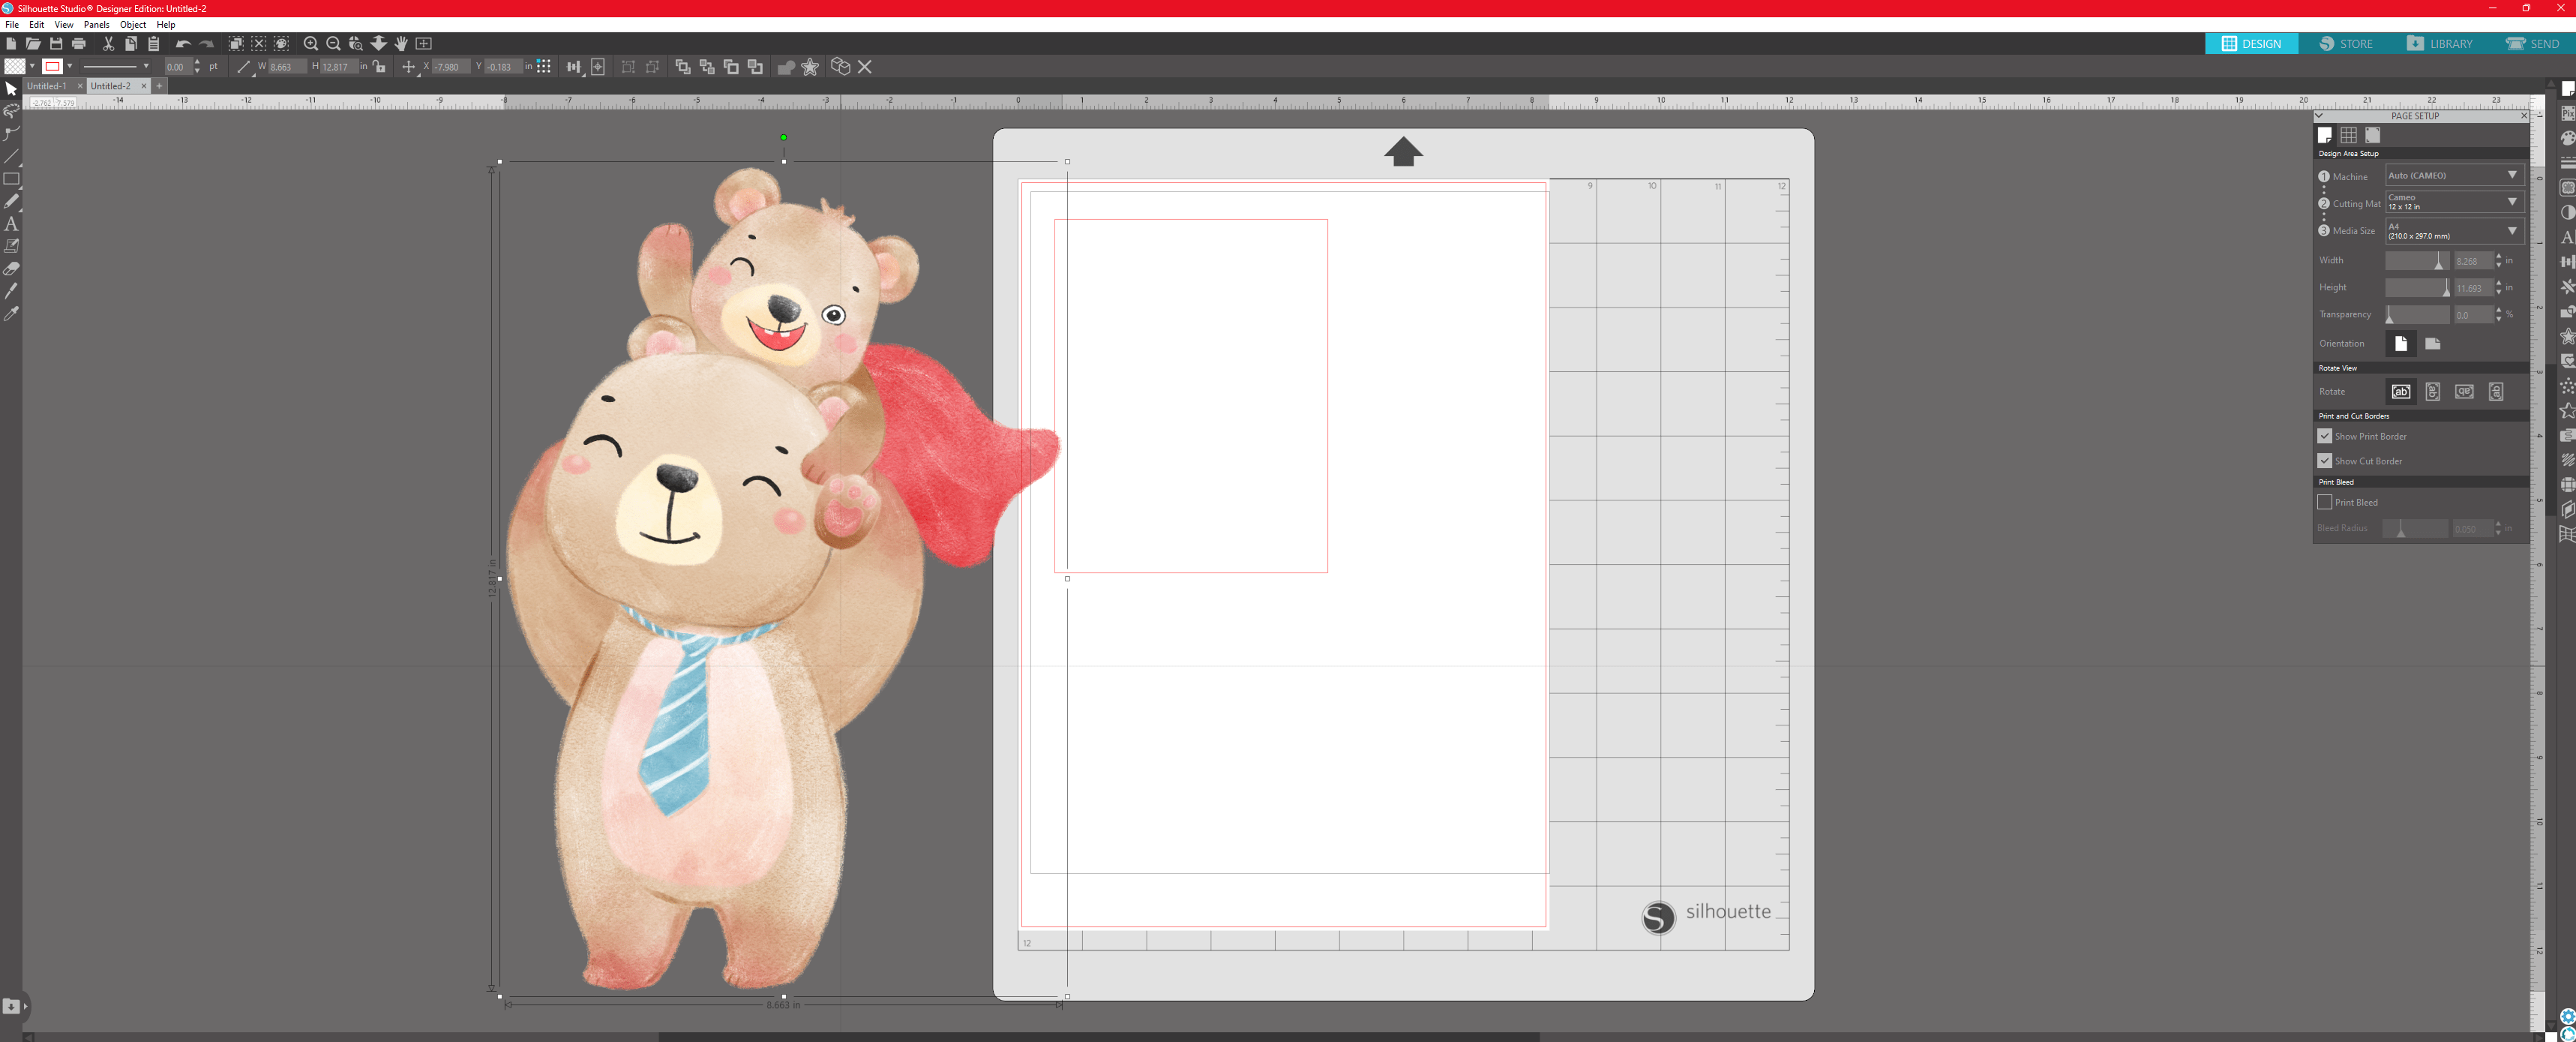
Download the Dad Watercolor Clipart and extract the files. Instructions for unzipping files can be found here: Windows – Mac – Select which bear image you want to use and open in Silhouette.
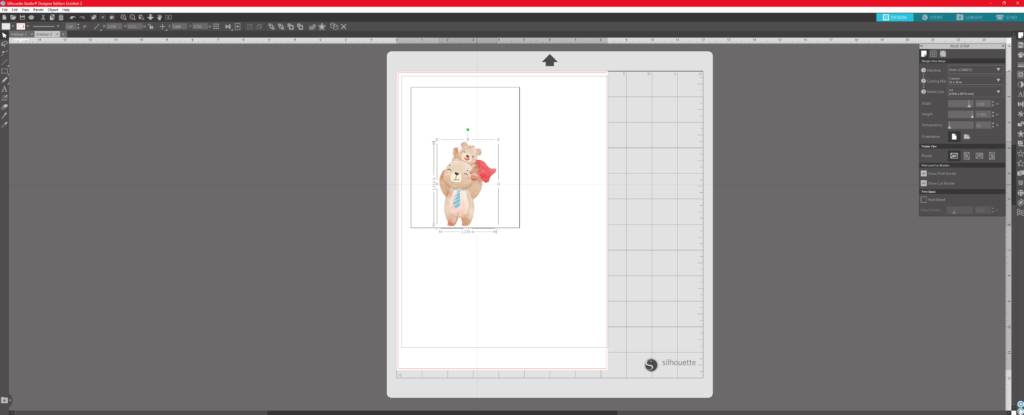
Resize the bear image until you are happy with the size and arrange it where you want on the card.
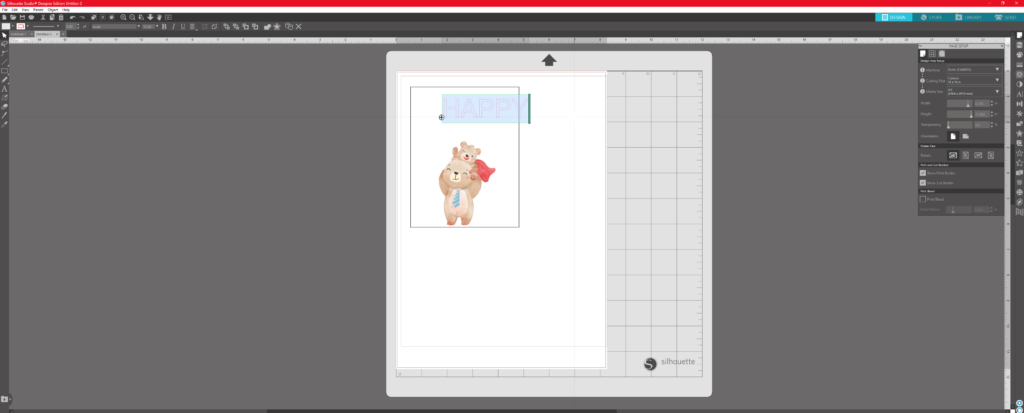
Use the text tool to type out the word HAPPY. I used my font called Stork Delivery. I set the font size to 75px.
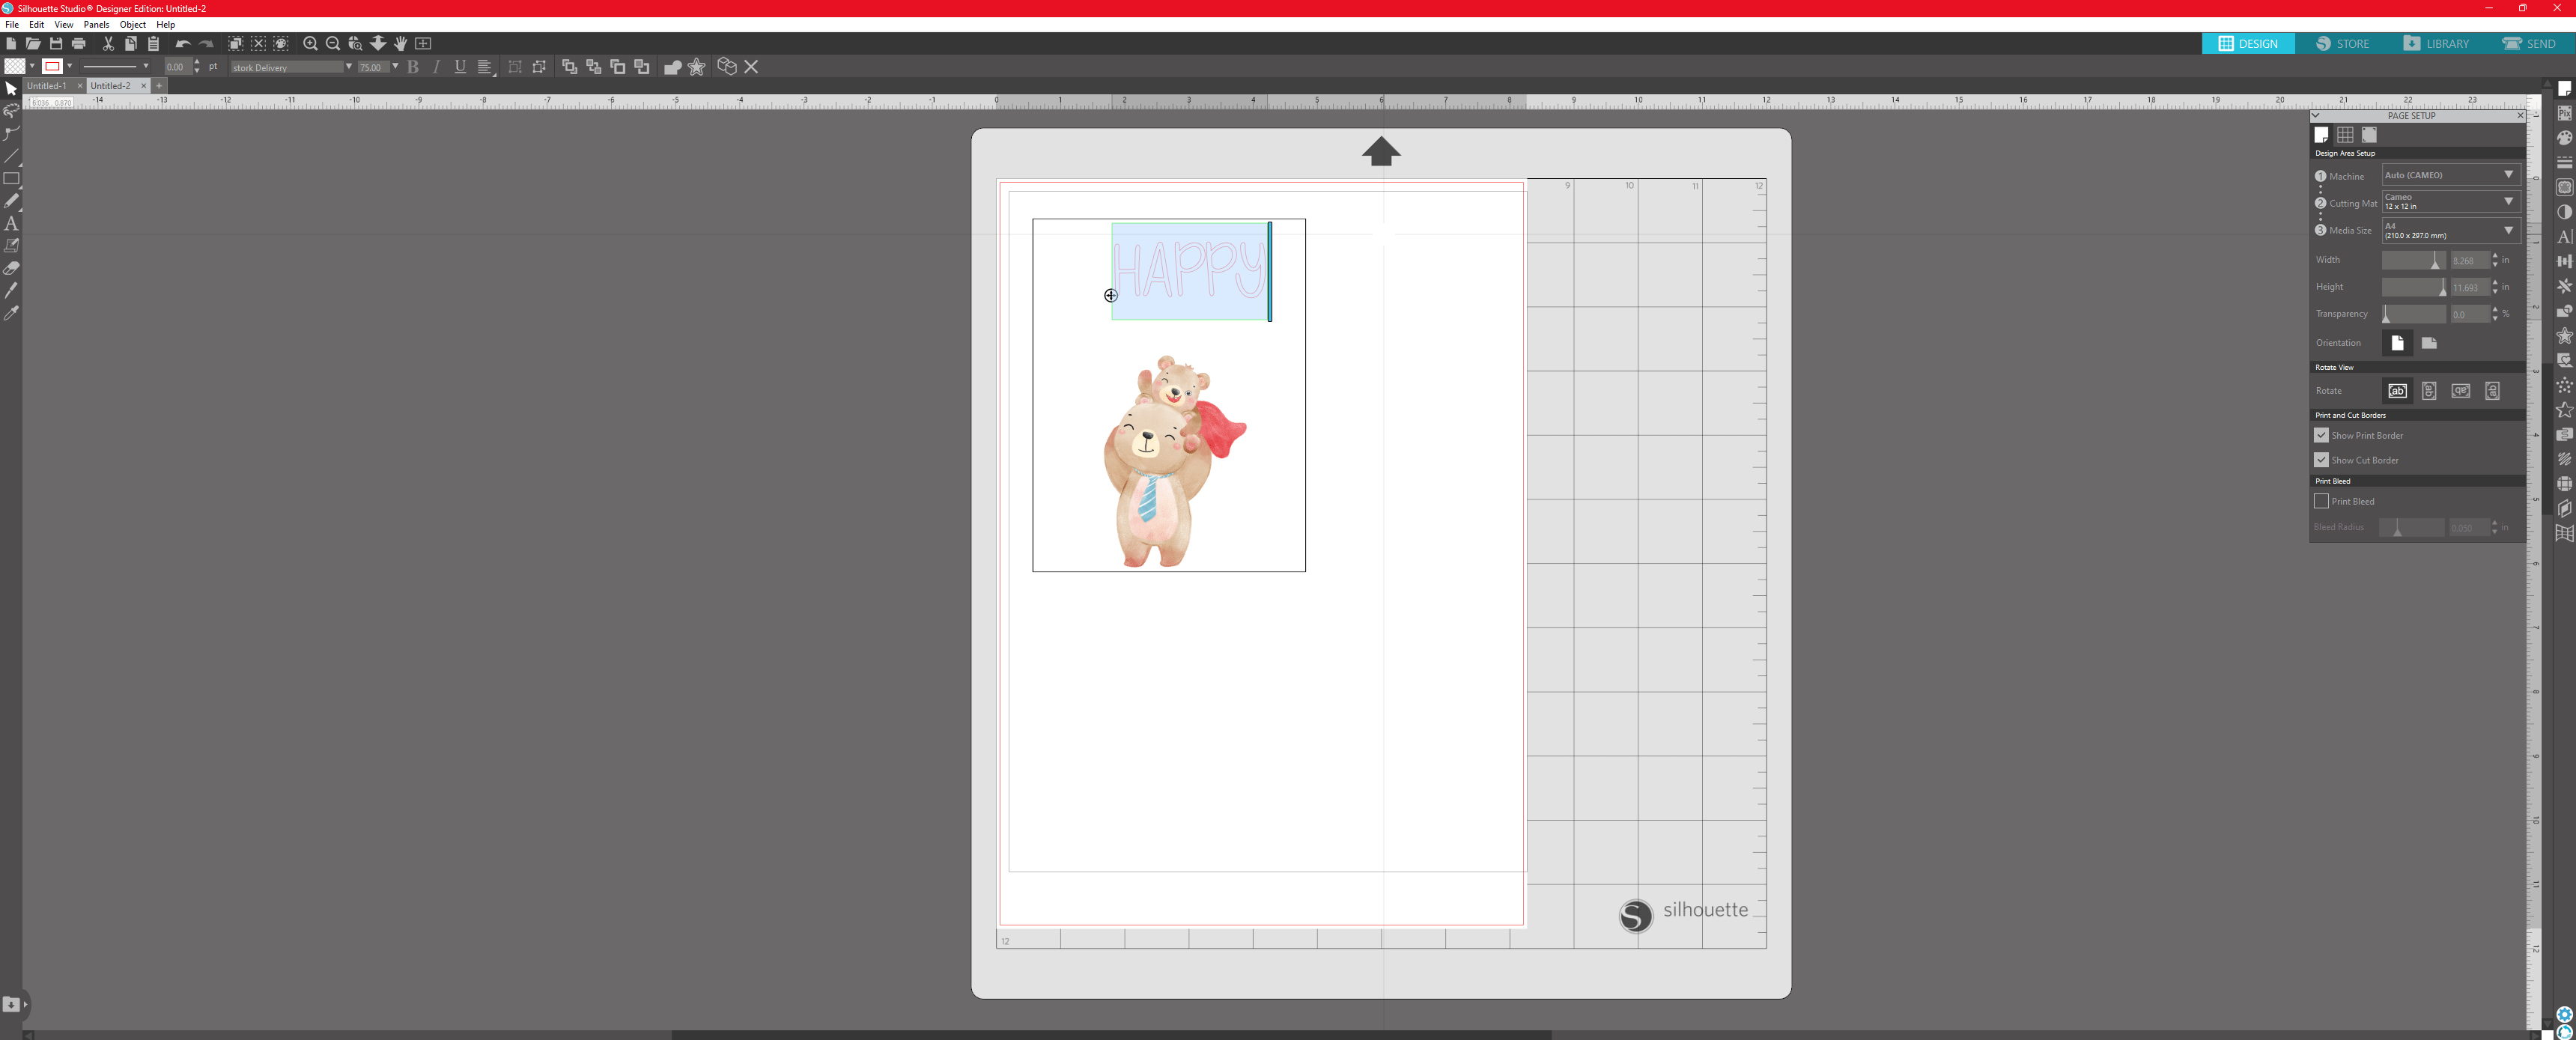
I arranged the text and filled the font with a color. I sampled a grey-black color from the nose of the bear.
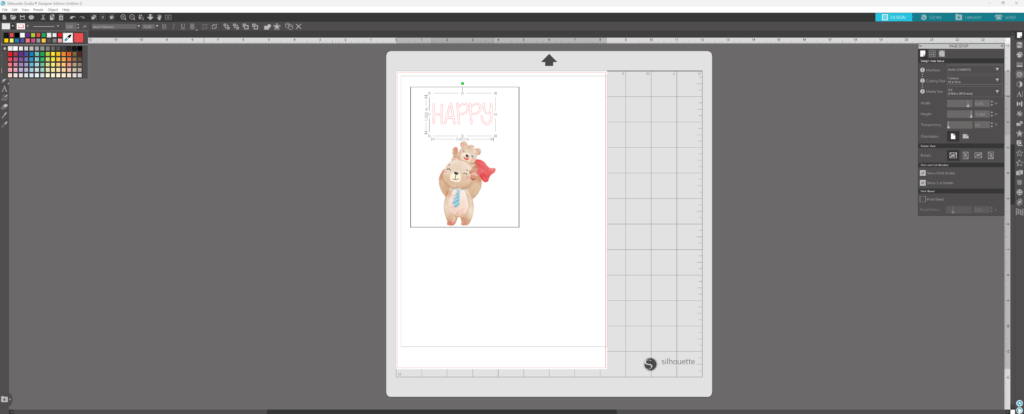
You can sample a color from the image by selecting the eyedropper tool in the fill palette. And clicking the part of the image you want to sample a color from.
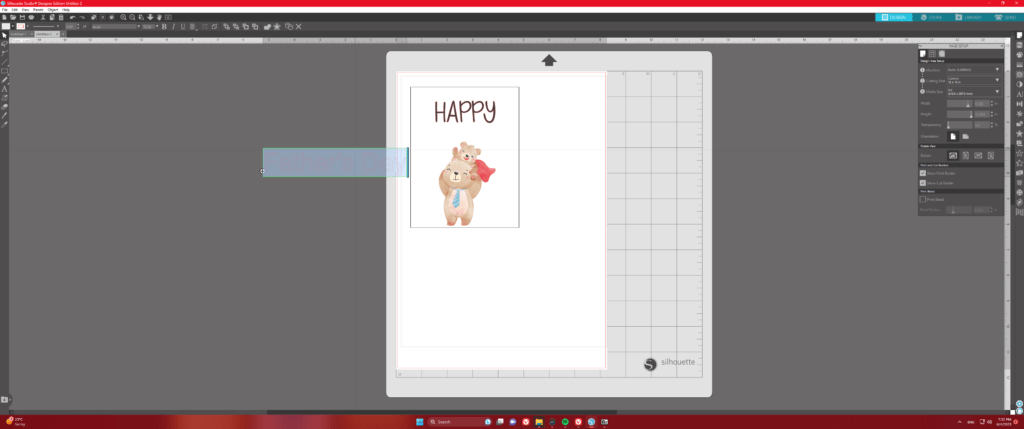
Select the text tool again and write out Father’s Day.
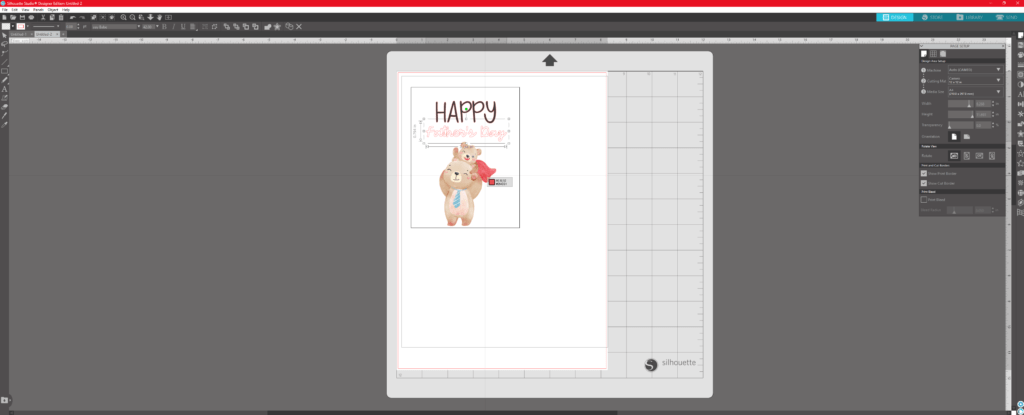
I used my font called Yay Babe and set the size to 42px. I also sampled a nice red color from the cape of the bear as the font fill color.
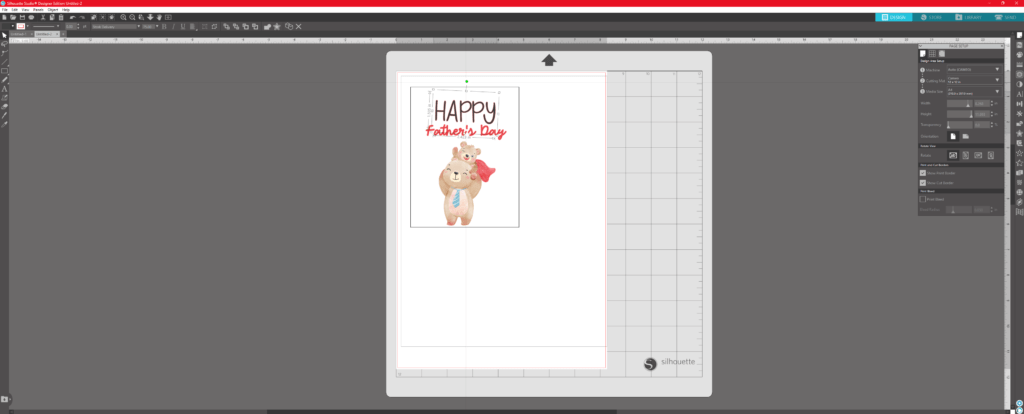
I rotated the word HAPPY just a bit to the right.
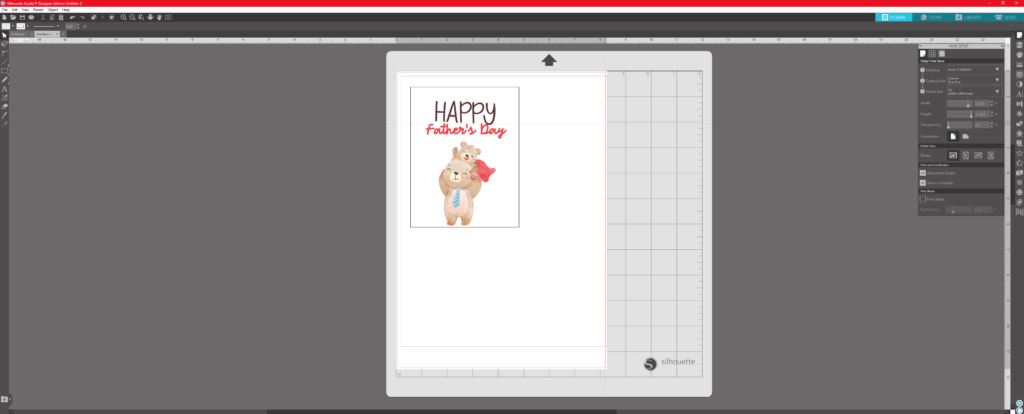
This what it should look like at this time. Of course, I encourage you to make any adjustments as you see fit 🙂
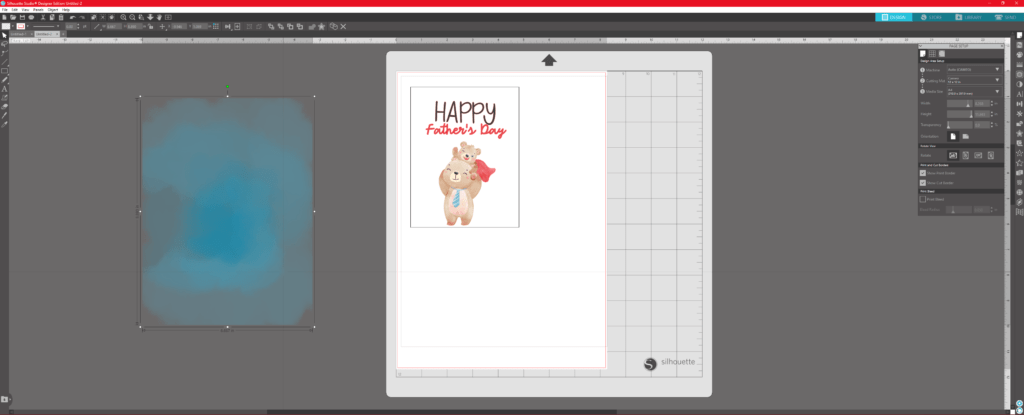
Download the Water Color Background and extract it. Then open it into Silhouette.
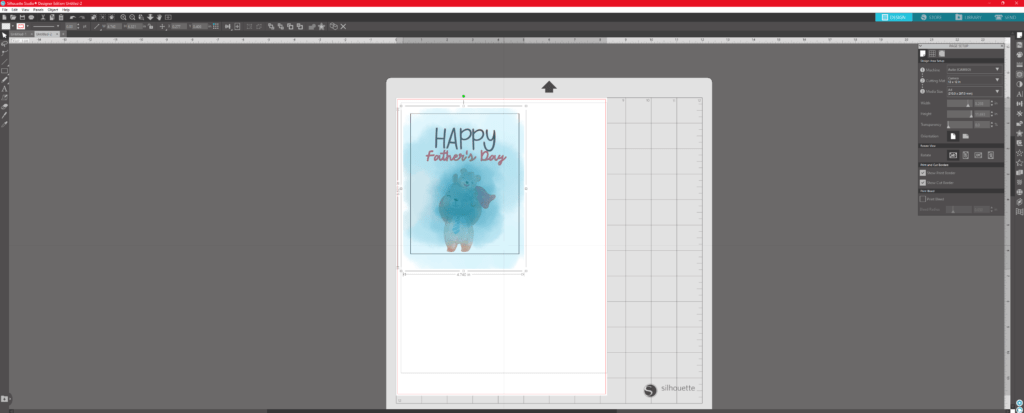
Arrange it over the card, allowing it to bleed a little over the margins.
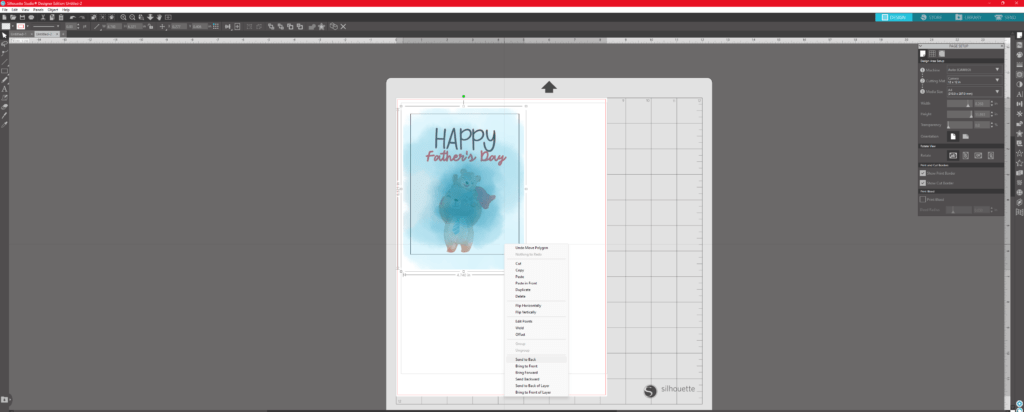
With the watercolor image selected, right click and choose Send to Back.
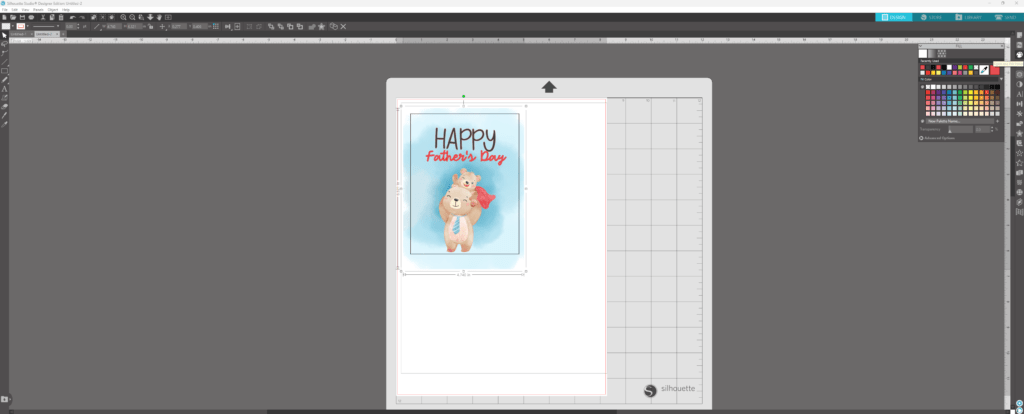
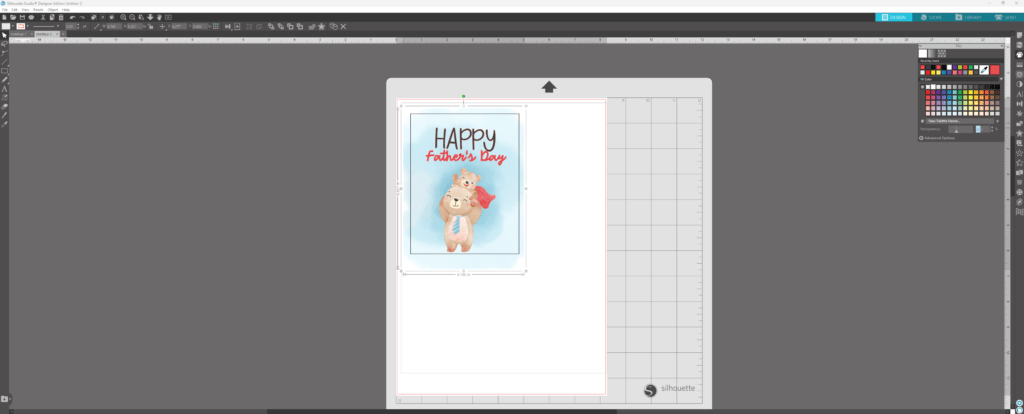
Go to the fill palette and change the transparency to 30%. This brings down the intensity of this blue background so it doesn’t overshadow the cute bears.
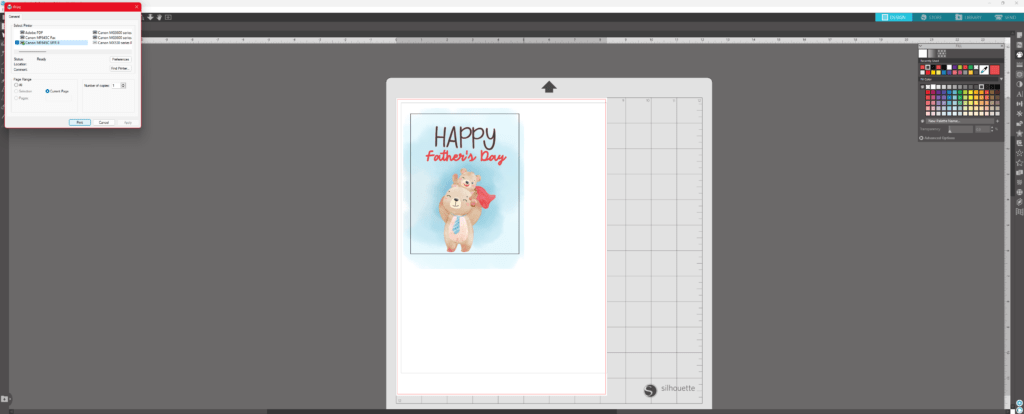
Once you are happy with how everything looks, go ahead and print it out.
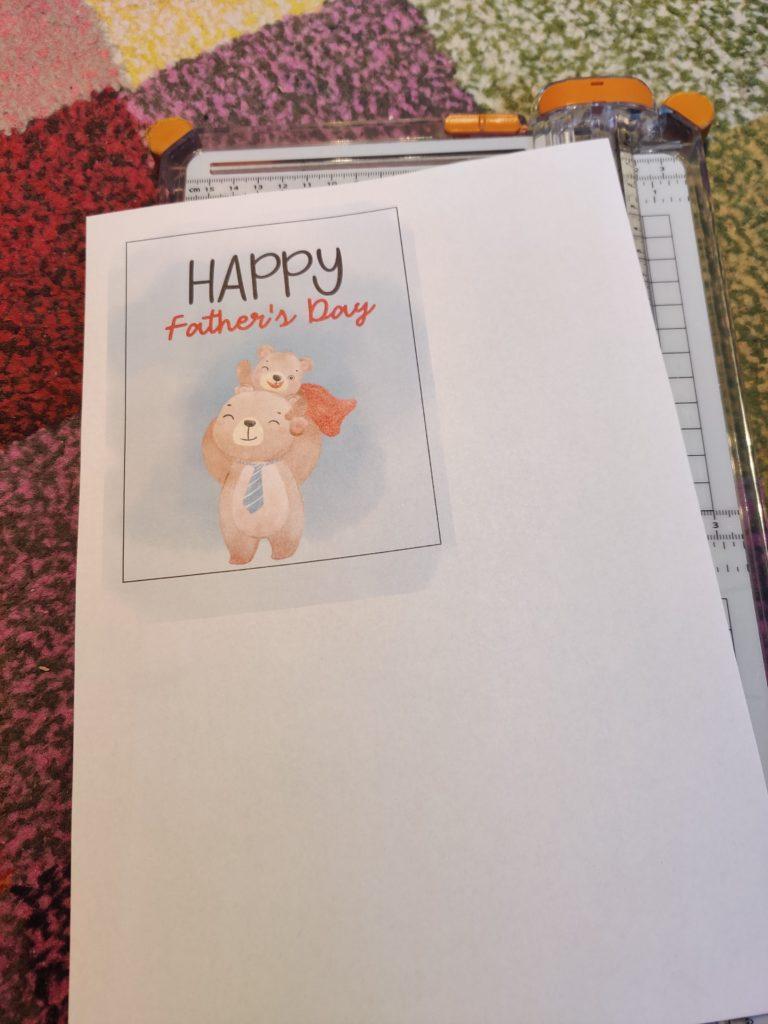
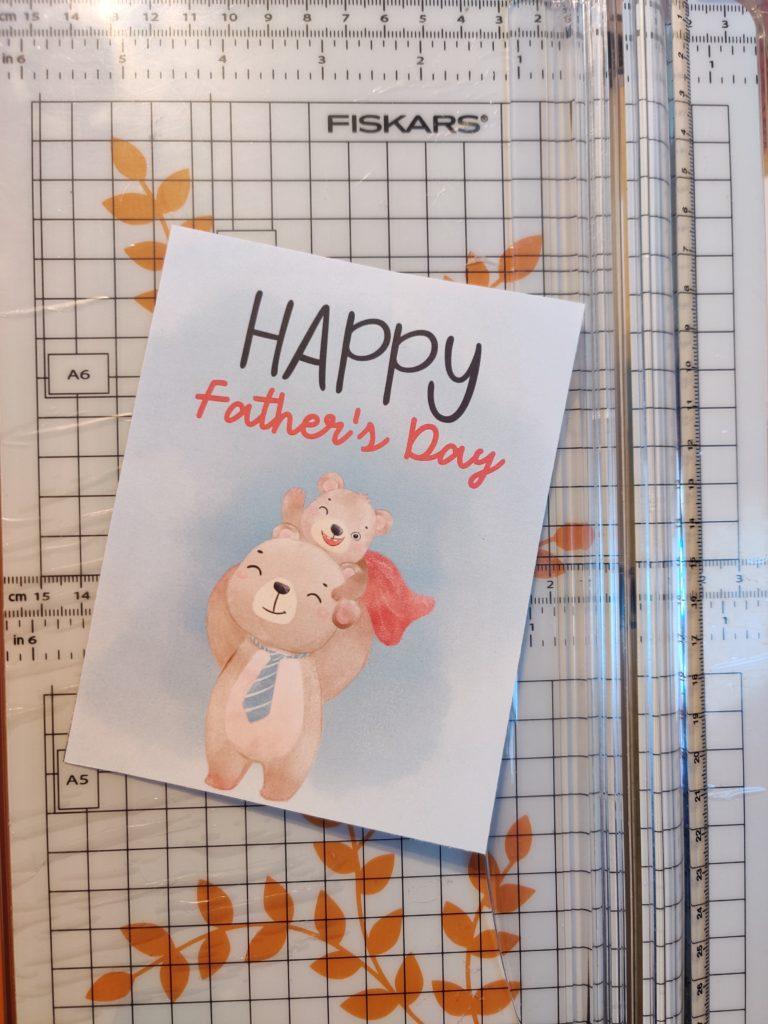
Now that it is printed out, it is time to cut out the image. I used a paper trimmer for this task.
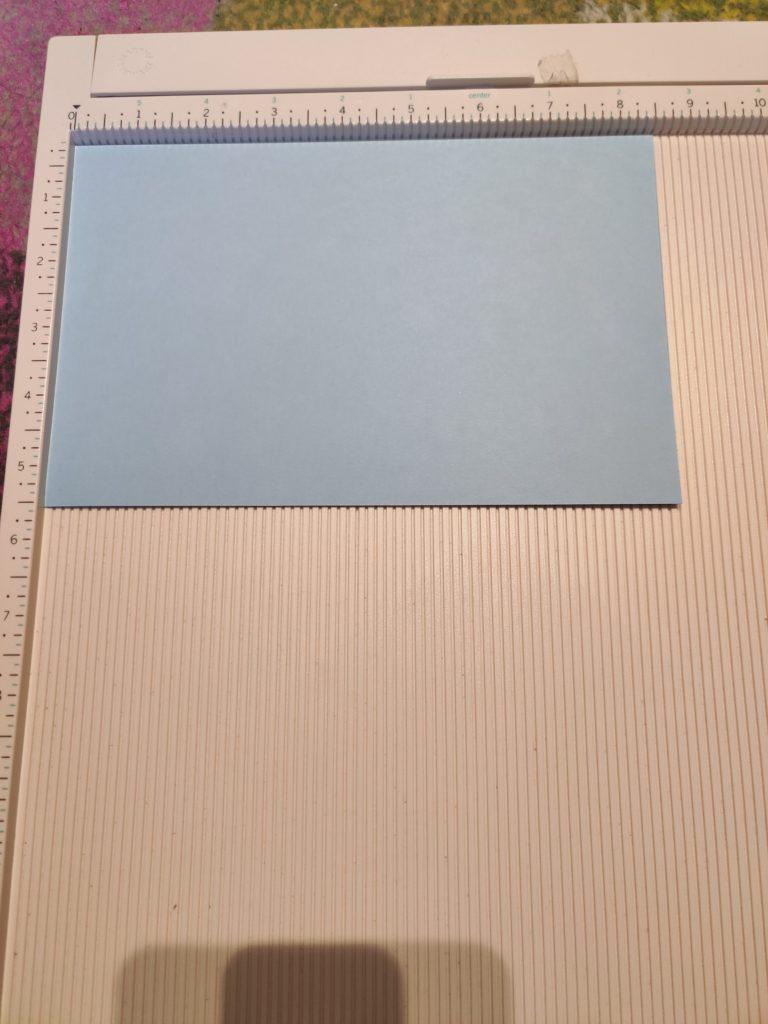
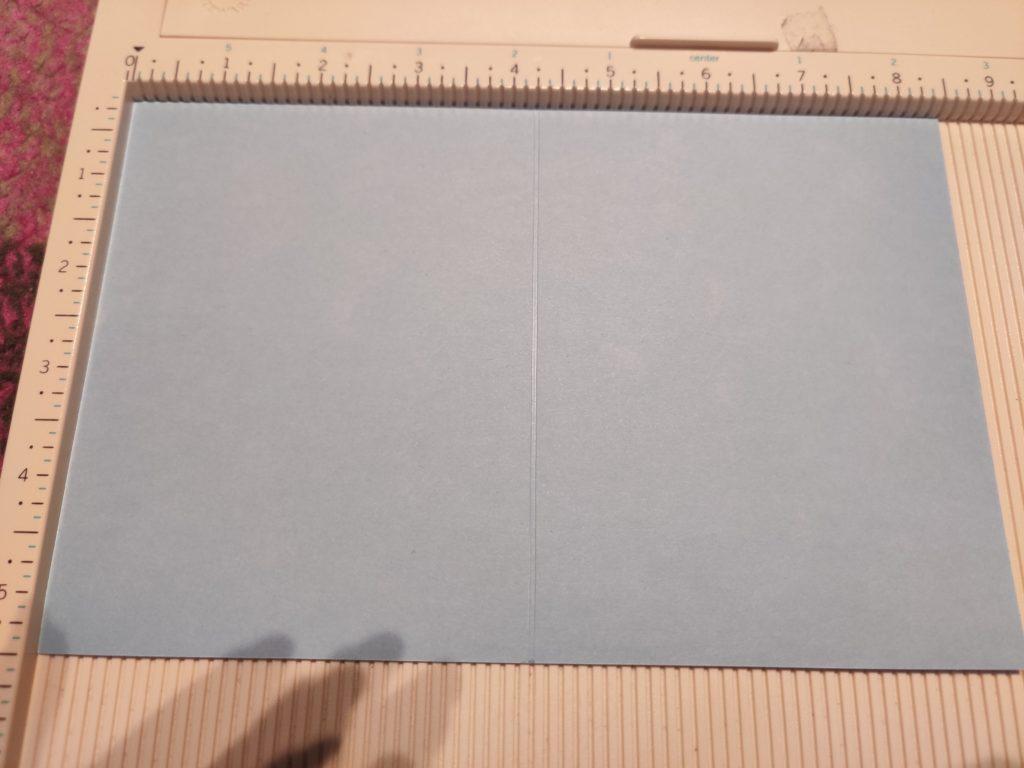
I took a piece of blue cardstock that is cut down to 8.5 inches wide and 5.5 inches tall and scored it at 4.25 inches. I used the color Moonstone by Lawn Fawn. I think it fits well to the tie of the papa bear.
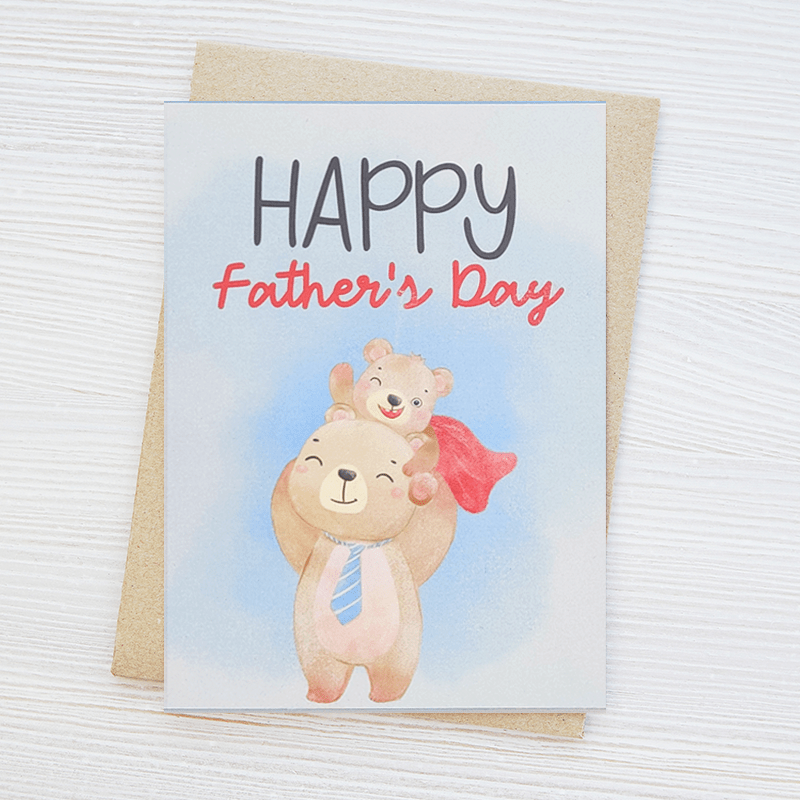
I glued the cute bear printout to the front of the card base, and not it’s finished! Super cute, right? 🙂

