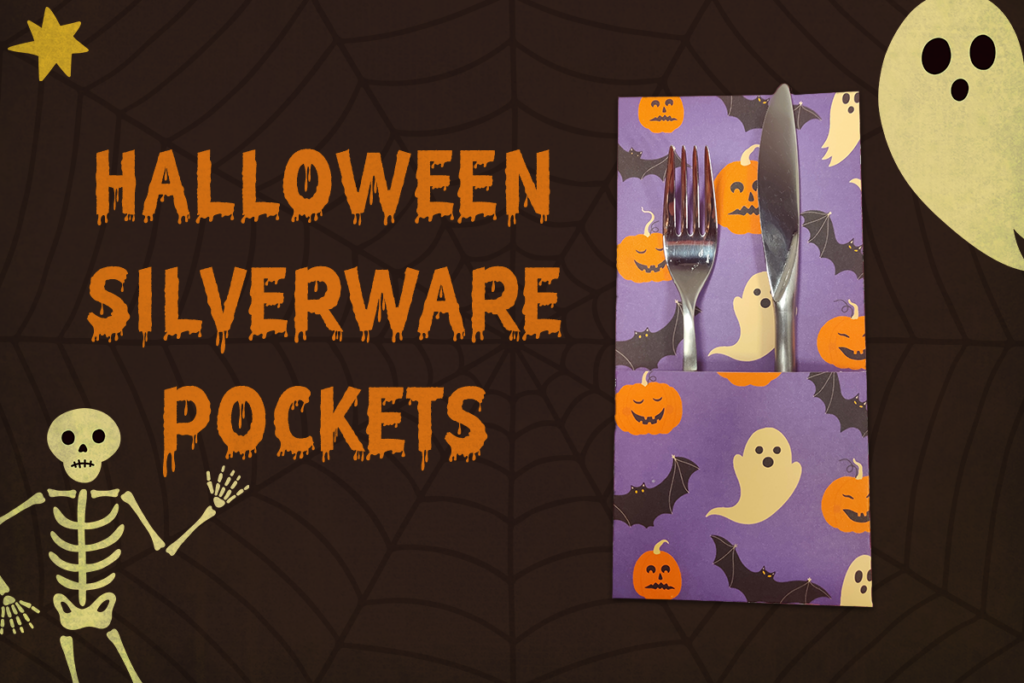
All Links to Creative Fabrica are affiliate links, but all opinions are my own.
Halloween is right around the corner and I wanted to share these super easy DIY silverware pockets that you can use in your Halloween celebration!
What You’ll Need
- Cutting Machine: Silhouette, Cricut or Brother Scan and Cut (I used Silhouette Cameo)
- Silverware Pocket Cut File SVG (I designed the cut file myself in Adobe Illustrator.) It has 2 cut pieces, the back piece and the pocket piece.
You can download the pocket here for free (personal use only)
- Halloween Pattern Paper (at least A4 size, but I recommend 12×12)
The Halloween Pattern Paper I used: I created the pattern in Illustrator using elements from this stunning clipart set by Julia Dreams: >>LINK<< and printed it out on A4 cardstock.
Step 1
Open cut file in Silhouette Studio.
Set your material size. My paper size is A4, so I had to cut my silverware pocket pieces separately. If you are using a 12X12 sized paper, you can cut both simultaneously.
Send your project to be cut.
Step 2
Assembling the silverware pocket.
You need to fold down the 3 tab pieces on the pocket piece. Then apply double sided tape or glue (i used a combo of both) and then press it down into your back piece. I placed a book on top for about 20 minutes to press it down and allowed the glue to dry.
You’re finished! It really is that simple!
Extra tips: You can adjust the size of the silverware pocket template to better suit your needs. My final size is approximately 24cm x 12cm


